To enable & manage recurring billing based subscription in ListingPro please follow the below steps:
FOR ADMIN: Enabling Recurring Billing
FOR ADMIN: Listing Subscription Management
FOR LISTING OWNER: Listing Subscription Management
FOR ADMIN: Enabling Recurring Billing
Before enabling recurring option you have to create a paid pricing plan.
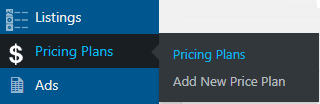
STEP 1: Go to Dashboard > Pricing Plans > Add New Price Plan
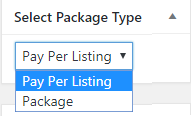
STEP 2: Create a new price plan and choose Select Package Type > Pay Per Listing while creating the price plan.
STEP 3: Complete rest of the options and click Publish
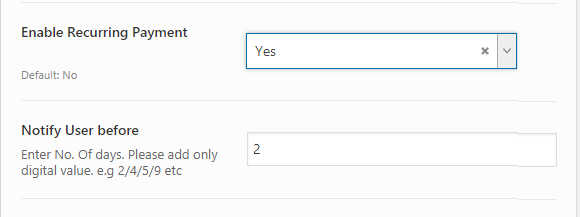
STEP 4: Now enable recurring option from Theme Options > Payment Settings > General > Enable Recurring Payment > Yes
STEP 5: Enter the no. of days inside of the Notify User Before box. The user will be notified of every recurring billing amount before being charged prior to the number of days.
STEP 6: Go to Theme Options > Payment Settings > Stripe Settings and enable stripe as Live mode. Insert Stripe Live Secret Key and Live Publishable Key.
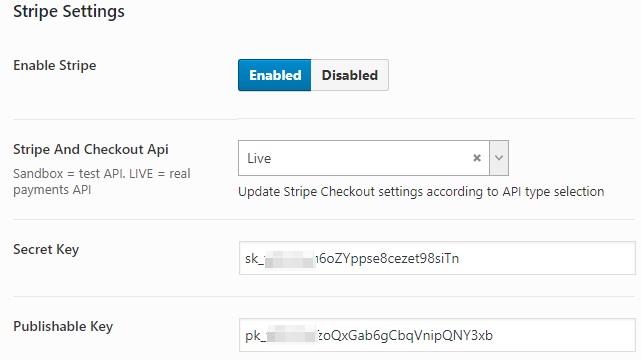
To generate the Stripe API Key please check the following article: How to Generate Stripe API Keys
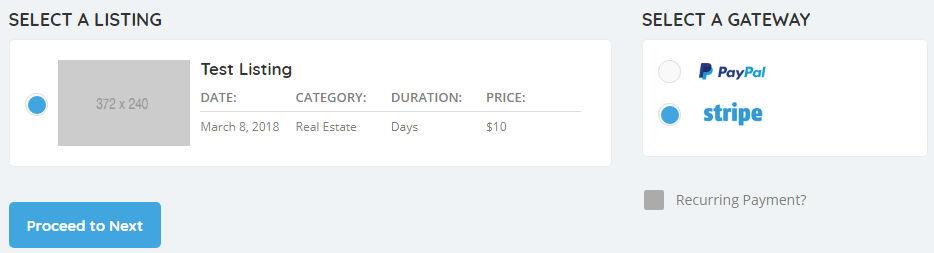
FOR ADMIN: Listing Subscriptions Management
When a user will use Stripe payment method with the recurring option and processed transaction successfully, a generated invoice will be sent to the user email. Transaction details will be available in the backend Subscriptions page. Admin can manage subscriptions from there.

NOTE: Recurring billing subscriptions will only happen if the recurring option is checked during the listing subscription with payment.
FOR USER: Listing Subscriptions Management
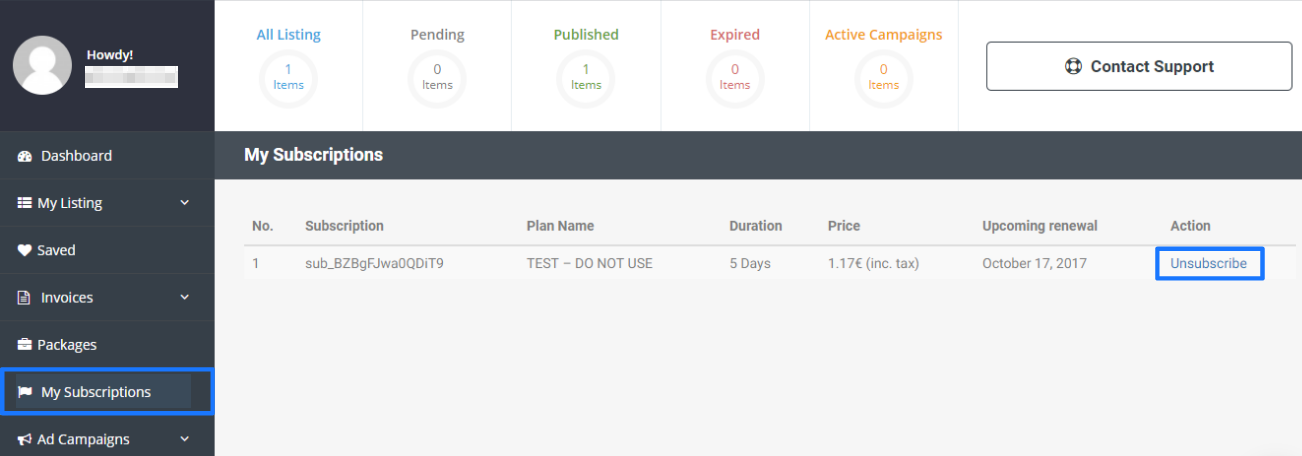
If a user has a subscription, it will be shown on the user dashboard under “My Subscriptions” tab. There will be available a list of all active subscriptions running by the user. A customer can stop subscriptions from their dashboard. Admin has also the power to cancel subscriptions of any user at any time through the admin panel.
To manage subscriptions:
STEP 1: Go to frontend user Dashboard > My Subscriptions
STEP 2: Refer to the Action column and click Unsubscribe.