For WPBakery Page Builder Users
We are going to make the below sections with different page builder elements.
Section 01
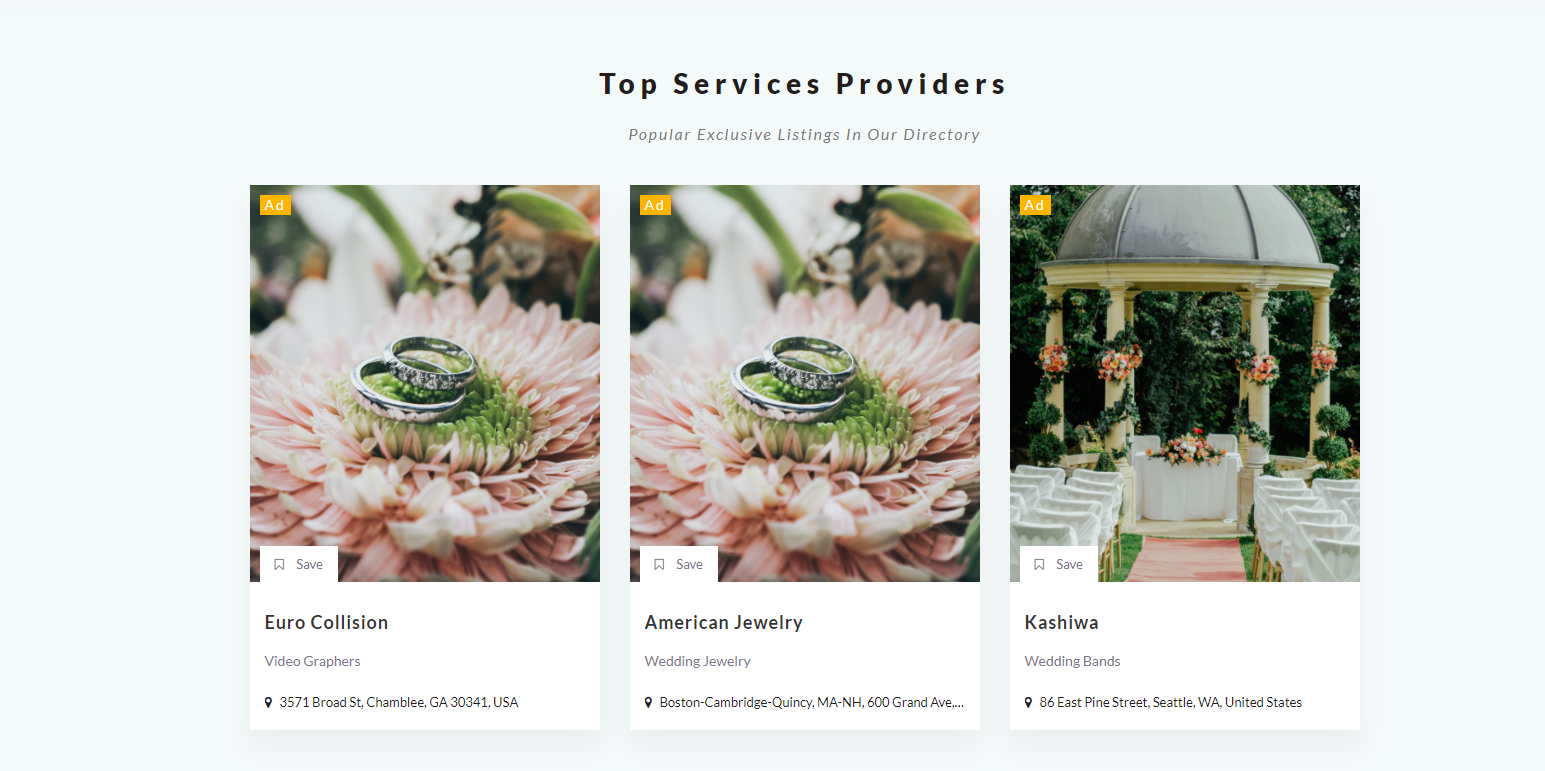
Section Title: Top Services Providers
Page Builder Element: WPRO Listing Posts
For this, we need WPRO Listing Posts Element
Please go to your WordPress admin dashboard and Edit your desired page with WPBakery page builder and create a new section and then follow the below steps
Step 1: Add WPRO Listing Posts Element
- Show listings: 3
- Listings Type: Ads Listings
Step 2: Edit the Row and set the below properties.
- Row Title: Top Services Providers
- Row Description: Popular Exclusive Listings In Our Directory
- Title Color: #1a1b1b
- Row Type: Full Width- Center content
- Background Color: #f4f9f9
Step 2: Edit the column and go to the Design Option tab and select the below details.
- Margin-Top: 40px
- Margin-Bottom: 40px
__________________________________________________________________________________________________________________________
Section 02
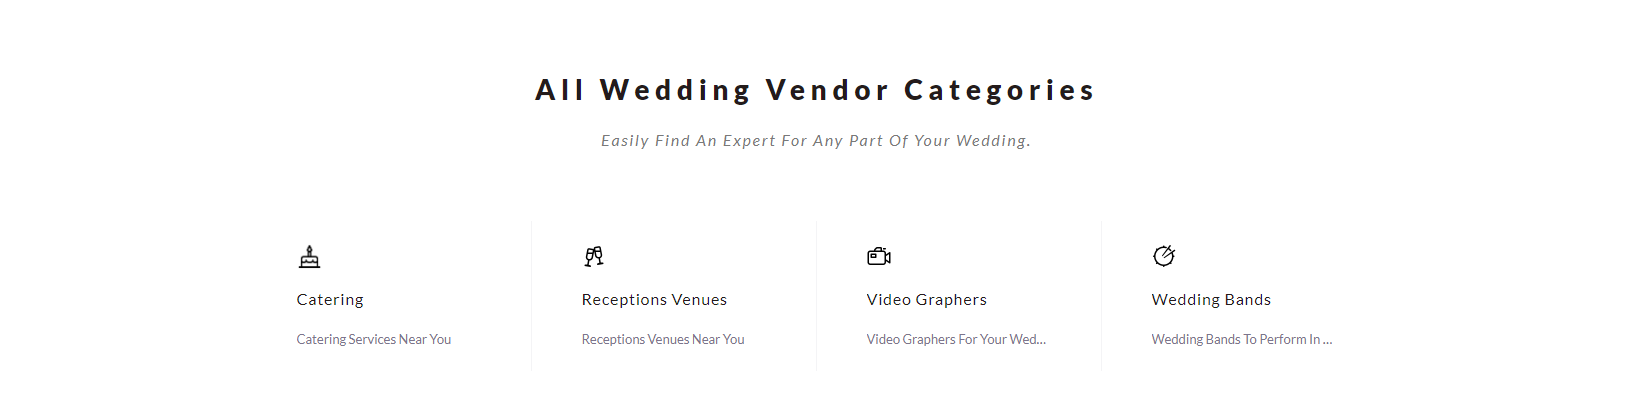
Section Title: All Wedding Vendor Categories
Page Builder Element: WPRO Categories
For this, we need WPRO Categories Element
Step 1: Add WPRO Categories Element
- Select your desired Categories
Step 2: Edit the row and set the below properties.
- Row Title: All Wedding Vendor Categories
- Row Description: Easily find an expert for any part of your wedding
- Row Type: Full Width- Center content
Step 3: Edit the column and go to the Design Option tab and select the below details.
- Margin-Top: 40px
- Margin-Bottom: 40px
__________________________________________________________________________________________________________________________
Section 03

Section Title: Featured Wedding Venues
Page Builder Element: WPRO Listing Posts
For this, we need WPRO Listing Posts Element
Step 1: Add WPRO Listing Posts Element
- Listings to show: 3
- Listing Type: Recent Listings
Step 2: Edit the Row and set the below properties.
- Row Title: Featured Wedding Venues
- Row Description: Leading North East Wedding Venues that are worth exploring further
- Row Type: Full Width- Center content
- Background Color: #f4f9f9
Step 3: Edit the column and go to the Design Option tab and select the below details.
- Margin-Top: 40px
- Margin-Bottom: 40px
__________________________________________________________________________________________________________________________
Section 04
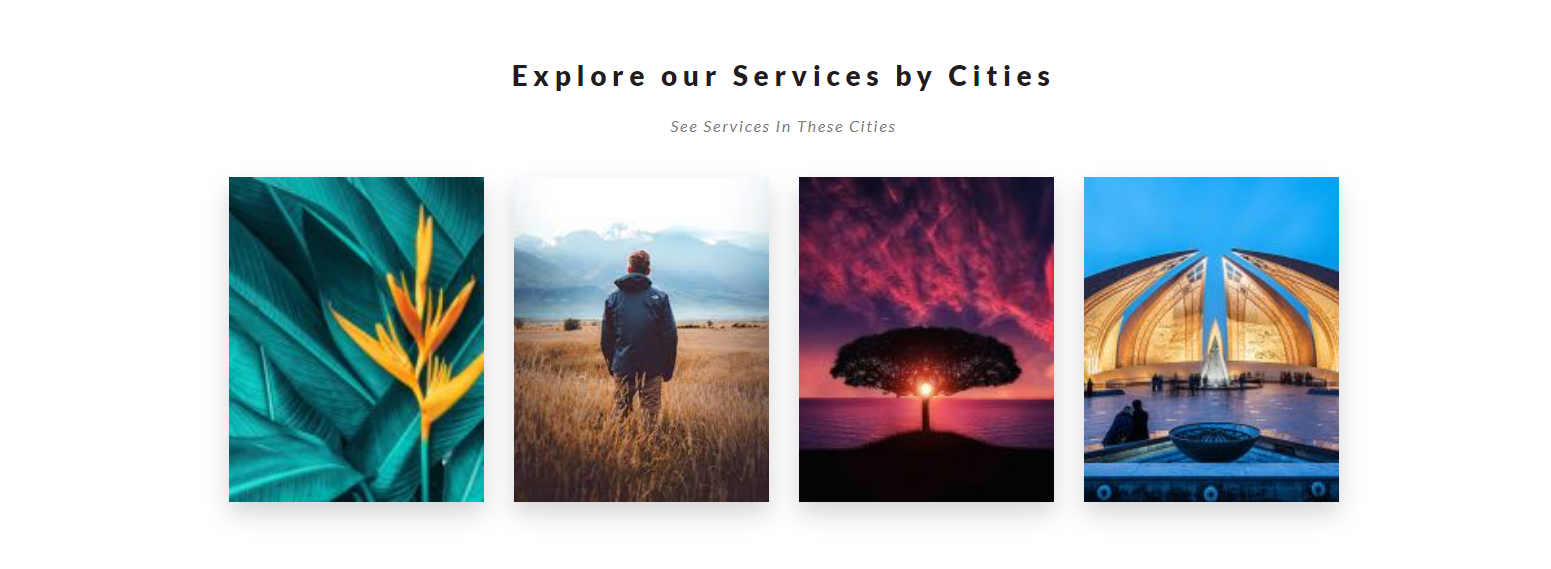
Section Title: Explore our services by Cities
Page Builder Element: WPRO Locations
For this, we need WPRO Locations Element
Step 1: Add WPRO Locations Element
- Select your desired Locations
Step 2: Edit the Row and set the below properties.
- Row Title: Explore our Services by Cities
- Row Description: See Services In These Cities
- Row Type: Full Width- Center content
Step 3: Edit the column and go to the Design Option tab and select the below details.
- Margin-Top: 40px
- Margin-Bottom: 50px
__________________________________________________________________________________________________________________________
Section 05
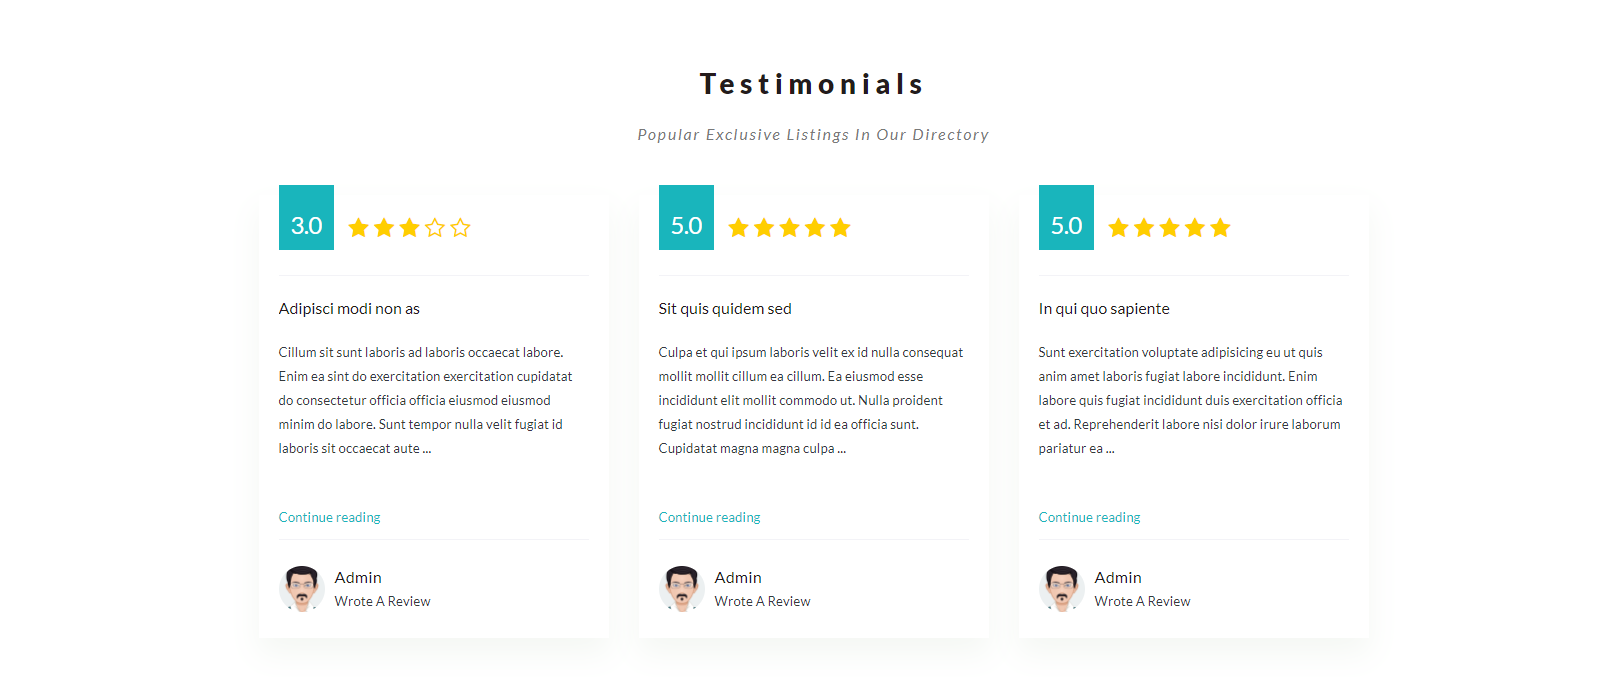
Section Title: Testimonials
Page Builder Element: WPRO Activities
For this, we need WPRO Activities Element
Step 1: Add WPRO Activities Element
- Select your desired Locations
Step 2: Edit the Row and set the below properties.
- Row Title: Testimonials
- Row Description: Popular Exclusive Listings In Our Directory
- Row Type: Full Width- Center content
Step 3: Edit the column and go to the Design Option tab and select the below details.
- Margin-Top: 40px
- Margin-Bottom: 40px
__________________________________________________________________________________________________________________________
Section 06
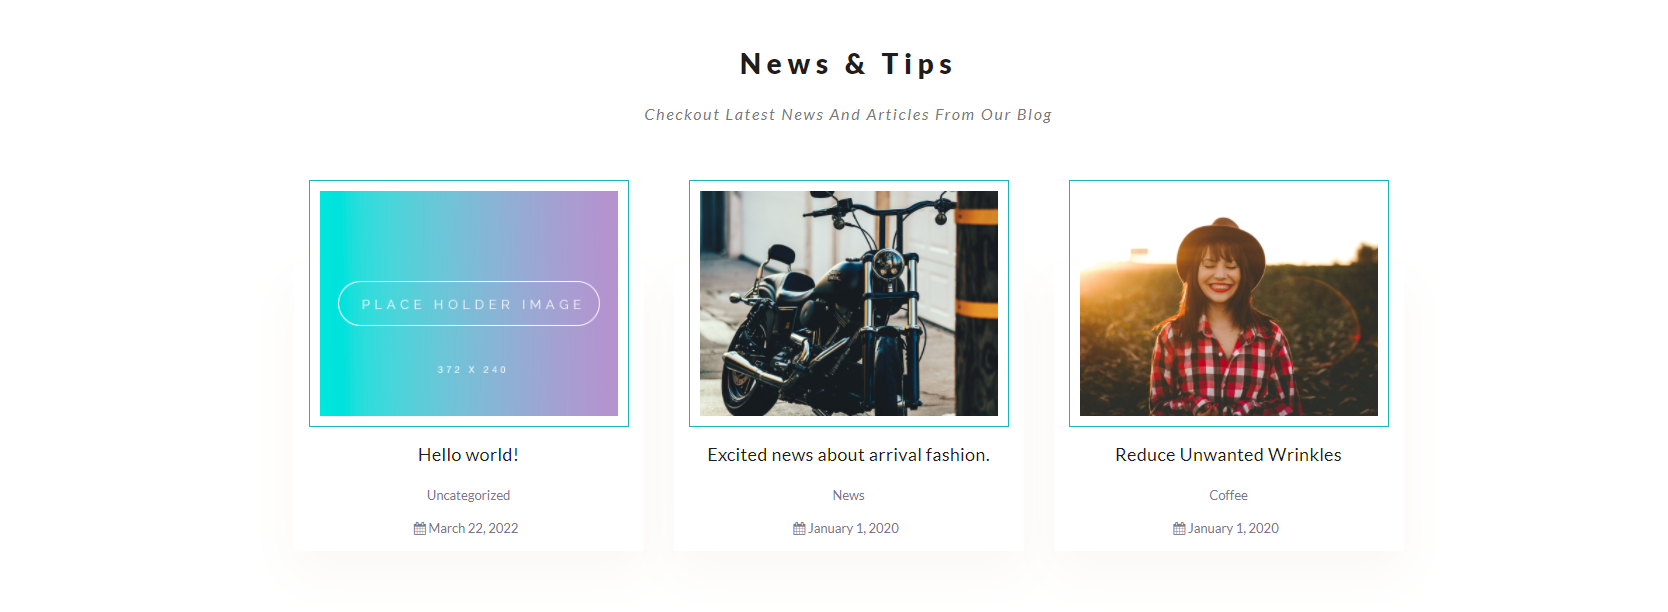
Section Title: News & Tips
Page Builder Element: WPRO Blogs
For this, we need WPRO Blogs Element
Step 1: Add WPRO Blogs Element
- Blogs to show: 3
Step 2: Edit the Row and set the below properties.
- Row Title: News & Tips
- Row Description: Checkout latest news and articles from our blog
- Row Type: Full Width- Center Content
Step 3: Edit the column and go to the Design Option tab and select the below details.
- Margin-Top: 40px
- Margin-Bottom: 40px
__________________________________________________________________________________________________________________________
Section 07
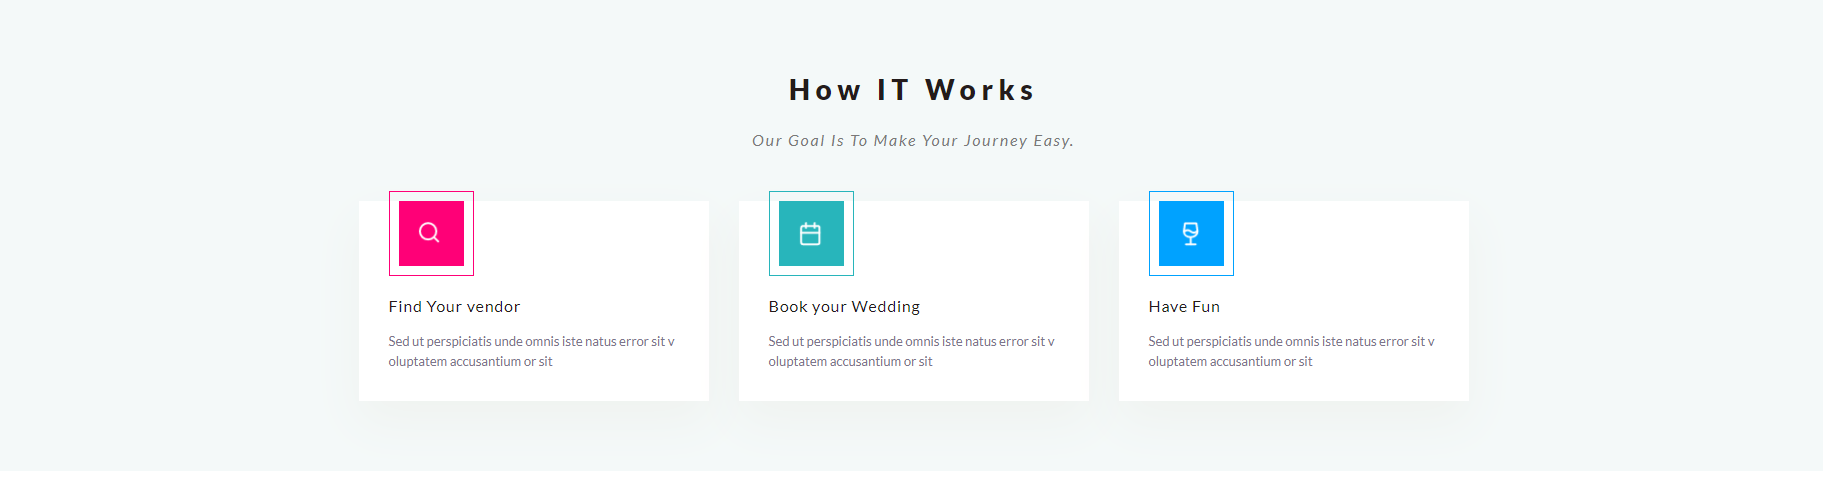
Section Title: How It Works
Page Builder Element: WPRO Columns
For this, we need WPRO Columns Element
Step 1: Add WPRO Columns Element
- Add your columns icons if missing
Step 2: Edit the row and set the below properties.
- Row Title: How IT Works
- Row Description: Our goal is to make your journey easy.
- Row Type: Full Width- Center Content
- Background Color: #f4f9f9
Step 3: Edit the column and go to the Design Option tab and select the below details.
- Margin-Top: 40px
- Margin-Bottom: 40px
__________________________________________________________________________________________________________________________
Section 08

Section Title: Wedding Venues by States
Page Builder Element: WPRO Locations
For this, we need WPRO Locations Element
Step 1:Add WPRO Locations Element
- Select your desired Locations
- Style: Name Only
Step 2: Edit the row and set the below properties.
- Row Title: Wedding Venues by States
- Row Description: Popular Exclusive Listings In Our Directory
- Row Type: Full Width- Center Content
Step 3: Edit the column and go to the Design Option tab and select the below details.
- Margin-Top: 40px
- Margin-Bottom: 40px
__________________________________________________________________________________________________________________________
Section 09

Element Title: Are you a Pet Vendor?
Element Name in the Page builder: WPRO Call to Action
For this, we need WPRO Locations Element
Step 1: Add WPRO Call to Action Element
Step 2: Edit the Row and set the below properties.
- Background color: #f4f9f9
Step 3: Edit the column and go to the Design Option tab and select the below details.
- Margin-Top: 40px
- Margin-Bottom: 20px
__________________________________________________________________________________________________________________________
Section 10

Section Title: Our Famous Partners
Page Builder Element: WPRO Partners
For this, we need WPRO Partners and WPRO Single Logo Element
Step 1: Add WPRO Partners Element
Step 2: Append the New Element WPRO Single Element Logo
- Add your Logo in the Image section
Step 3: Edit the row and set the below properties.
- Row Title: OUR FAMOUS PARTNERS
- Row Type: Full Width- Center Content
- Backgrund Color: #28b5bb
Step 4: Edit the column and go to the Design Option tab and select the below details.
- Margin-Top: 40px
- Margin-Bottom: 40px
__________________________________________________________________________________________________________________________
Congratulations!
You have created your WeddingPro demo with WPBakery successfully