This article contains everything you must know about configuring the blog and it’s broken down into the following topics.
- General WordPress blog settings
- Configuring the blog archive page
- Configure blog posts
- Adding a banner image to a blog post
- Adding a blog posts section on the home Page
1. General WordPress Blog Settings
STEP 1: Go to Settings > Reading
STEP 2: Under Your homepage displays settings, select your Posts page (Example: Blog)
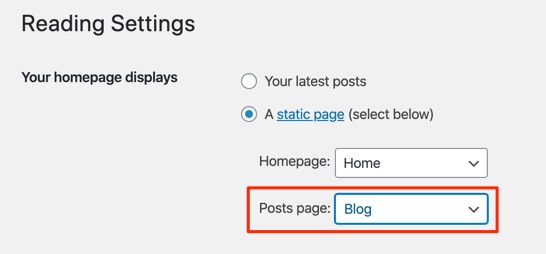
STEP 3: Under Your homepage displays settings, select your Posts page (Example: Blog)
STEP 4: Click Save Changes
2. Configuring the blog archive page
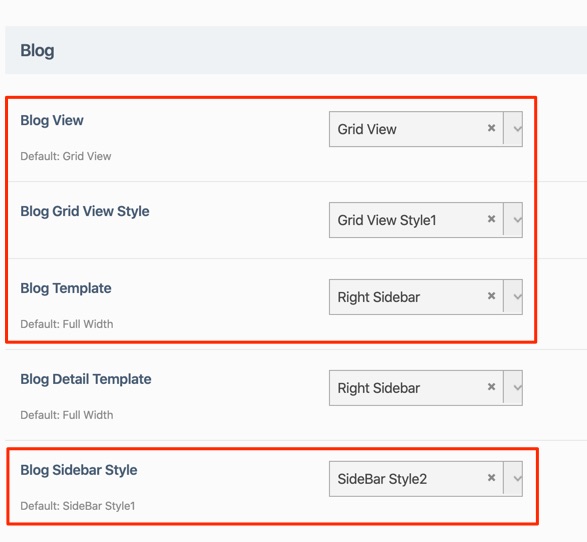
STEP 1: Go to Theme Options > Bog
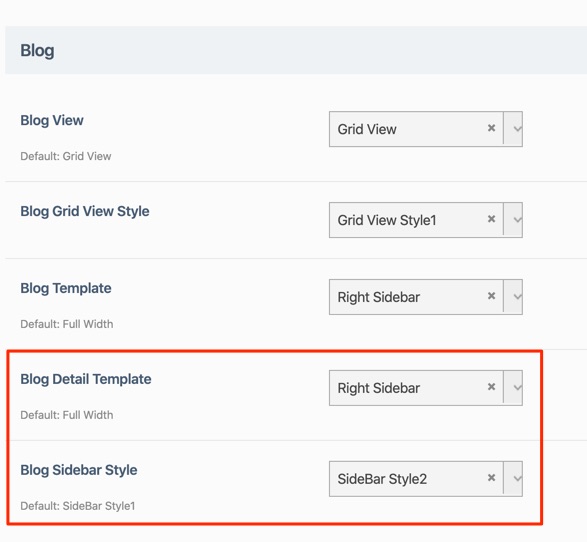
STEP 2: Select appropriate blog settings for the archive page.
Blog Archive page settings
The following settings are only to change the appearance on the blog archive page, except for the Blog Sidebar Style which affects both the blog archive and blog post/detail page.
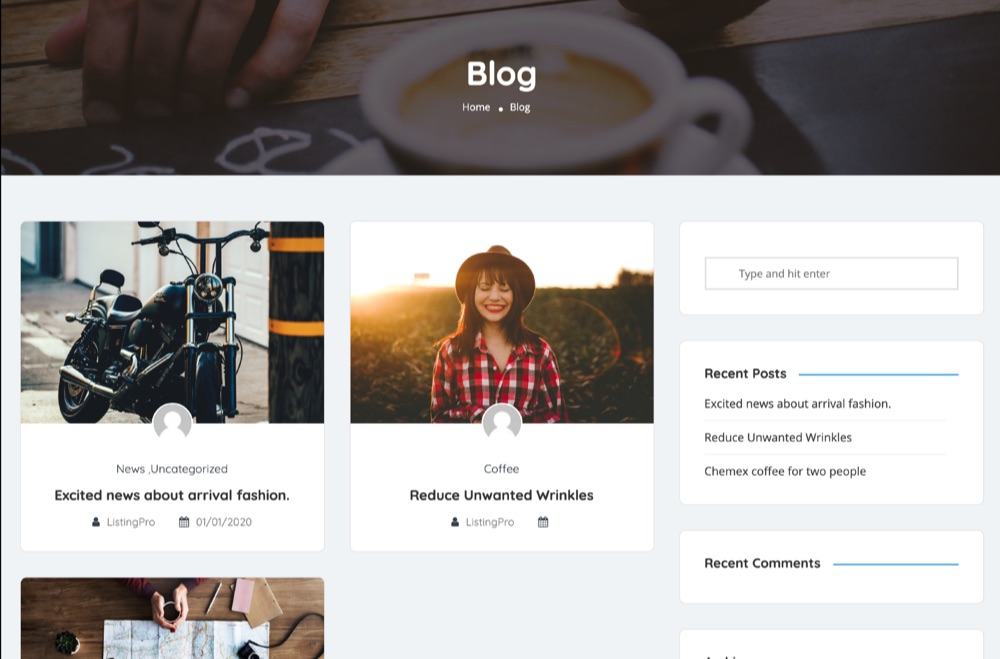
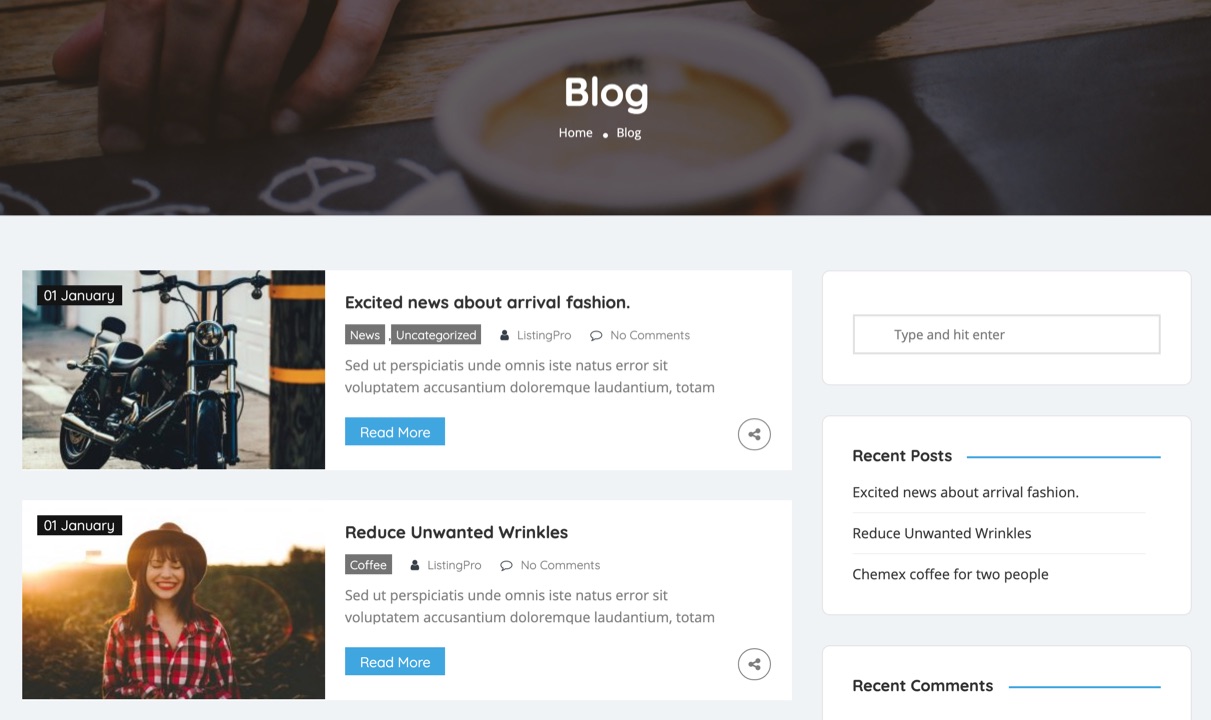
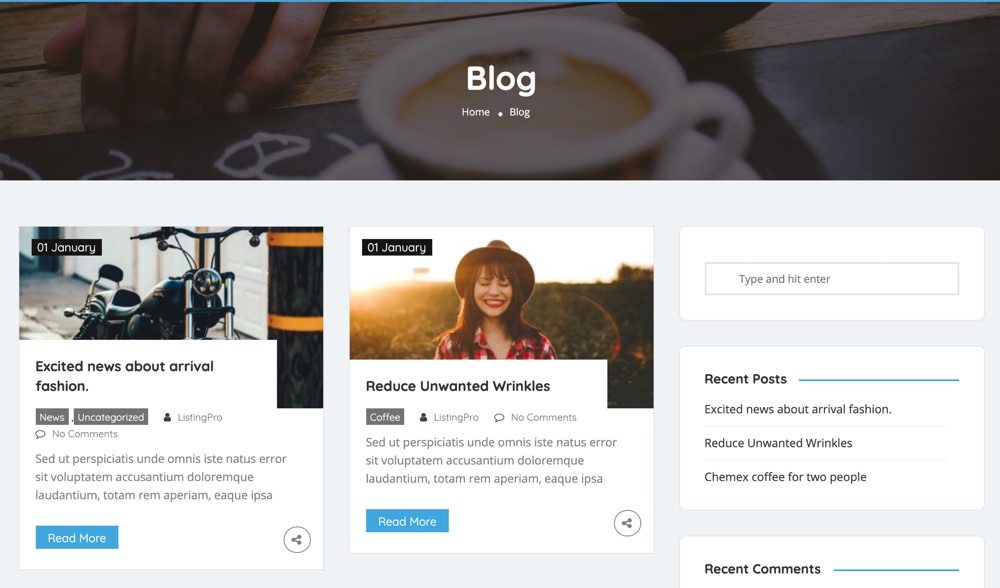
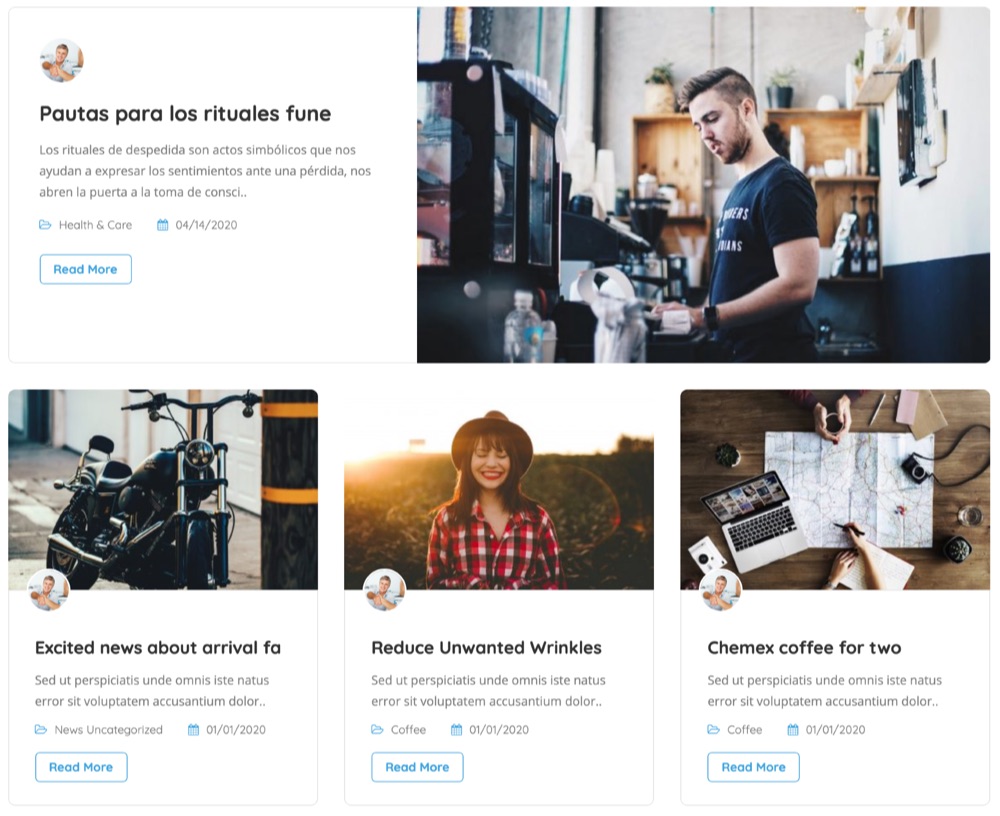
Here are some examples of archive page styles.
Blog Post/Details page settings
The following settings are only to change the appearance on the blog post/details page, except for the Blog Sidebar Style which affects both the blog archive and blog post/detail page.
3. Configure Blog Posts
Let’s go to one of our posts and see how it appears to us.

Seems like our post doesn’t have any background image defined. Let’s go to our post settings and see how to add an image that describes our post in a beautiful look way.
Let’s add an image to the Banner and see the result
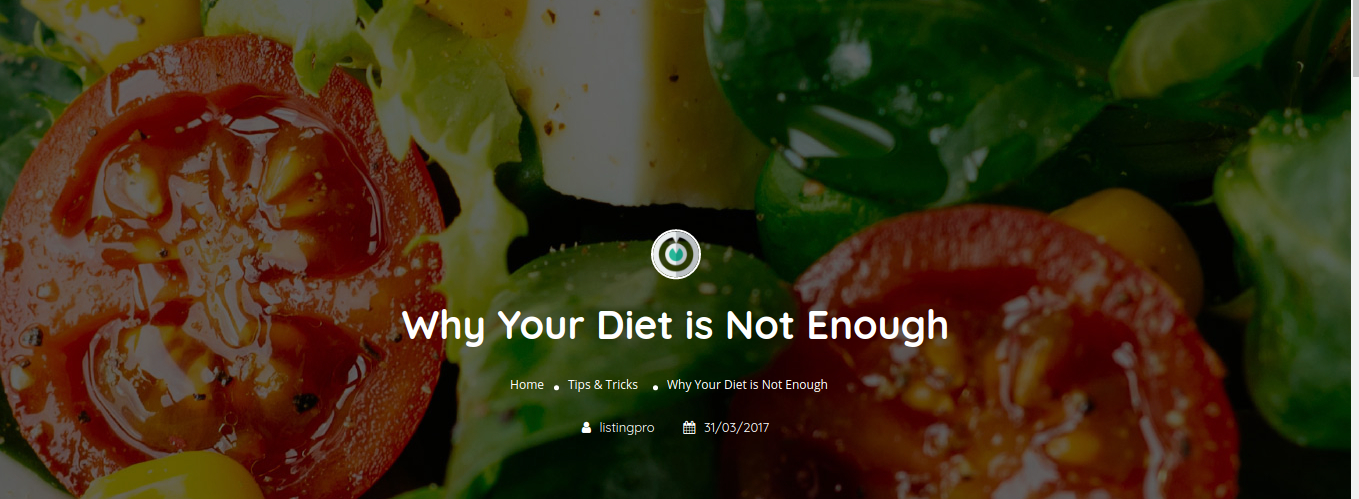
Perfect. But it seems too big, Let’s head over again to our settings and see if we can crop the image.

As we can see, the image is too big, but I want to give an effect to include the pencil and the paper just a little. Let’s see the result.
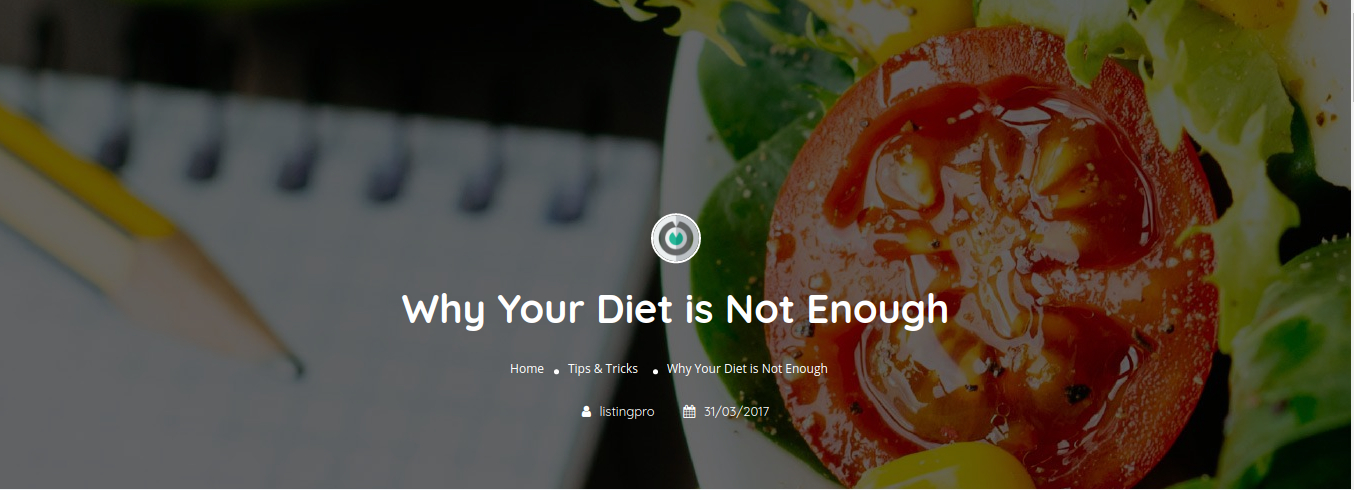
Perfect! Now, this was the expected result that I was looking for.
As we can see, we have to tweak some images to find a better position, for our final result.
4. Adding a banner image to a blog post
5. Adding a blog posts section on the home Page
STEP 1: Go to Pages > All Pages > and search for the Home
STEP 2: Edit the page in your Page Builder (Example: WP Bakery or Elementor).
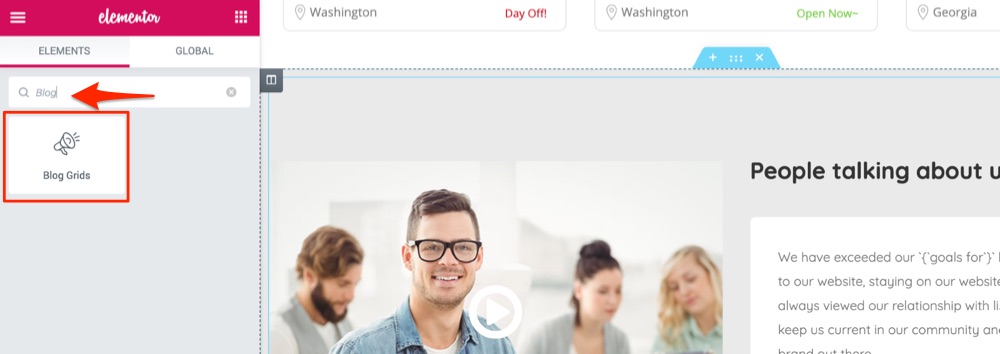
STEP 3: Search for Blog and select Blog Grids.
STEP 4: Choose from the following options.
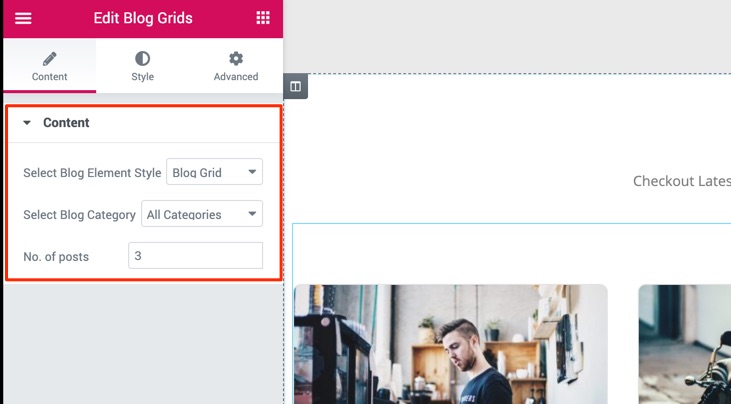
Select Blog Element Style
There are three different styles to choose from.
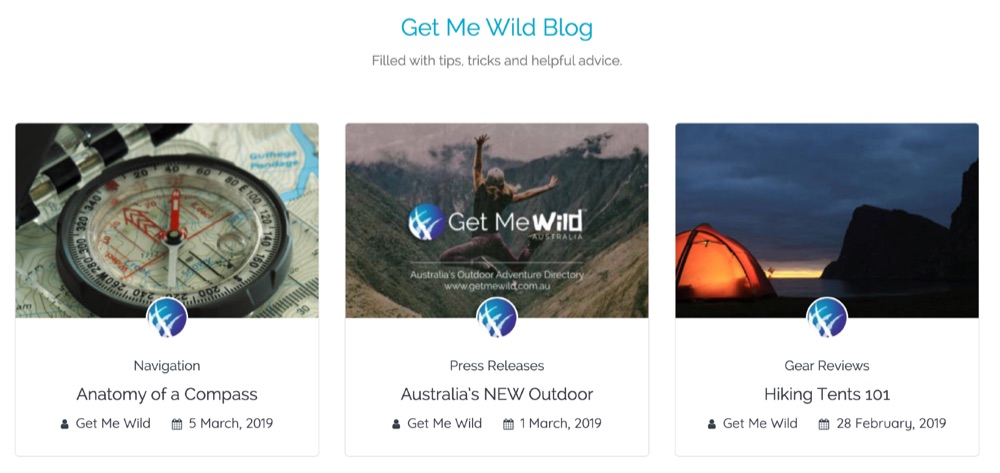
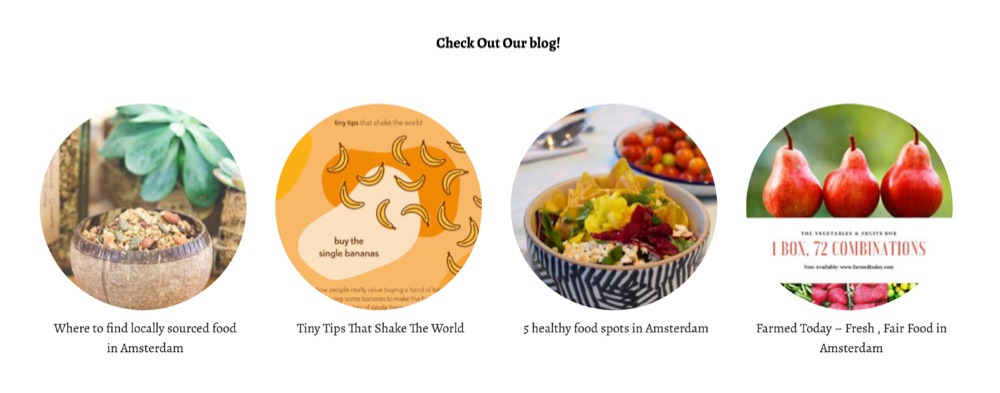
Style 1 – Blog Grids
Select Blog Category
All the categories that were added under Blog Posts > Categories will be listed here to choose from.
Select Number of Posts
Enter the number of post needs to be displayed.