For Elementor Page Builder Users
We are going to make the below sections with different page builder elements.
Section 01
Page builder Element: LPRO Stats Element
For this, we need the LPRO Stats Element
Please go to your WordPress admin dashboard. Edit your desired page with Elementor page builder and create a new section and then follow the below steps
Section setting
-
- Click on the Style tab and set these properties
-
-
- Background: Normal
- Background Type: Classic
- Color: #282D41
-
Step 1: Add LPRO Stats Element
-
- Set these details if you want this as like on the demo
-
-
- First Stat Number: 100
- First Stat Unit; YRS
- First Stat Details: Of matching people to attorneys
- Second Stat Number: 98
- Second Stat Unit; %
- Second Stat Details: Lawyers listed are verified
- Third Stat Number: 10
- Third Stat Unit; M
- Third Stat Details: Monthly visit our network
- Fourth Stat Number: 100
- Fourth Stat Unit; +
- Fourth Stat Details: Practice areas covered
-
______________________________________________________________________________________________________________________________________
Section 02
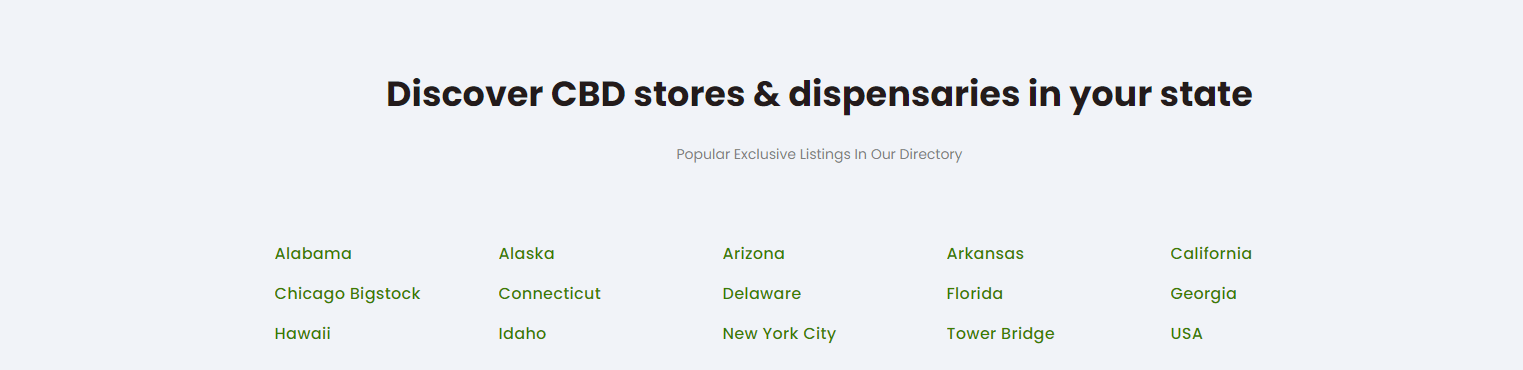
Section Title: Our Top Rated Lawyers
Page builder Element: LPRO Stats Element
For this, we need Heading + Text Editor and LPRO Listings Posts Elements
Step 1: Add Heading Element
-
- Change the text to Our Top Rated Lawyers
- Align: Center
- Go to the Style tab and change the text color to black
- Click on Typography and set these properties.
- Font Size: 22px
- Font weight: Bold
- Line height: 40
- Go to the Advanced tab and set the Margin Top: 100px
Step 2: Add Text Editor Element
-
- Change the text to Popular Exclusive Listings In Our Directory
- Go to the Style tab and align it to the Center
- Click on Typography and set these properties
-
-
- Font Family: Open Sans
- Font Size: 13px
- Line Height: 18px
- Letter Spacing: 2
-
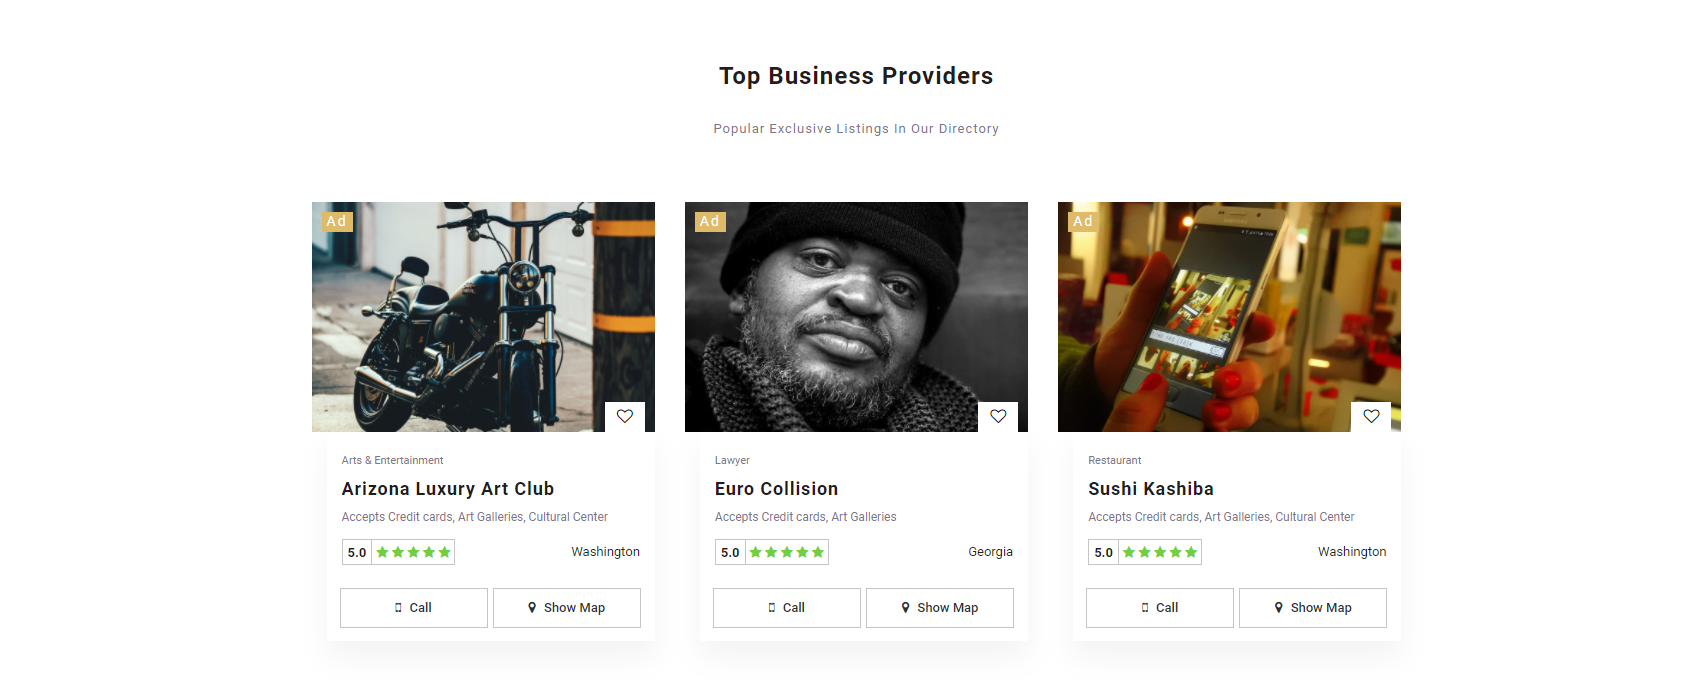
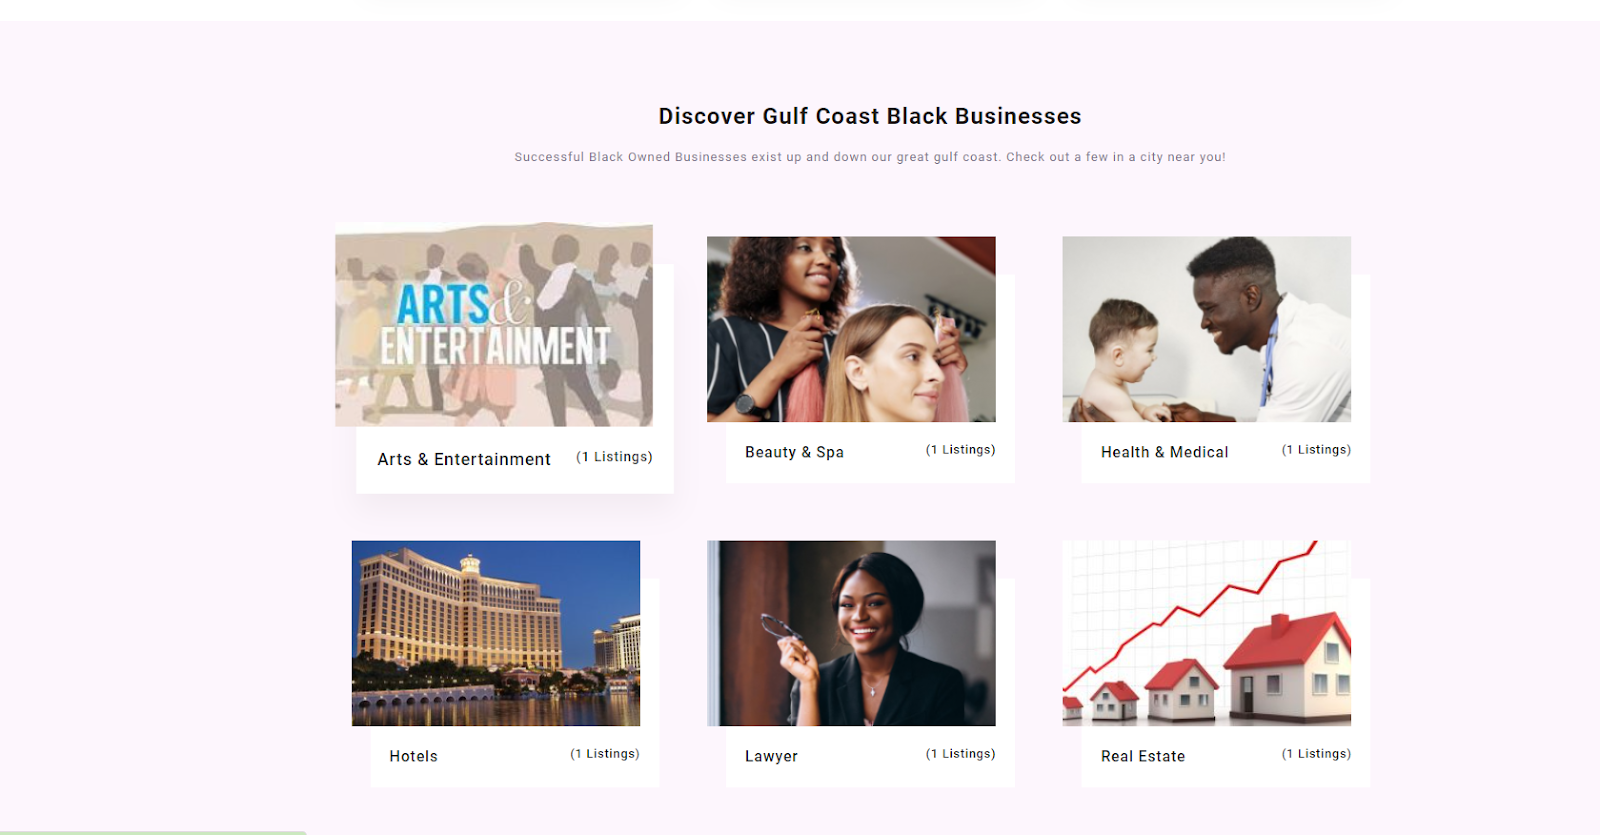
Step 3: Add LPRO Listings Posts Element
-
- Go to the Content tab and Listings to show 6 and select Ads listings
- Go to Advanced and Select the below properties
- Margin-Top: 50px
- Margin-Bottom: 70px
______________________________________________________________________________________________________________________________________
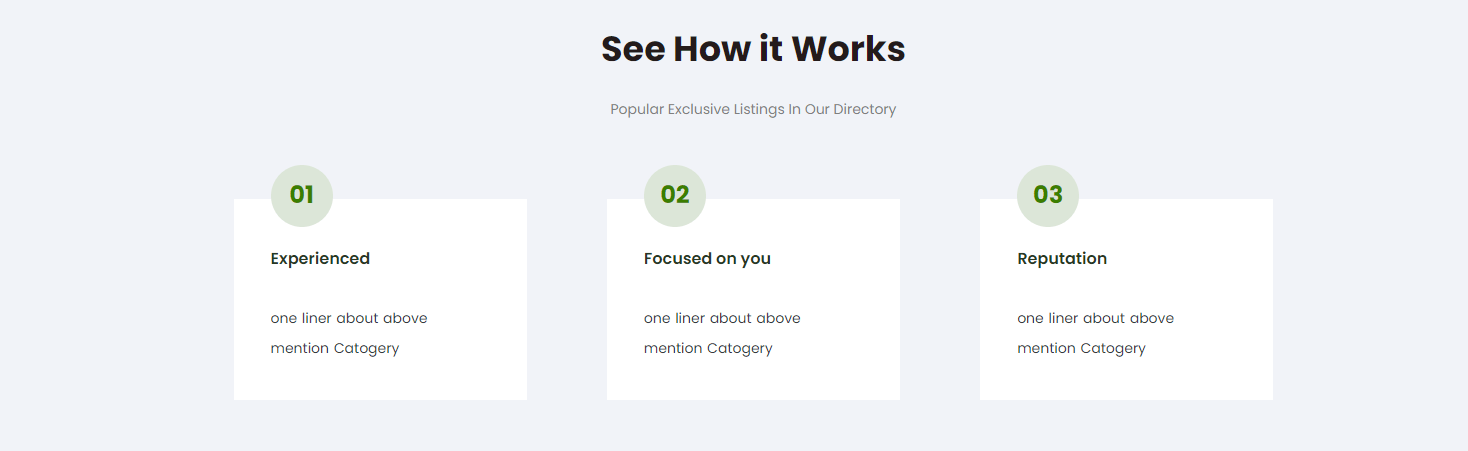
Section 03
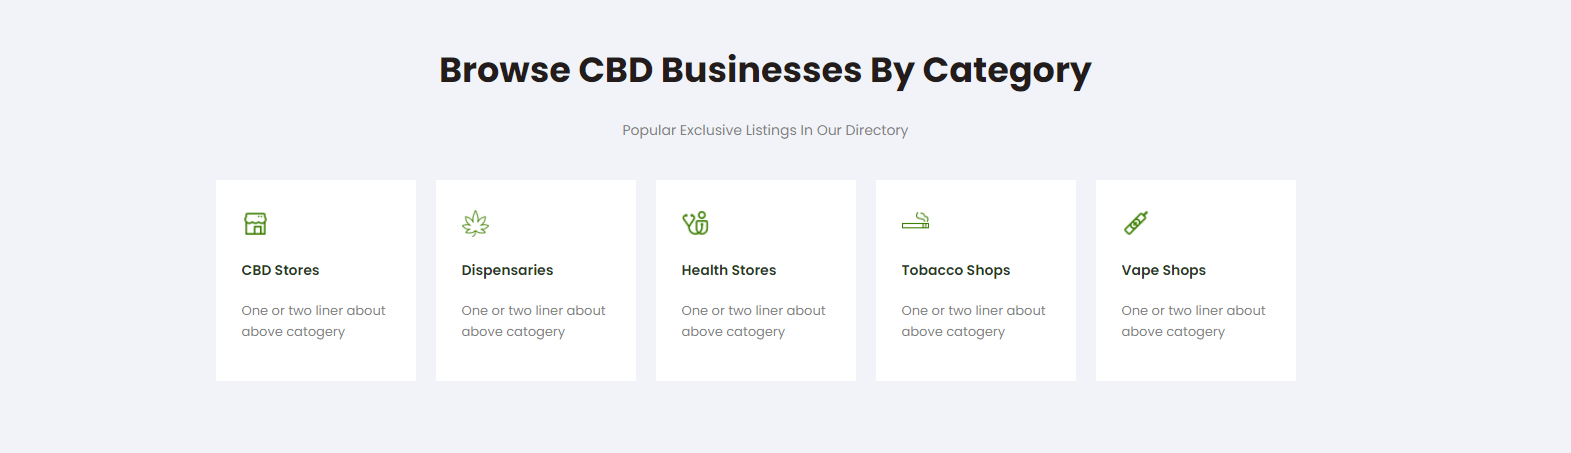
Section Title: How it Works
Page builder Element: LPRO Columns Element
For this, we need Heading + Text Editor and LPRO Columns Elements
Section setting
-
- Create a section and then edit the section
- Click on the Style tab and set these properties
- Background: Normal
- Background Type: Classic
- Color: #282D41
Step 1:: Add Heading Element
-
- Change the text to How it Works
- Align: Center
- Go to the Style tab and change the text color to white
- Click on Typography and set these properties.
- Font Size: 22px
- Font weight: Bold
- Line height: 40px
- Go to Advanced > Select the below properties
- Margin-Top: 100px
- Margin-Bottom: -10px
Step 2: Add Text Editor Element
-
- Change the text to It’s easy to find and book a lawyer and also to share your experience.
- Go to the Style tab and align it to the Center
- Click on Typography and set these properties
- Font Family: Open Sans
- Font Size: 13px
- Line Height: 18px
- Letter Spacing: 2
Step 3: Add LPRO Columns Element
-
- Add the search icon in the first columns
- Add the calendar icon in the second columns
- Add the star icon in the third columns
- Go to Advanced and Select the below properties
- Margin-Top: 50px
- Margin-Bottom: 100px
______________________________________________________________________________________________________________________________________
Section 04
Section Title: Browse Attorneys
Page builder Element: LPRO Listings taxonomies Element
For this, we need Heading + Text Editor and LPRO Listings taxonomies Elements
Step 1: Add Heading Element
-
- Change the text to Browse Attorneys
- Align: Center
- Go to the Style tab and change the text color to black
- Click on typography and set these properties.
- Font-family: Open Sans
- Font Size to 22px
- Font weight Bold
- Line height: 40
- Go to Advanced > Select the below properties
- Margin-Top: 100px
- Margin-Bottom: -10px
Step 2: Add Text Editor Element
-
- Change the text to It’s easy to find and book a lawyer and also to share your experience.
- Go to Style tab > and align it to center
- Click on Typography and set these properties
- Font Family: Open Sans
- Font Size: 13px
- Line Height: 18px
- Letter Spacing: 2
Step 3: Add LPRO Listings Taxonomies Element
-
- Select your desired Locations, Practice area, Legal topics, and Features.
- Go to Advanced and Select the below properties
- Margin-Top: 30px
- Margin-Bottom: 100px
__________________________________________________________________________________________________________________________
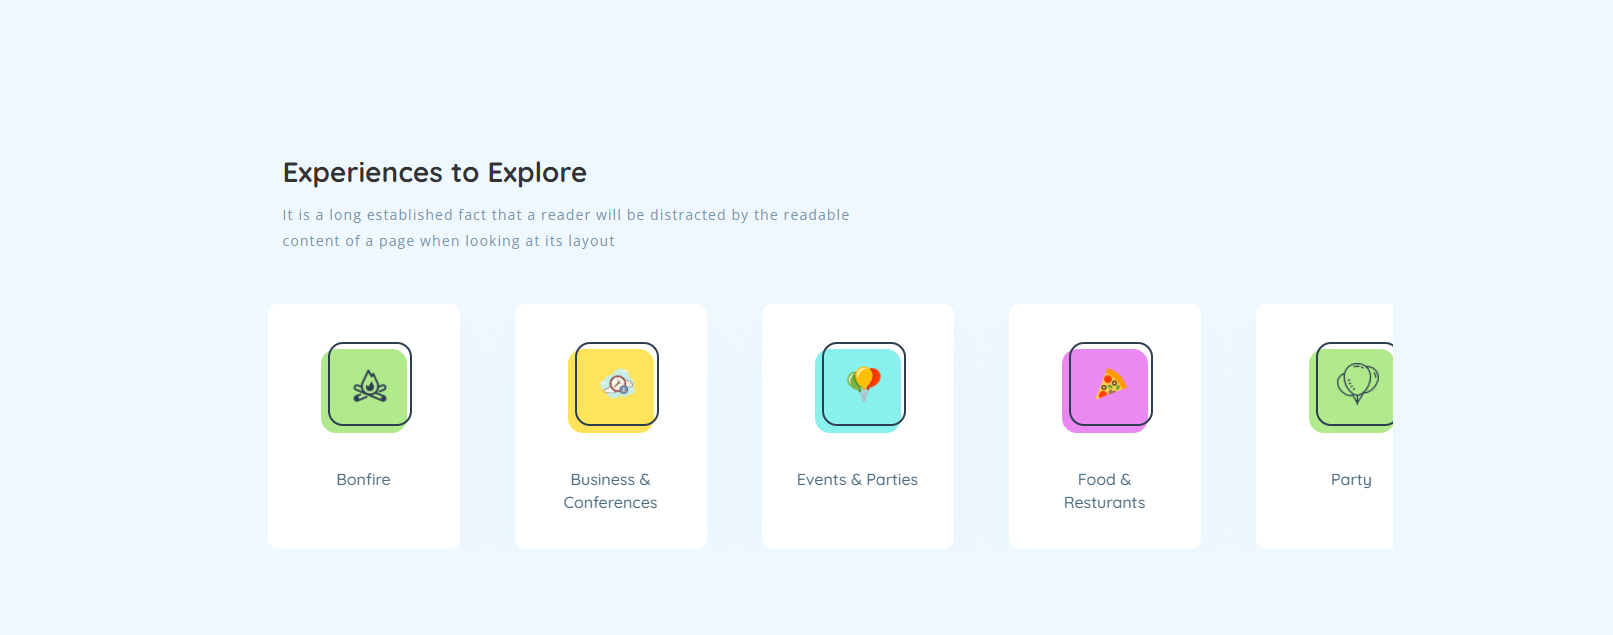
Section 05
Page builder Element: LPRO Activities Element
For this, we need the LPRO Activities Element
Section Setting:
-
- Create a section and then edit the section
- Click on the Style tab > and set these properties
- Background: Normal
- Background Type: Classic
- Image: Blue ( Available in the Media)
Step 1: Add LPRO Activities Element
-
- Go to the Content tab > Check the section title and sub-title
- Activities: 9 Activities
__________________________________________________________________________________________________________________________
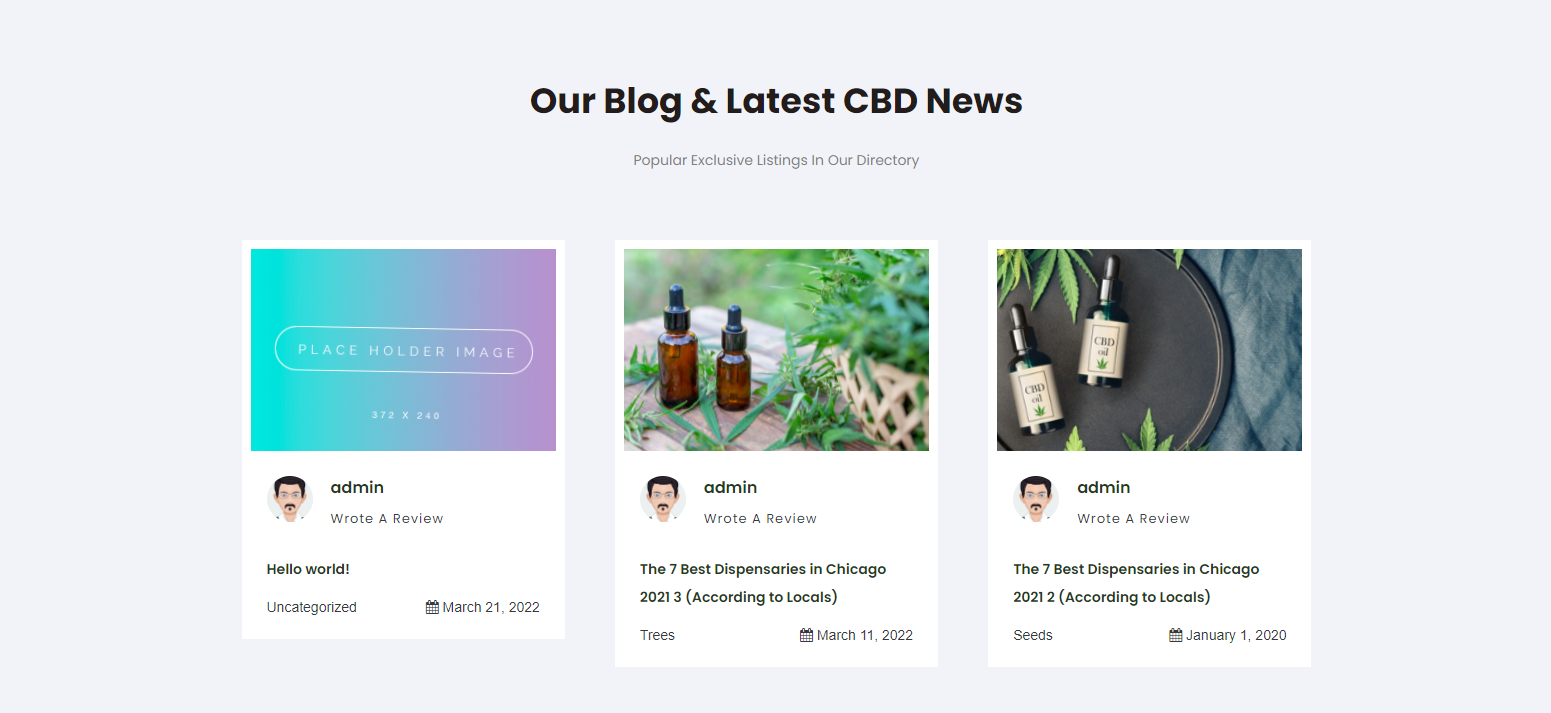
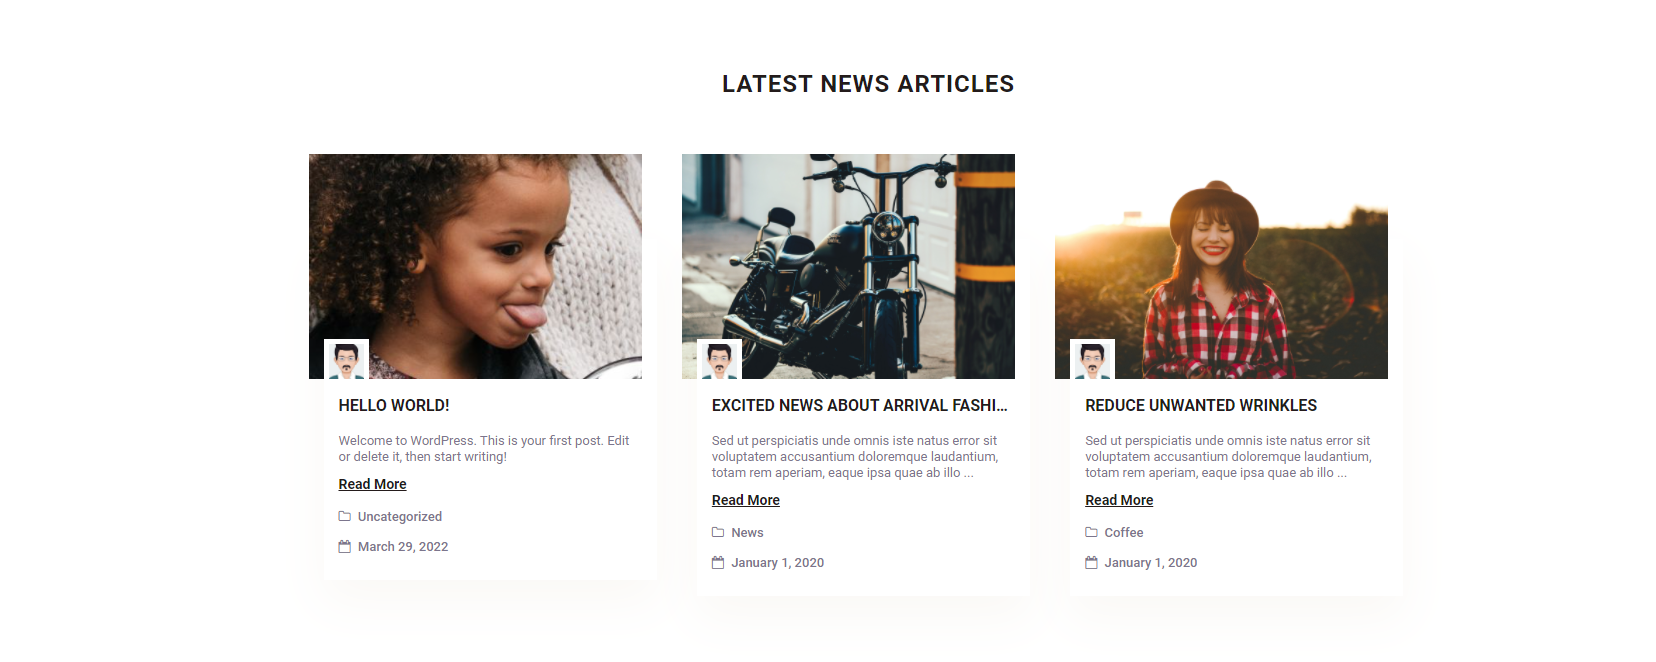
Section 06
Section Title: From Our Blogs
Page builder Element: LPRO Blog Posts
For this, we need Heading + Text Editor and LPRO Blog Posts Elements
Step 1: Add Heading Element
-
- Change the text to From Our Blogs
- Align: Center
- Go to the Style tab and change the text color to black
- Click on Typography and set these properties.
- Font-family: Open Sans
- Font Size: 22px
- Font weight: Bold
- Line height: 40
- Go to Advanced and Select the below properties
- Margin-Top: 100px
- Margin-Bottom: -10px
Step 2: Add Text Editor Element
-
- Change the text to See Services In These Cities
- Go to the Style tab and align it to center
- Text-color: #7A7A7A
- Click on Typography and set these properties
- Font Family: Open Sans
- Font Size: 13px
- Line Height: 18px
- Letter Spacing: 2
Step 3: Add LPRO Blog Posts
-
- Go to Advanced and Select the below properties
- Margin-Top: 50px
- Margin-Bottom: 70px
- Go to Advanced and Select the below properties
__________________________________________________________________________________________________________________________
Section 06
Section Title: Featured in
Page builder Element: LPRO Partners Element
For this, we need Heading and LPRO Partners Elements
Section setting
-
- Create a section and then edit the section
- Click on the Style tab > and set these properties
- Background: Normal
- Background Type: Classic
- Color: #282D41
Step 1: Add Heading Element
-
- Change the text to Featured in
- Align: Center
- Go to the Style tab and change the text color to white
- Click on Typography and set these properties.
- Font-family: Open Sans
- Font Size to 22px
- Font weight Bold
- Line height: 40
- Go to Advanced > and add Margin Top: 20px
Step 2: Add LPRO Partners Element
-
- Add your Partners logo
- Copy the repeated field and add your logos
- Also, you can add dummy logos from your media.
- Go to Advanced > Select the below properties
- Margin-Top: 15px
- Margin-Bottom: 30px
__________________________________________________________________________________________________________________________
Congratulations!
You have created your LawyersPro demo with Elementor successfully