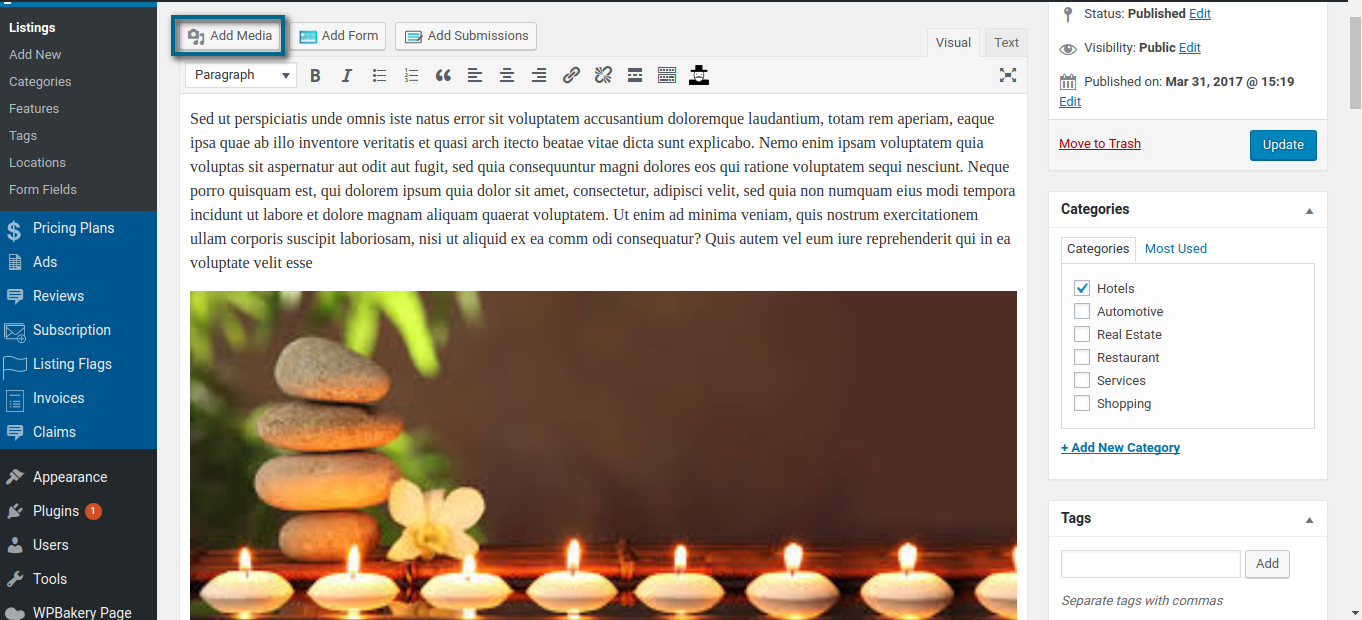
LisitngPro back end and front end ’’Description’’ box supports HTML tags. So admin can add images from the back end and users can add images by entering ’’img’’ HTML tag inside of the description box from the front end.
Let’s start the example using our admin account. Let’s head to our WordPress Dashboard > Listings > and click on the Listing that we’re going to update the image into the Description.
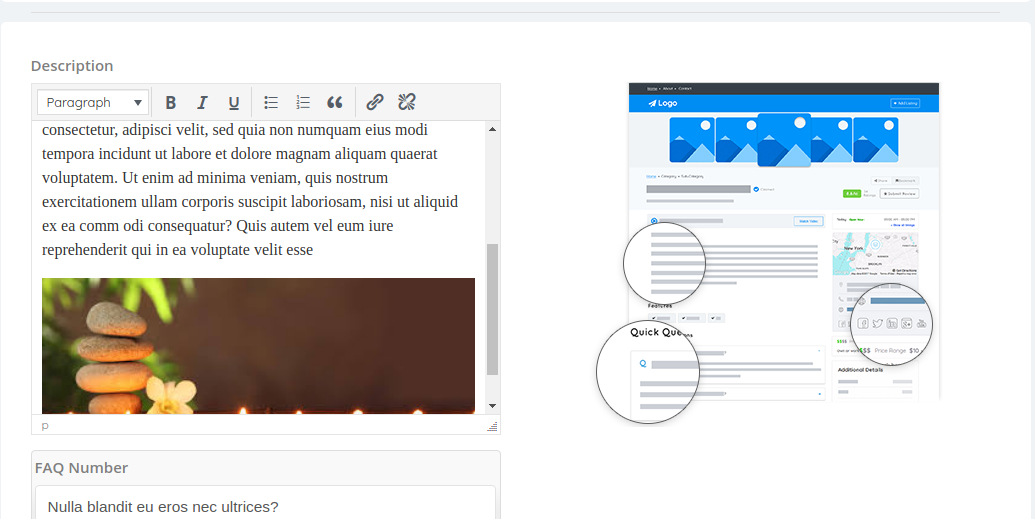
We can simply upload the image and you can see the result instantaneously. Now, let’s head over to our User Dashboard > My Listings > Edit
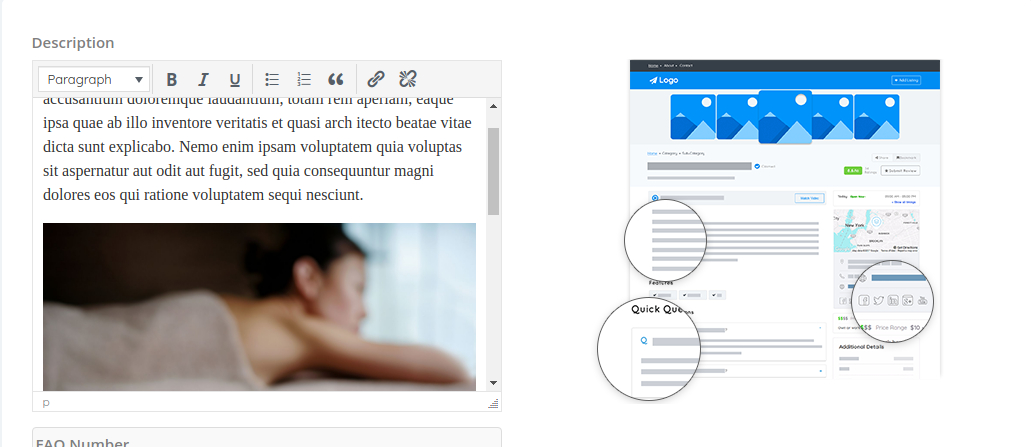
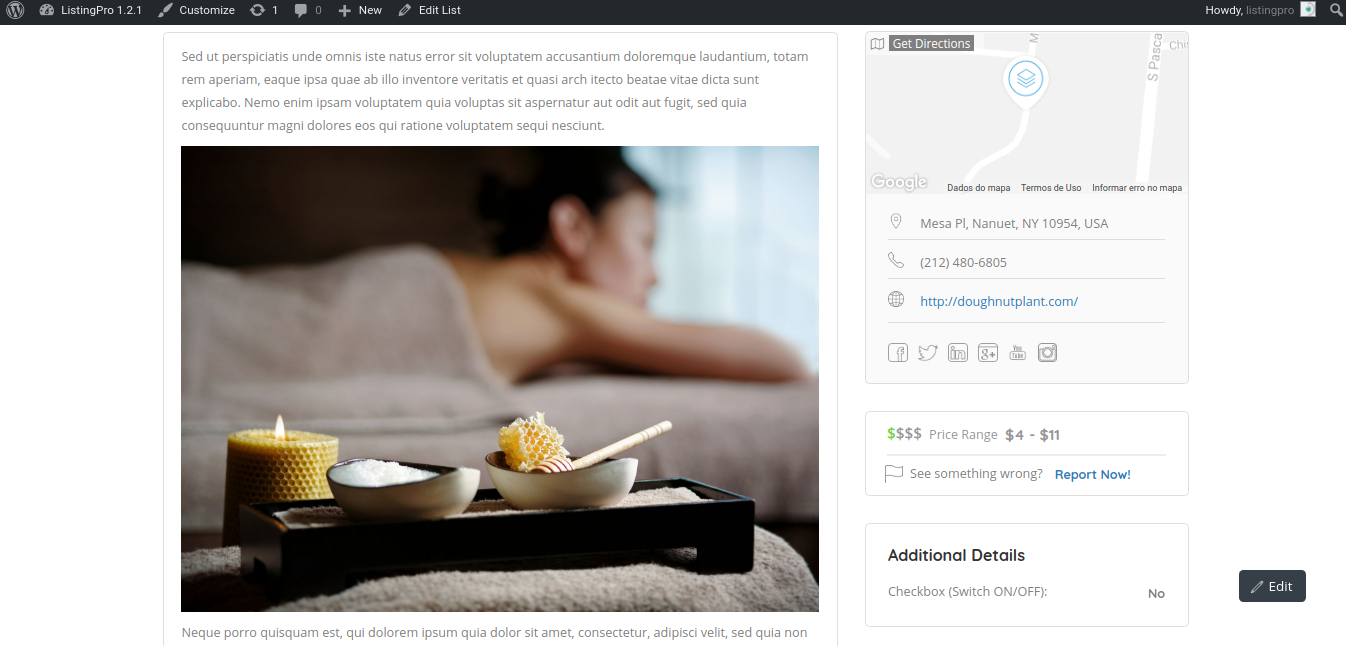
As we can see, our listing is working pretty well with our pre-defined image added from the back-end. Now, to add an image, simply copy the image link and paste it, where you can be added. Let’s add a new image to the center of the Description.
Before trying to submit your image address, you can check if the image can be imported by using Codepen
In case if you feel any difficulty manipulating HTML tags, you can learn more at htmlcheatsheet