This article contains everything you must know about the pricing plan feature and it’s broken down into the following topics.
- What are the Pricing Plans
- How to create a Pricing Plan
- How to choose different Pricing Plans styles
- How can a user change the Pricing Plan
- How can an admin change a Pricing Plan
- How to enable recurring (subscription) payments
- How to create the category-based pricing plans
- How to create monthly and annual pricing plans
- How to create a discount coupon for pricing plans
1. What are the Pricing Plans
Pricing Plans is one of the core directory features which allows directory admins to monetize by charging business owners a one-time fee or a recurring fee. It also allows the Free Plan option for a limited time or unlimited time. As an admin, you can let a Free pricing plan expire which will automatically unpublish a listing and a user will need to pay and upgrade to a premium plan in order for the listing to be published.
2. How to create a Pricing Plan
1 – Enable Pricing Plan Option
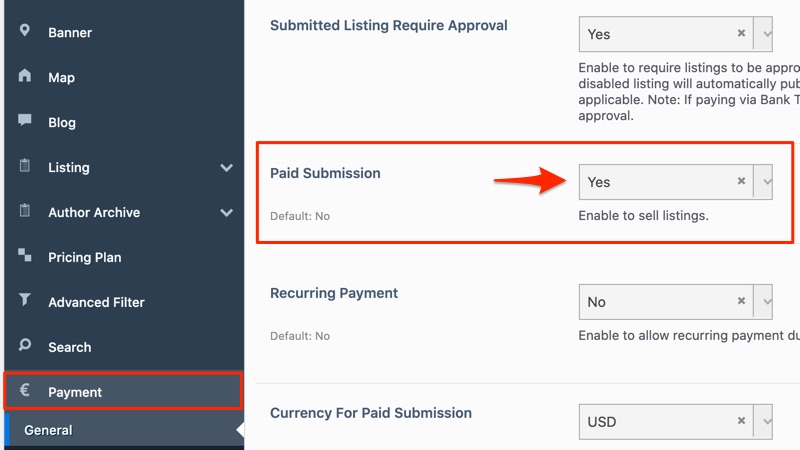
Before you create a plan you need to first enable the pricing plan option under Themes Options.
Go to Theme Options > Payment > General and next to Paid Submission select YES from drop-down and Save.
2 – Add a New Pricing Plan
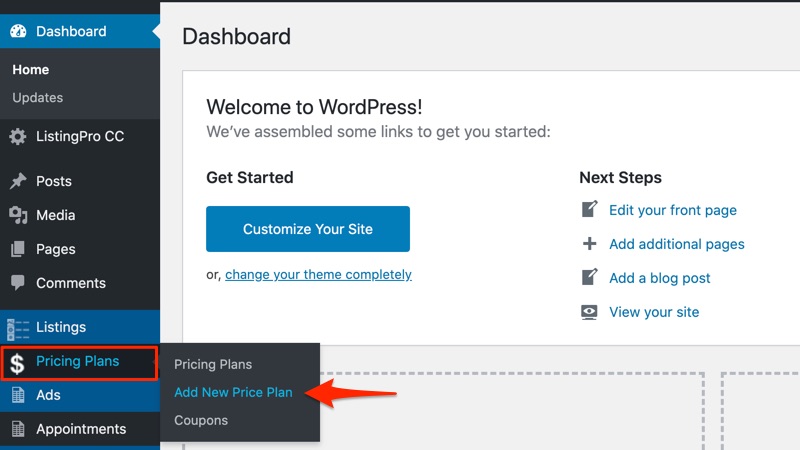
Go to WordPress Admin and from left click Add New Price Plans under Pricing Plans.
Title: Give a suitable title (example: Free, Premium, or Professional)
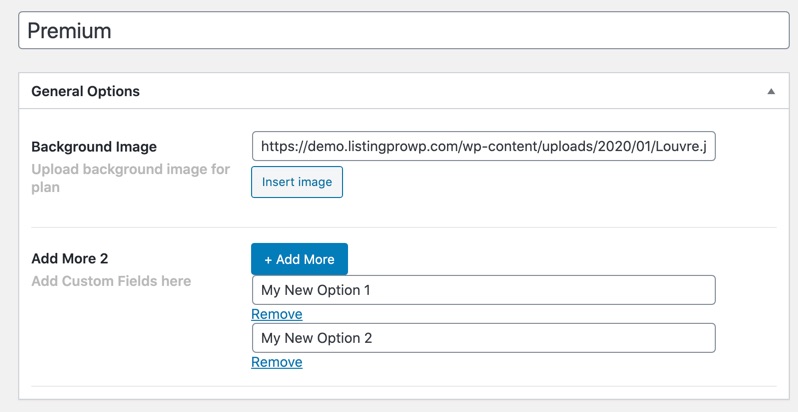
General Options
Background Image: Only available for styles Vertical View 1, 2, 3 and Horizontal View 1)
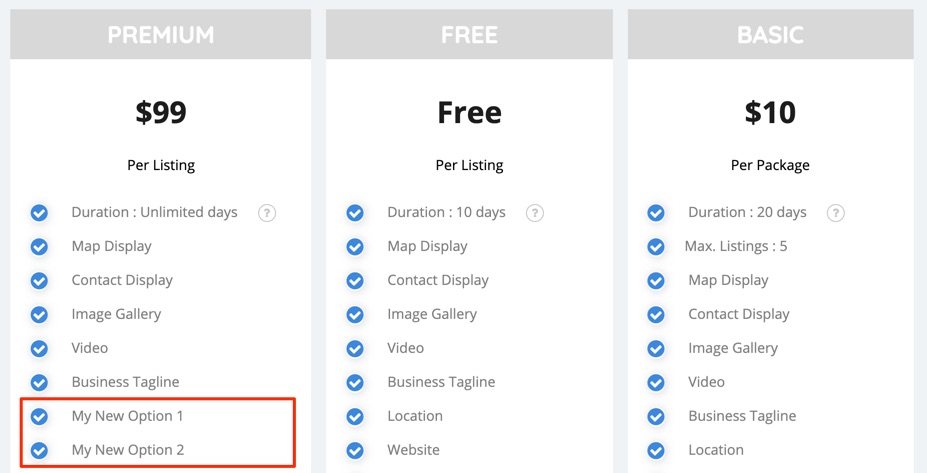
Add More: Add as many custom fields you want to display in a Pricing Plan (example: My New Option 1). They will all be added towards the end of the list of options.
Enable/Disable Listing Fields By Plan
In almost all cases when creating pricing plans you will have to make sure that each pricing plan is unique. For example, if a Free Pricing plan only allows basic contact information to be submitted by a user then the Premium Pricing Plan offers advanced features like Booking or Events and so on.
As an admin, you will have full control in defining each plan to suit your business directory need.

Full list of all the features you can control from Pricing Plan
- Contact Information (This is only for Phone#)
- Google Map (Also for Open Maps)
- Video
- Gallery (Not for Featured Image or Business Logo)
- Tagline
- Location (For City or Region added by admin or Google Locations)
- Website
- Appointments
- Lead Form
- Social Media links
- FAQs list
- Price Range
- Tags or Keywords
- Business Hours
- Reserva Booking
- Timekit Booking
- Menu
- Announcement
- Deals, Offers, Discounts
- Competitor campaigns on Listing Detail Page
- Events in listings
- Hide Google Ads
Package Type
There are two types of Pricing Plans.
a. PAY PER LISTINGS
If you select Pay Per Listing when creating a pricing plan then during listing submission a user (example: Listing owner) will only pay for ONE single listing and can create ONE listing.

b. PACKAGE (Credits)
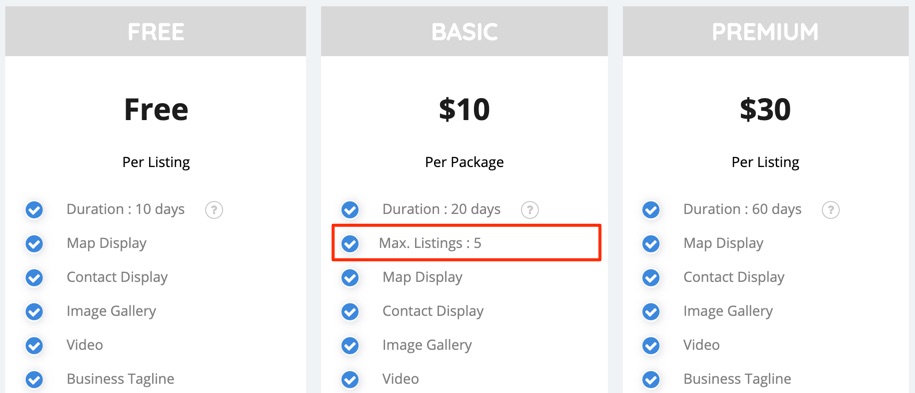
If you select Package when creating a pricing plan then during listing submission a user (example: Listing owner) will pay for multiple credits. The limit is set by an admin (example: 5 listings per pricing plan). Users can add new listings until they run out of credits.

How does it show the number of credits in a package?
The credit (example: 5) set by an admin is shown in the pricing plan during the front-end listing submission process, as shown in the figure below.)
Descriptions
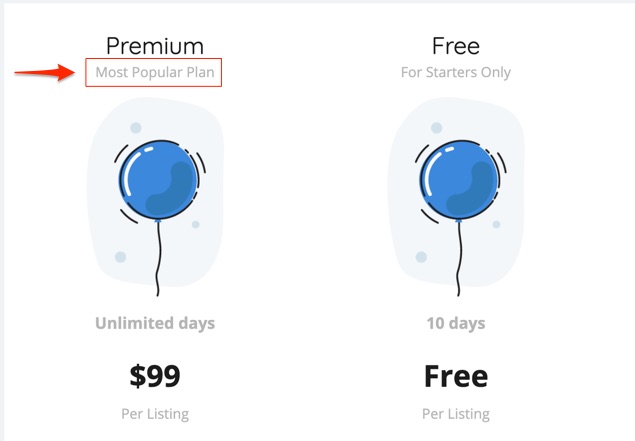
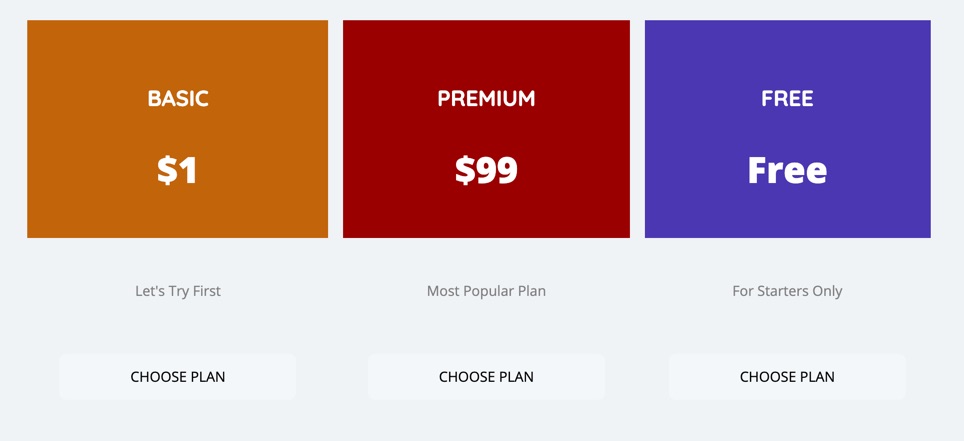
This short description option only works with a few pricing plan styles (Vertical View 2 and 3).
Background Color
The background color option only works with a few pricing plan styles (Vertical View 1, 3, and Horizontal View 1).
Set Image Gallery Limit
As an admin decide what should be the images upload limit. There is an option for both the number of images and the size of each image. In the below example the user can only upload up to 5 images and each image must be 1 MB maximum.

Set Price
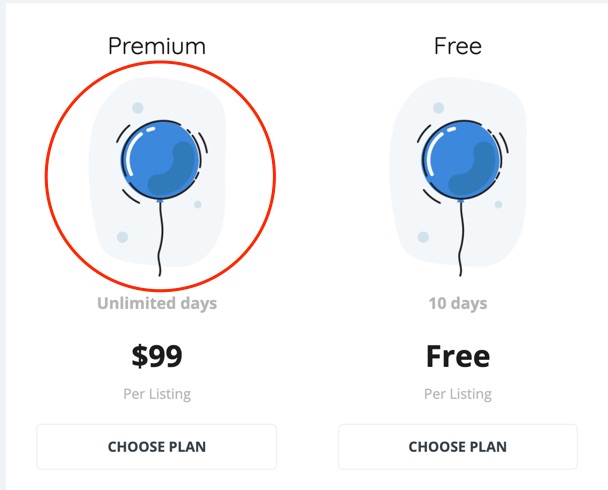
The plan can be either a FREE or a PAID plan. If it’s free then skip and leave it blank. If it’s a paid plan then enter a number (example: 99) and do not include any currency symbol.
Set Duration
Set the value in the number of Days Only.
Examples:
7 = 1 Week
30 = 1 Month
365 = 1 Year
Allow continuing Free Plan after it expires
Check if you want users to continue with a FREE plan after the Free plan expires. Once their plan expires they can go to their dashboard and select Change Plan and select the FREE plan from the list.
Set it as Hot Plan
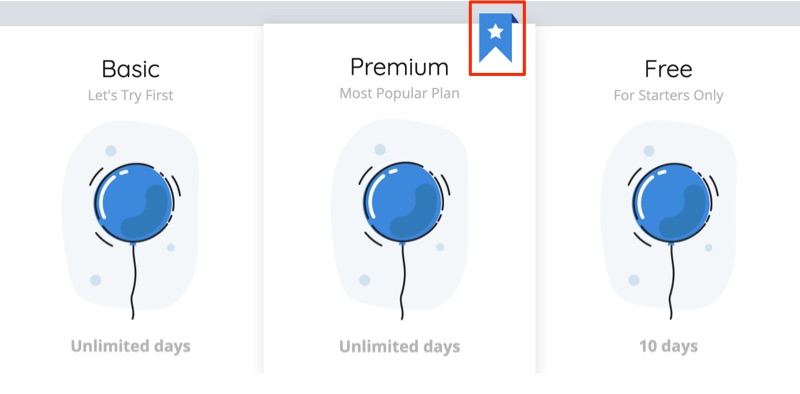
If you enable this option a text or icon banner will be added to the plan to highlight the plan.
3. How to choose different Pricing Plan styles
To choose Pricing Plan styles, go to the pricing plan page and edit the page with a Page Builder (Elementor or WPBakery) and select various different available styles.
1. ELEMENTOR PAGE BUILDER
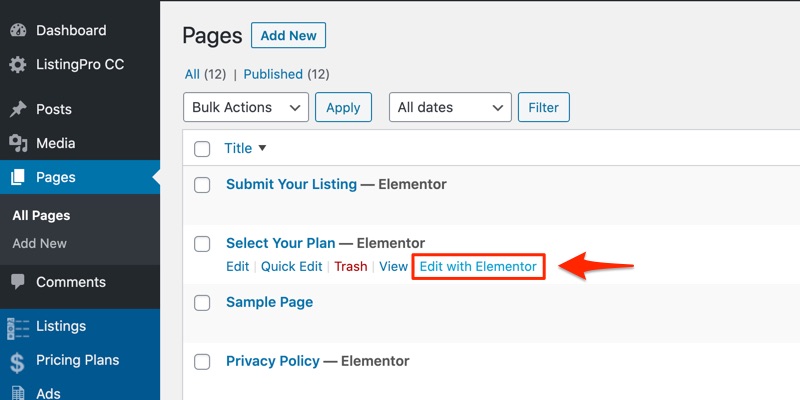
Go to the WordPress backend > Pages and click Edit with Elementor (or Edit with WPBakery)
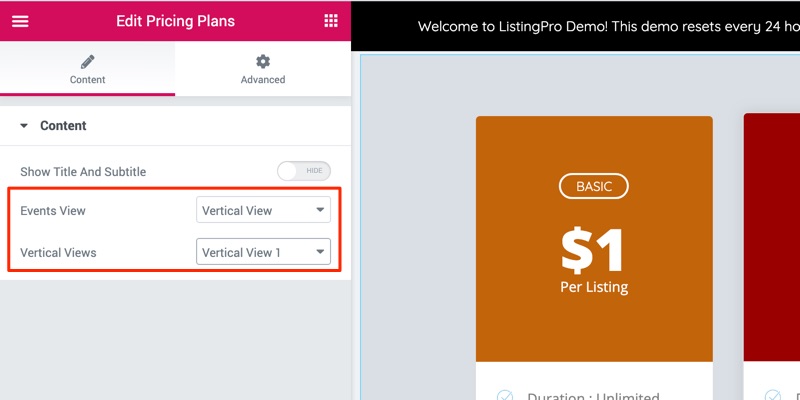
Select the pricing plan element on the page, then choose an orientation (vertical or horizontal) and a style.
WPBAKERY PAGE BUILDER
STEP 1: Login to WordPress admin dashboard.
STEP 2: Go to Pages > Select Your Plan page.
STEP 3: Find WP Bakery element called Pricing Plans and click Edit icon as shown below.
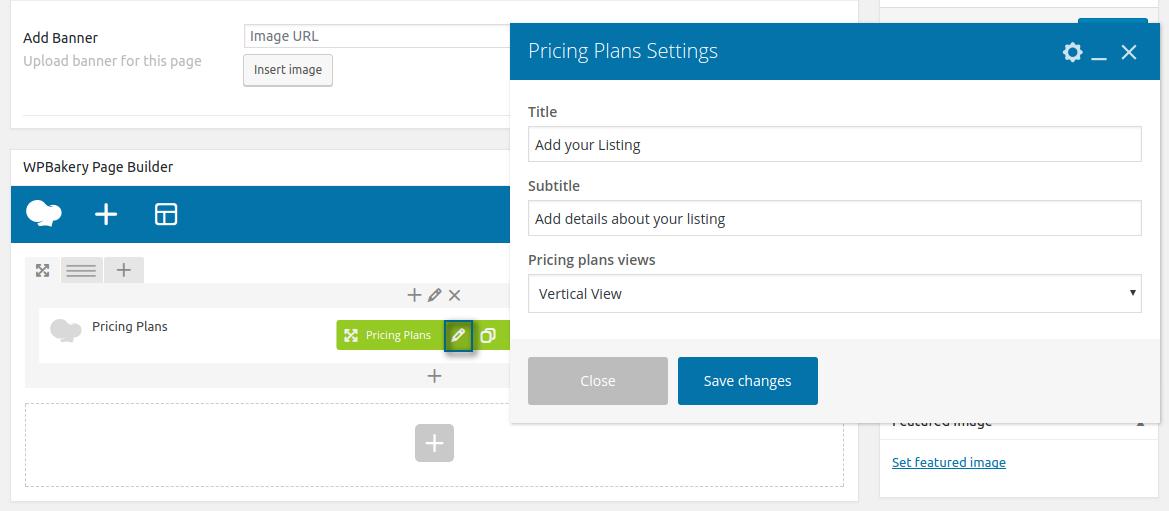
STEP 4: Select a Pricing Plans style.

STEP 5: Click Save Changes
STEP 6: Click Update
4. How can a user change the Pricing Plan
Suppose you have two pricing plans, one is Plan A ($10) and the other is Plan B ($30). If a user wants to change and upgrade their plan from $10 to $30 to avail more features, the user must follow these instructions:
STEP 1: Go to frontend user dashboard > Listings, and select Change Plan
STEP 2: To change the plan click Proceed Here
5. How can an admin change a Pricing Plan
This needs to be done from the backend. But when adding or editing a listing from backend you won’t have an option to select a pricing plan. The good news is that the option is there but it’s hidden so only who needs it and understands the consequences of changing this setting must enable it.
STEP 1: Go to wp-content\themes\listingpro\assets\css\admin-style.css
STEP 2: Scroll down to line 765
STEP 3: Hide or remove the following CSS.
tr#Plan_id {display:none}
To temporarily enable this feature simply add /* before and */ at the end. See below for example.
/* tr#Plan_id {display:none} */
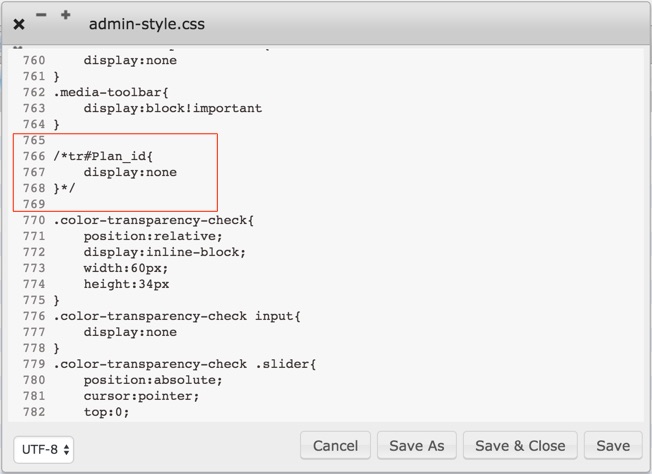
STEP 4: Go to any listing and verify the Pricing Plans option is available.
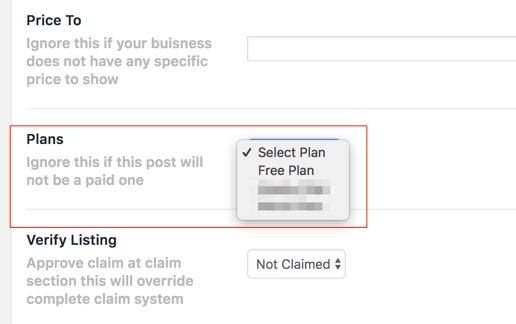
STEP 5: Select an appropriate plan and Save.
6. How to enable recurring (subscription) payments
To enable & manage recurring billing based subscription in ListingPro please follow the below steps:
- FOR ADMIN: Enabling Recurring Billing
- FOR ADMIN: Listing Subscription Management
- FOR LISTING OWNER: Listing Subscription Management
FOR ADMIN: Enabling Recurring Billing
Before enabling recurring option you have to create a paid pricing plan.
STEP 1: Go to Dashboard > Pricing Plans > Add New Price Plan

STEP 2: Create a new price plan and choose Select Package Type > Pay Per Listing while creating the price plan.
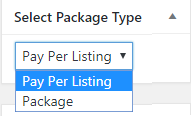
STEP 3: Make sure the Price and Duration are set correctly.
Setting a Price
The plan cannot be a FREE, it must be a PAID plan. Enter a number (example: 99) and do not include any currency symbol.
Setting a Duration
Set the value in the number of Days Only.
Examples:
7 = 1 Week
30 = 1 Month
90 = 3 Months
365 = 1 Year
STEP 4: Complete rest of the options and click Publish
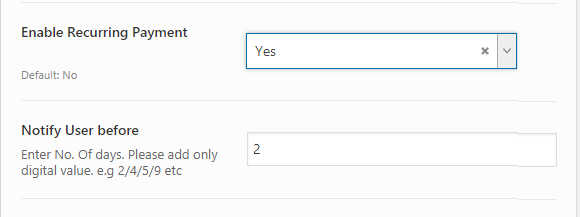
STEP 5: Now enable recurring option from Theme Options > Payment Settings > General > Enable Recurring Payment > Yes
STEP 6: Enter the number of days inside of the Notify User Before box. The user will be notified of every recurring billing amount before being charged prior to the number of days.
STEP 7: Go to Theme Options > Payment Settings > Stripe Settings and enable stripe as Live mode. Insert Stripe Live Secret Key and Live Publishable Key.
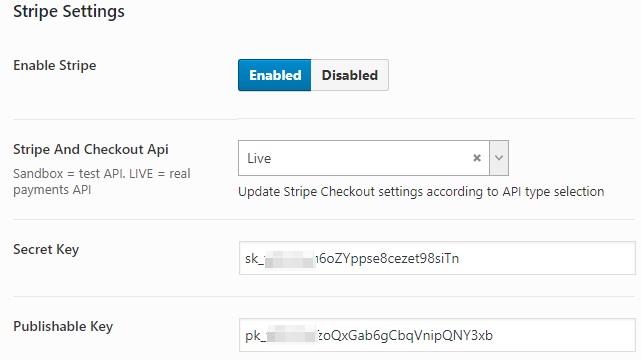
To generate the Stripe API Key please check the following article: How to Generate Stripe API Keys

FOR ADMIN: Listing Subscriptions Management
When a user will use Stripe payment method with the recurring option and processes the transaction successfully, a generated invoice will be sent to the user’s email. Transaction details will be available on the backend Subscriptions page. Admin can manage subscriptions from there.
![]()
FOR USER: Listing Subscriptions Management
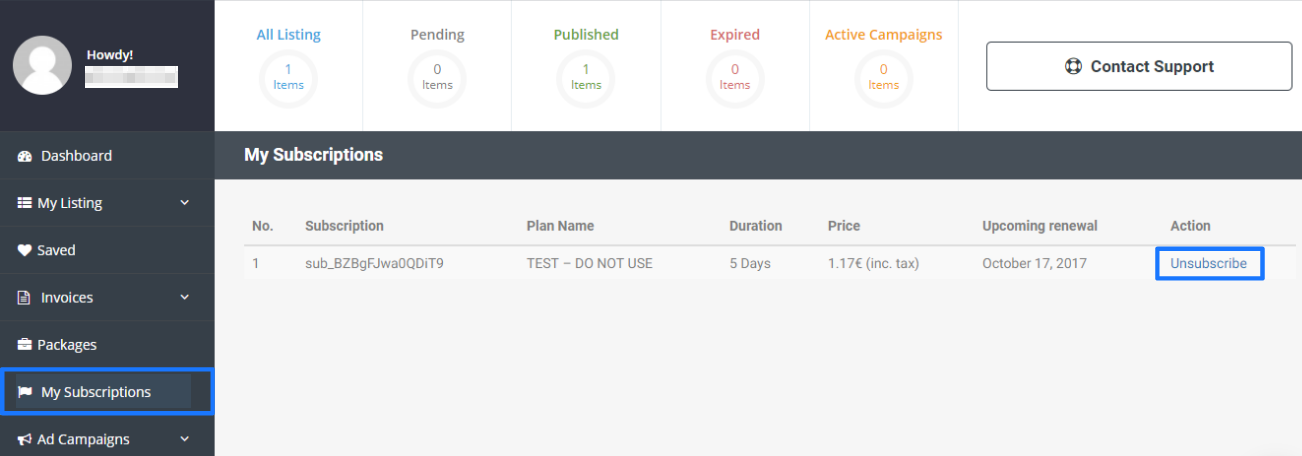
If a user has a subscription, it will be shown on the user dashboard under the “My Subscriptions” tab. There will be available a list of all active subscriptions running by the user. A customer can stop subscriptions from their dashboard. Admin has also the power to cancel subscriptions of any user at any time through the admin panel.
To manage subscriptions:
STEP 1: Go to frontend user Dashboard > My Subscriptions
STEP 2: Refer to the Action column and click Unsubscribe.
How to create the category-based pricing plans
Category based pricing plans give a lot more control over how to monetize by charging a single category or a group of categories at a different price than the rest. It basically breaks it into Standard and Exclusive plans.
Activation
Go to Theme Options > Pricing Plan and enable Category Specific Plans feature.

Configuration
Add or edit a pricing plan and now a new option called Plan Usage will be available with General as the default settings. From the drop-down menu select By Category

Select one or multiple categories and Save.

Verifying
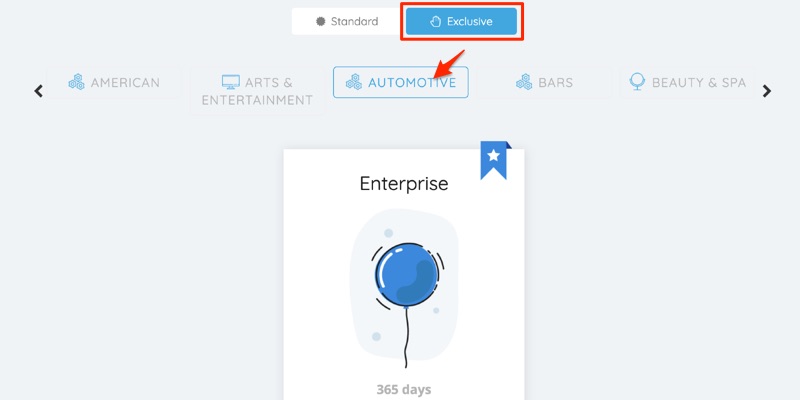
Go to the pricing plan page. An option to switch between all Standard Plans and Exclusive Plans will be now available.
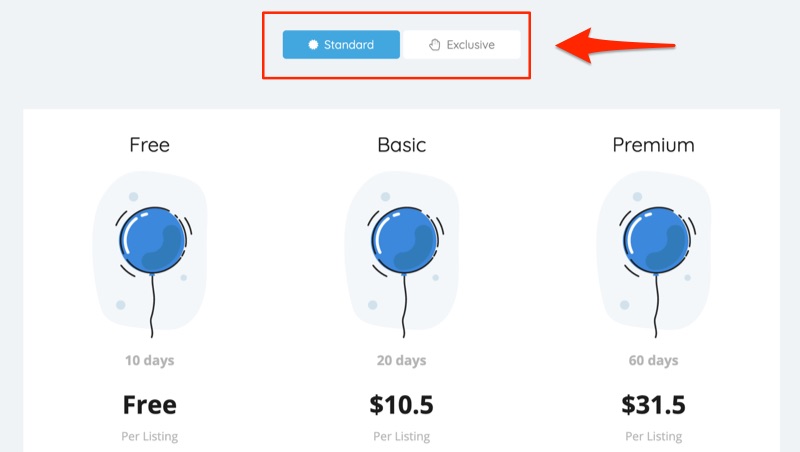
Switch to Exclusive tab and select a category (example: Automotive) to only show the plans associated with that category.
How to create monthly and annual pricing plans
By offering monthly and annual pricing plans you increase chances of conversion by offering them a discount on annual pricing plan which helps with customers retention.
Activation
Go to Theme Options > Pricing Plan and enable Monthly & Annual Based Price Plans feature.

Configuration
Now a new option called Duration Type will be available with the following options from the drop-down: Default, Monthly, and Yearly.
You will have to create two plans with the same name for example Startup but for one of the plans add an asterisk to differentiate. For example, the Monthly plan will be Startup and the Annual plan will by Startup* (with asterisk) to avoid any confusion.
From the drop-down menu select Monthly or Yearly.

Give a price to monthly and annual plans. It’s recommended to give a discount on the annual plan. For example if monthly pricing plan is $10 then the annual pricing plan should be $100 and not $120. This is just a suggestion you can set the price as you wish.
Now Save.
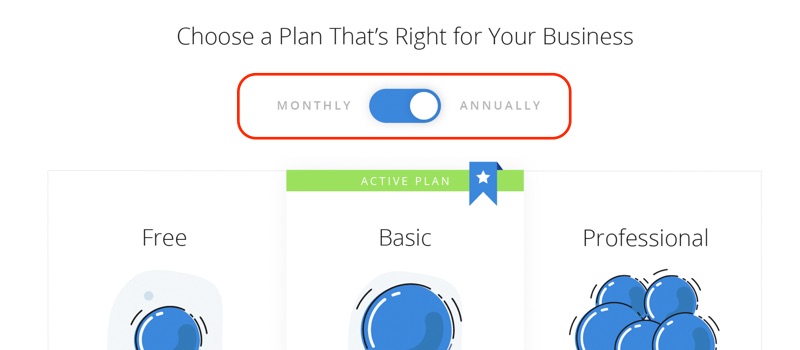
Test by adding a new plan and you will see the monthly and annual switch.
How to create a discount coupon for pricing plans
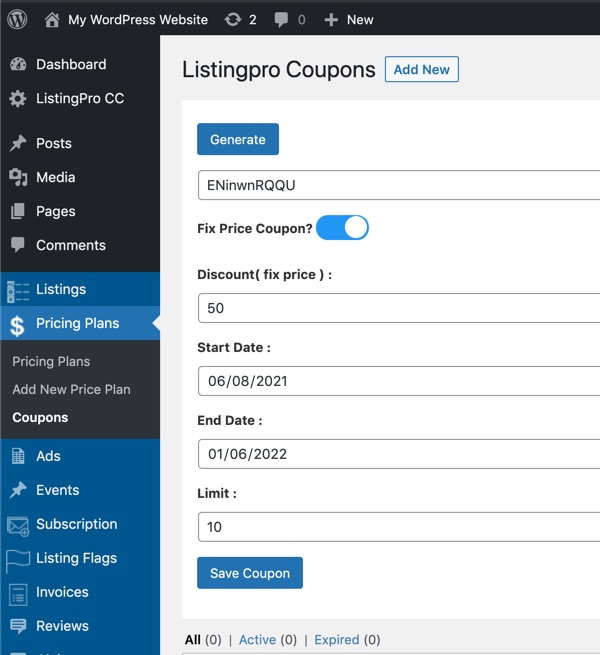
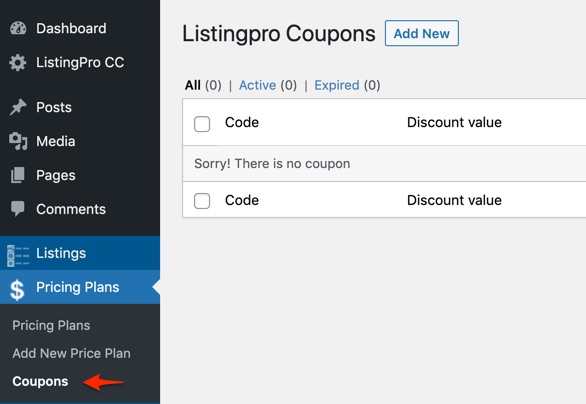
Go to WordPress admin > Pricing Plans > Coupons
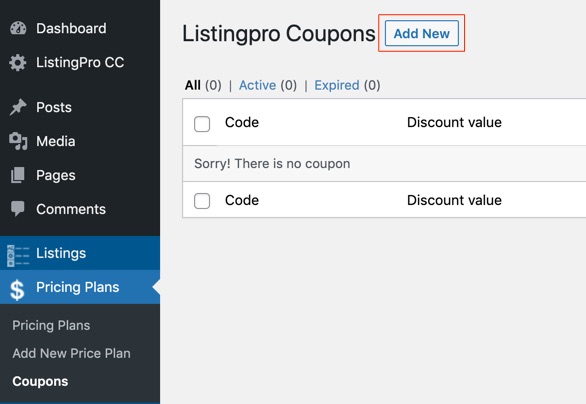
Click Add New
Fill the form and hit the Save Coupon button
