The following topics are covered in this knowledge base article.
- Set the HOME page
- Set the Permalinks
- Set page URLs in Theme Options
PART 1. Set the HOME page
STEP 1: Go to Settings > Reading
STEP 2: Select Home from Frontpage drop-down.
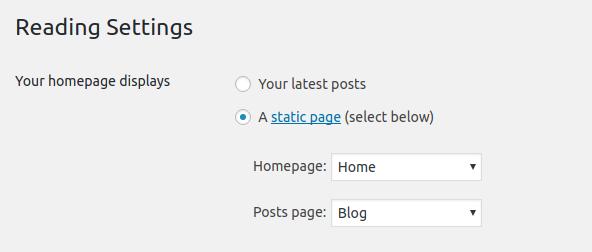
STEP 3: Click Save Changes
PART 2. Set the Permalinks
STEP 1: Go to Settings > Permalinks
STEP 2: Select Post name
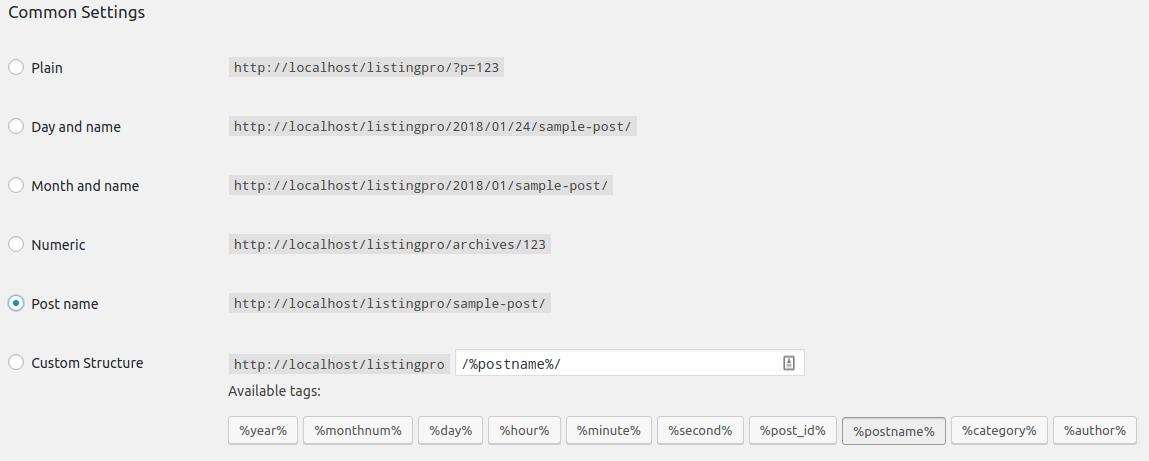
STEP 3: Click Save Changes
PART 3. Set page URLs in Theme Options
For new users who have recently installed ListingPro, there are some settings that need to take into consideration to avoid any 404 errors or blank images with shortcodes.
STEP 1: Go to the Theme Options > URL Config and check the following details
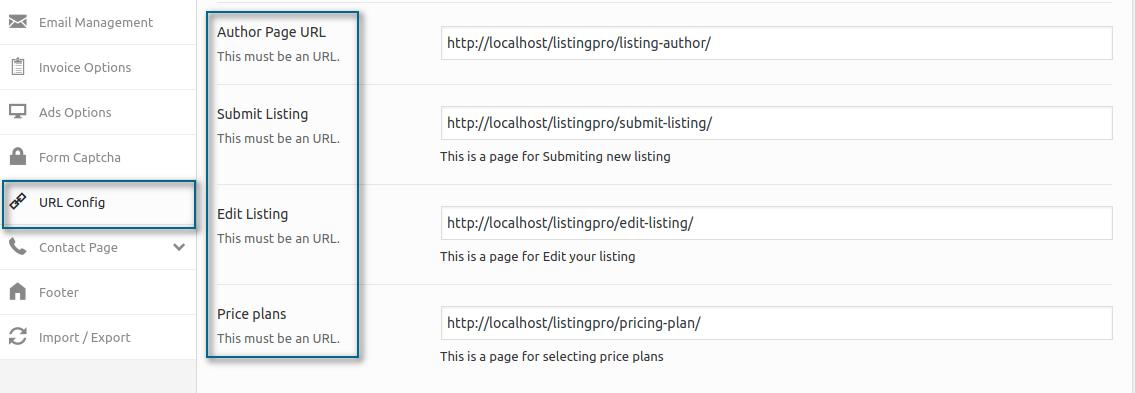
Add the corresponded URLs in this settings, to avoid 404 errors while clicking on these pages, Author Dashboard, Submit Listing, Edit Listing, and Price Plans.
STEP 2: While using the Price plans, make sure that the settings are also configured, Go to Theme Options > Payment Settings > General and check the following details
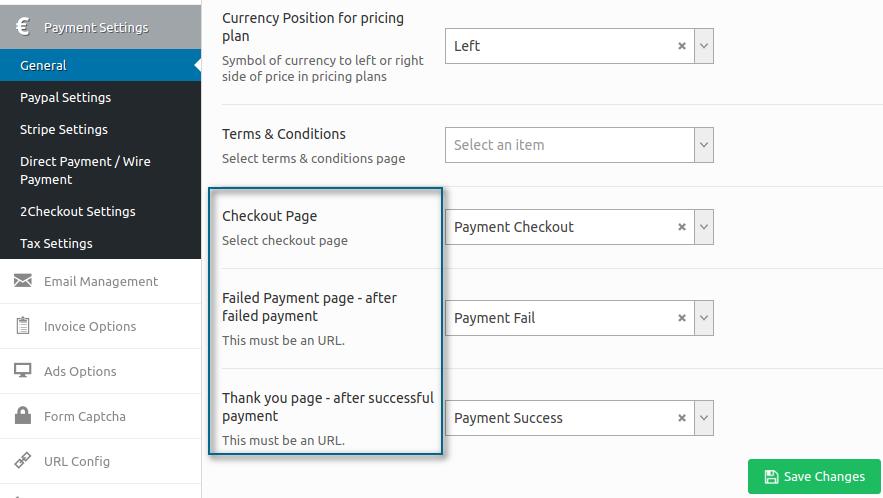
Including these pages from the drop-down, you won’t face any more issues with blank pages showing only a shortcode. Simply add the Payment Checkout, Payment Fail, and Payment Success into the next section.
STEP 3: If you’re facing issues on the homepage, more specifically at the +Add Listing button, simply go to the Theme Options > Payment Settings > General and check the following details
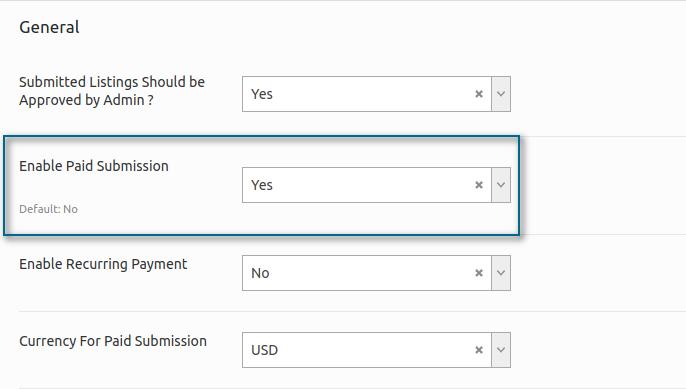
Set the Paid Submission to YES instead of the Default NO. This way, users will be redirected to the Price Plans before submitting a listing into the Directory. If you define this option as NO, users will be able to add listings without any restriction for free.