The previous article about the Blog Sidebar doesn’t differ that much regarding the Sidebar for Listings.
Let’s get into detail by first going to Theme Options > Listing Settings > Listing Detail Page Layout Manager
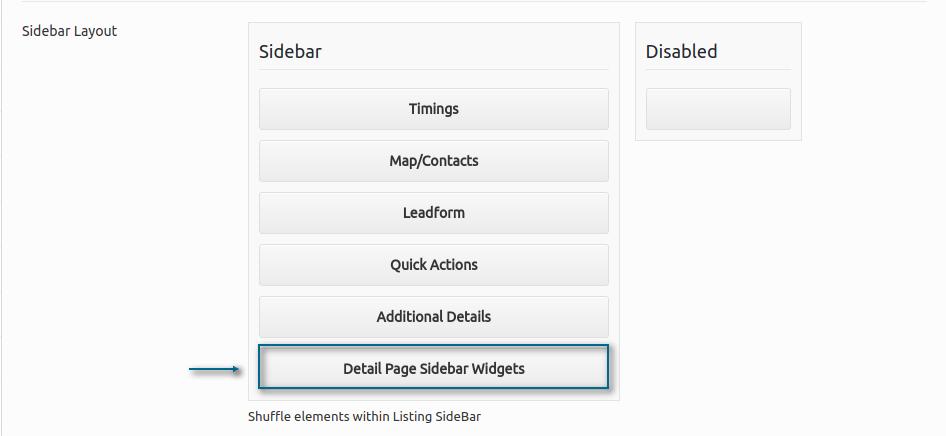
At this page, you’ll find the Detail Page Sidebar Widgets, for which you can simply reorder up and down where you want the Sidebar Widgets to appear first. Let’s shuffle up right below the Map/Contacts the Sidebar Widgets.
Now, let’s head over to the Appearance > Widgets
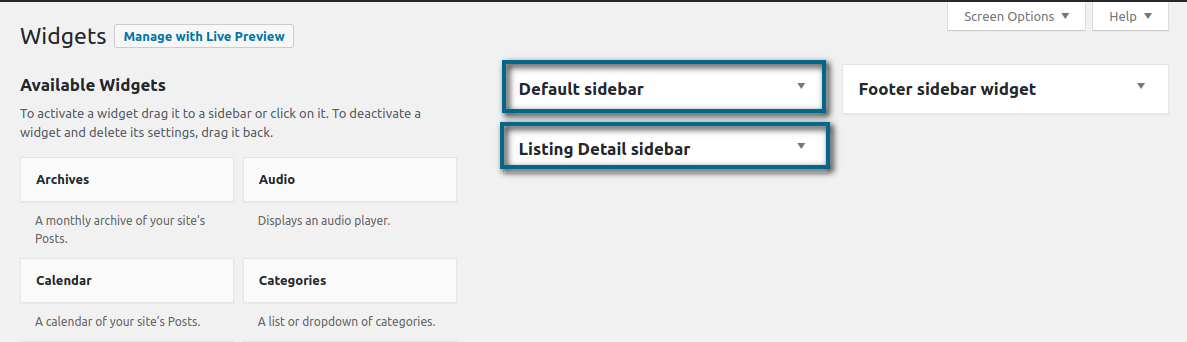
As you can see, the same option can be applied for the Default Sidebar, which is the Blog Sidebar section.
The available Widgets will take place within these Sidebars after we select our desired Widget.
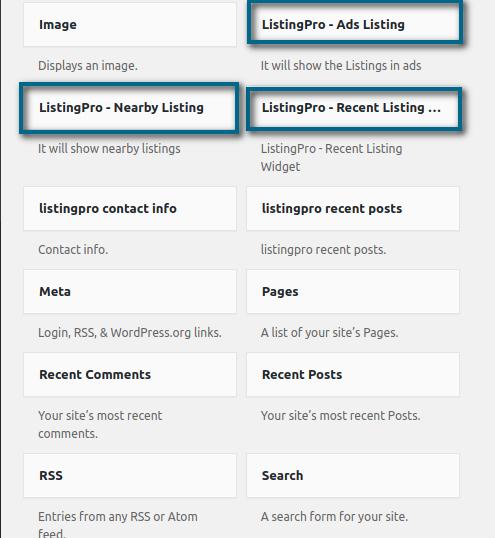
You can either choose if you want to include Nearby Listing, Recent Listing, Ads Listing.
For this article, let’s include the Recent Listing as a demonstrative option.
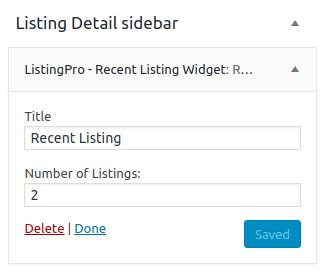
Here we defined that our Widget will contain only 2 Listings, but you can include more on your end if you want to.
Let’s check the result by clicking on any available Listing in our Directory and check if the Recent Listing were added as described in this article.
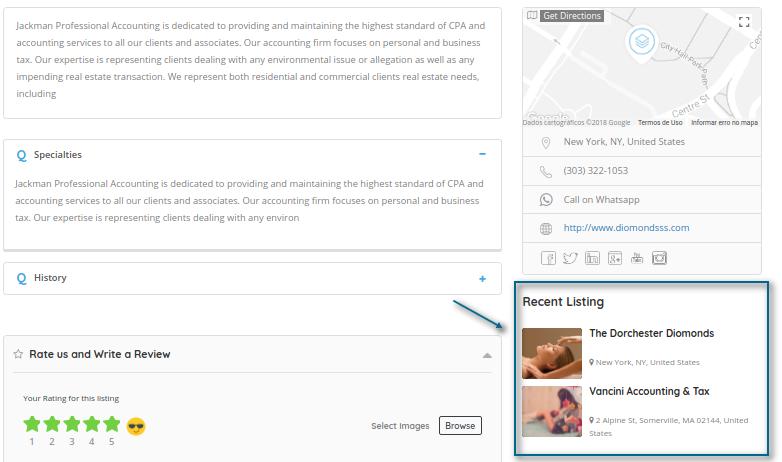
As we can see, the Recent Listing was placed right below the Map/Contacts as we expected.