Where to get WP ALL IMPORT Add-On?

In case of any doubt, please access the WP ALL IMPORT Documentation. If you’re still facing some difficulties, go to our Support Channel and our team will try their best to help you.

Listingpro Bulk Import Addon is included in the full package downloaded from ThemeForest.

STEP 1: Login to ThemeForest.

STEP 2: Go to Downloads

STEP 3: Click green Download button.

STEP 4: Select All files & documentation

STEP 5: Unzip the zip file.

STEP 6: Go to Bulk Importer Add-onlistingpro-Bulk-import-addon-1.x.zip


How to increase WP Memory Limit to fix wp-admin blank screen?

In the steps below you will show how to increase WordPress Memory Limit.

STEP 1: Go to WordPress root via FTP (Example: Filezilla) or cPanel File Manager.

STEP 2: Download and edit wp-config.php file.

STEP 3: Insert following line of code.

define('WP_MEMORY_LIMIT', '512M');

STEP 4: Save and upload the wp-config.php file to the server.

Rename the original wp-config.php file to wp-config-backup.php before uploading.

RELATED VIDEOS


How to import Live-Demo content?

You will find demo-content.xml inside Live-demo-Content.zip file, which is included in the complete package downloaded from ThemeForest.

To import complete content as per the live demo, you may find Live-demo-Content.zip file included in the complete package downloaded from ThemeForest. You can import using the default import feature under Tools > Import and make sure WordPress feature is installed.

IMPORT USING DEFAULT WORDPRESS IMPORTER

STEP 1: Log in to WordPress admin dashboard.

STEP 2: Go to Tools > Import

STEP 3: Under WordPress, click Install Now

STEP 4: Click Run Importer

STEP 5: Click Choose File, and select demo-content.xml

You will find demo-content.xml inside Live-demo-Content.zip file, which is included in the complete package downloaded from ThemeForest.

STEP 6: On Assign Authors page, under Import author as listingpro (listingpro) select WP Admin from drop-down.

STEP 7: Under Import Attachments, check the box next to Download and import file attachments.

STEP 8: Click Submit

How to create a Google Map API Key for ListingPro?

IMPORTANT! Google Maps API pricing model changes starting June 11, 2018. As per Google, free credit of $200 per month will be given to everyone. For more information, click here.

This article covers the following key points:

Recent Google Maps API Changes by Google
Creating a Google Maps API key
Enabling required API key functions

Recent Google Maps API Changes by Google

Recently, Google Maps have introduced some API changes that will affect from June 11, 2018. In this announcement, Google has included a new pay-as-you-go pricing plan will go into effect for Maps, Routes, and Places along with some usage limitations and billing terms in order to user Google Maps API.

Key Changes:

1. To get and use Google Maps API you will need to create a billing account along with credit card.

2. When you enable billing, you get $200 free usage every month for Maps, Routes, or Places.

3. Free Monthly usage limit is crapped to $200 credit. If your API call usage exceeds over $200 free credit then you will be charged for the additional calls.

4. You only pay for what you use. You can review rates and access your spending any time in your Google Cloud Platform Console, where you can also set daily quotas to protect against unexpected increases. You can also set billing alerts to receive email notifications when charges reach a preset threshold determined by you.

Other rates and limits found here.

Action Required for Existing users:
The only thing required from existing users is to add a credit card to their Google Console account if they haven’t done so already.

Creating a Google Maps API Key

STEP 1: Go to Get API Key page.
STEP 2: Click Get Started

STEP 3: Select the Maps, Routes and Places checkboxes and press continue.

STEP 4: Click on +Create a new project and give a new project name (Example: ListingPro).
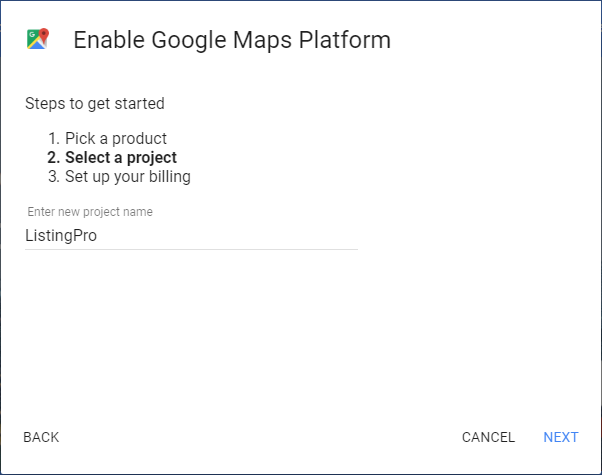
STEP 5: Click NEXT

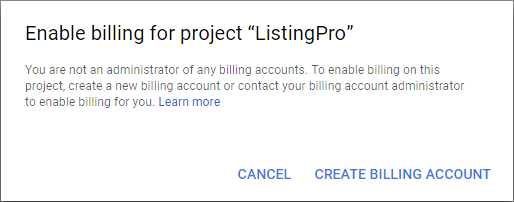
STEP 6: Select Create Billing Account

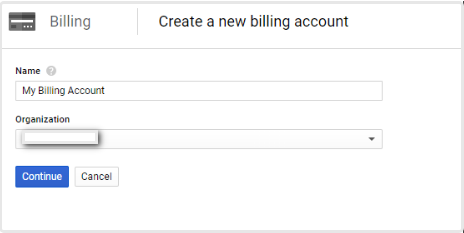
STEP 7: Enter a name for your Billing Account and your Organization name.

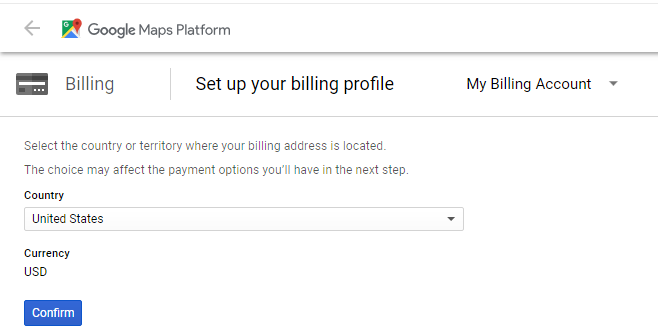
STEP 8: Select your country and click Continue.

STEP 9: Now enter all required billing information and set up your billing profile.

Once your billing has been set up, you can move onto creating your API Key.

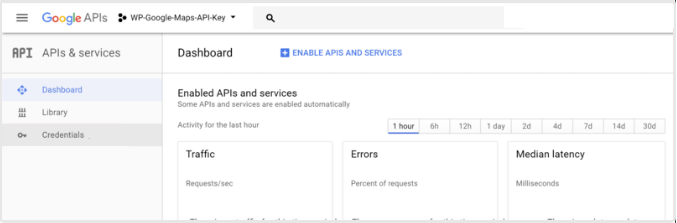
STEP 10: Click on Click Credentials.

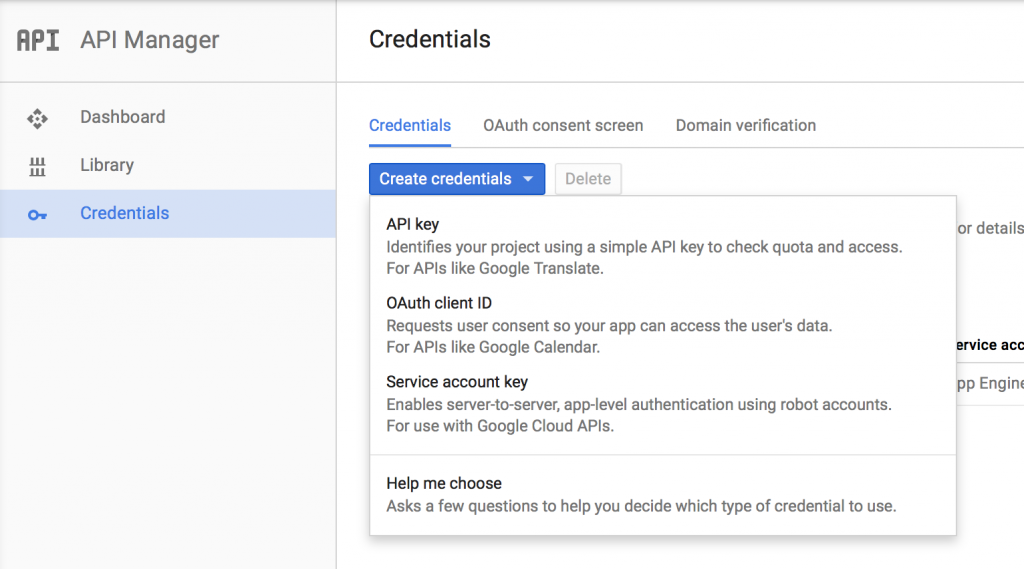
STEP 11: Click on the Create Credentials button on the Credentials window

STEP 12: Click on API Key when next pop-up appears.

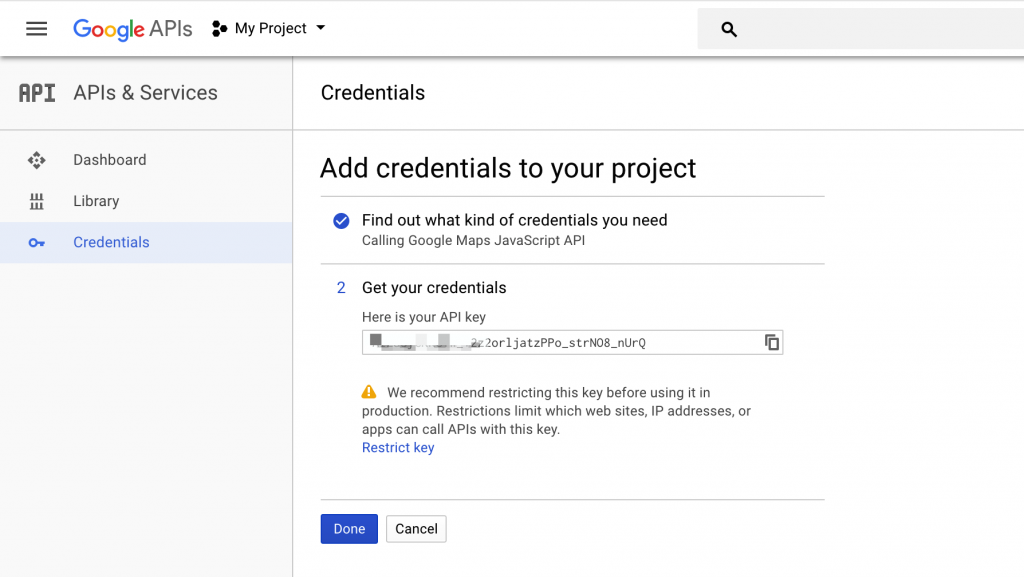
STEP 13: Copy YOUR API KEY.

STEP 14: Go to Theme Options > Map Settings and paste Google Map API key in the field.

Enable the required API key functions

To work API correctly API needs some permissions. So you will need to enable only the required API functions.

STEP 1: Click the Library link from the sidebar.
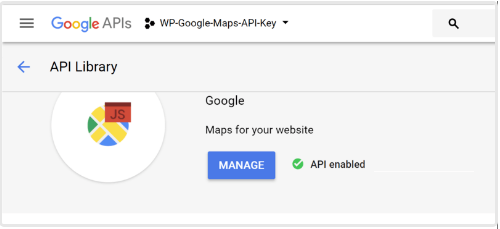
STEP 2: Click on the Google Maps JavaScript API.

The JavaScript API will probably already be enabled as shown in the screenshot below. If the JavaScript API is not enabled, then click Enable on the Google Maps Javascript API window.

Additionally, read the following.

Google Maps Platform best practices: Restricting API keys

How to fix the gallery on Listing details page?

Solution:
Is Jetpack plugin is installed and active? If yes, disable Jetpack and test again. In most cases, this should resolve your issue.

Clear cache or disable any cache plugin before testing. If the problem persists open a support ticket.

Explanation:
We don’t recommend or support Jetpack. In the default WordPress System, when you upload an image it resizes the images in several different sizes.

For example, a directory site with 20 Listings will at least have 3 images per listing, which means 60 images, but if you add the multiple resized image which is around 6 per image than the total number will be 360 images. Now if you use Jetpack, all these images will be uploaded to cloud further making things even more complex.

Where as our system does a better job in resizing images, resulting in much fewer images (roughly around 80 images for 20 listings, which is almost 1/5 of what Jetpack creates) and they are all stored locally on your server. This is the recommended method to avoid any issues in long-term.

But if you still want to continue using Jetpack we can provide a fix for you but it’s not 100% guarantee that it will work as expected.


Does the support include FREE Customization?

No, theme support doesn’t include FREE Customization. Please see ThemeForest Policy regarding what’s included in the support.

CLICK HERE TO READ OUR OFFICIAL POLICY

ThemeForest Official Policy regarding what’s included in the support:

Item support does not include services to modify or extend the item beyond the original features, style, and functionality described on the item page. For customization services that will help you tailor the item to your specific requirements, we recommend contacting the author to see if they privately offer paid customization services or check out the great service providers on Envato Studio.

For more Information see What’s Not Included.