PART 1: INSTALLATION
STEP 1: Login to WordPress admin dashboard.
STEP 2: Go to Plugins > Add New
STEP 3: Search for WP All Import, and click Install Now.
STEP 4: Click Activate
STEP 5: Go to Plugins > Add New
STEP 6: Click Upload Plugin
STEP 7: Click on Choose File, and upload listingpro-Bulk-import-addon.zip.
STEP 8: Click Install
STEP 9: Click Activate Plugin
PART 2: IMPORTING LISTINGS (CSV)
STEP 1: Login to WordPress admin dashboard.
STEP 2: Go to All Import > New Import
STEP 3: Select Upload a file or Download from URL
STEP 4: Find CSV file and upload.
STEP 5: Select New Items > Listings next to Creat new drop-down.
STEP 6: Click on Continue to Step 2
STEP 7: Click on Continue to Step 3
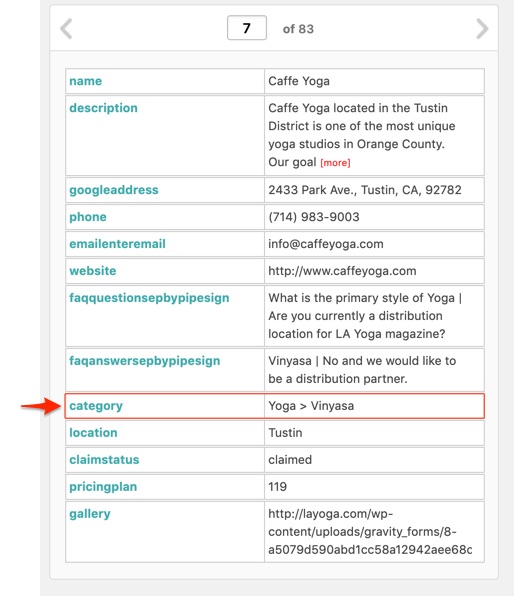
STEP 8: Drag the fields (Example: title) from the right column (data pulled from imported CSV) into the respective listing fields on the left.
STEP 9: Under Gallery Images drag the images field (Example: photos) from the right column.
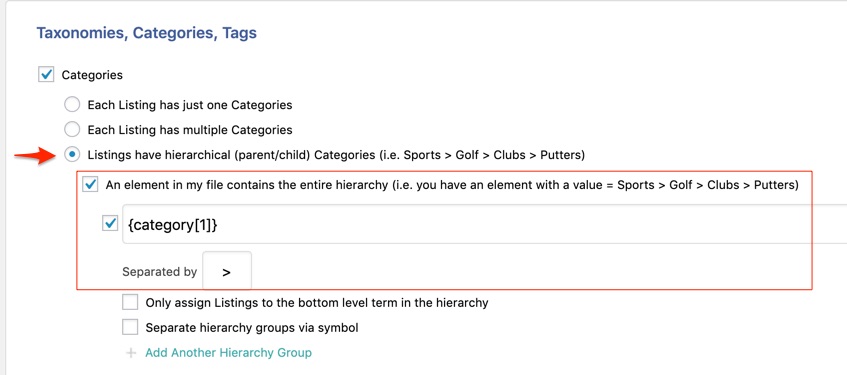
For CATEGORIES
STEP 10: Under Taxonomies, Categories, Tags check Categories and drag the category from the right column.
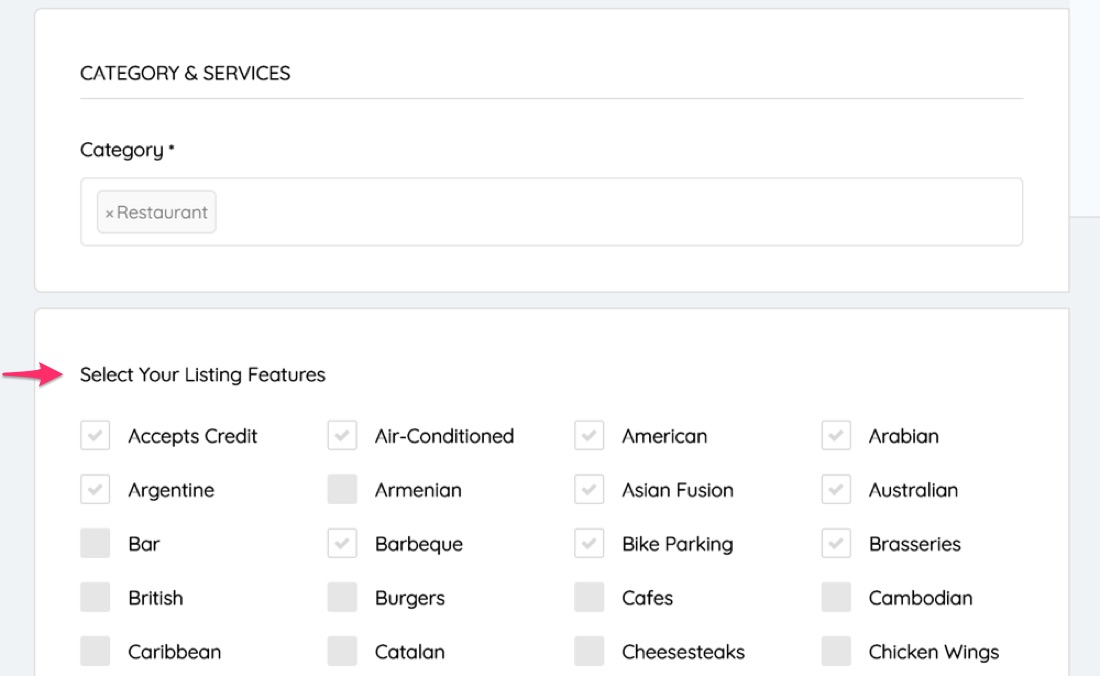
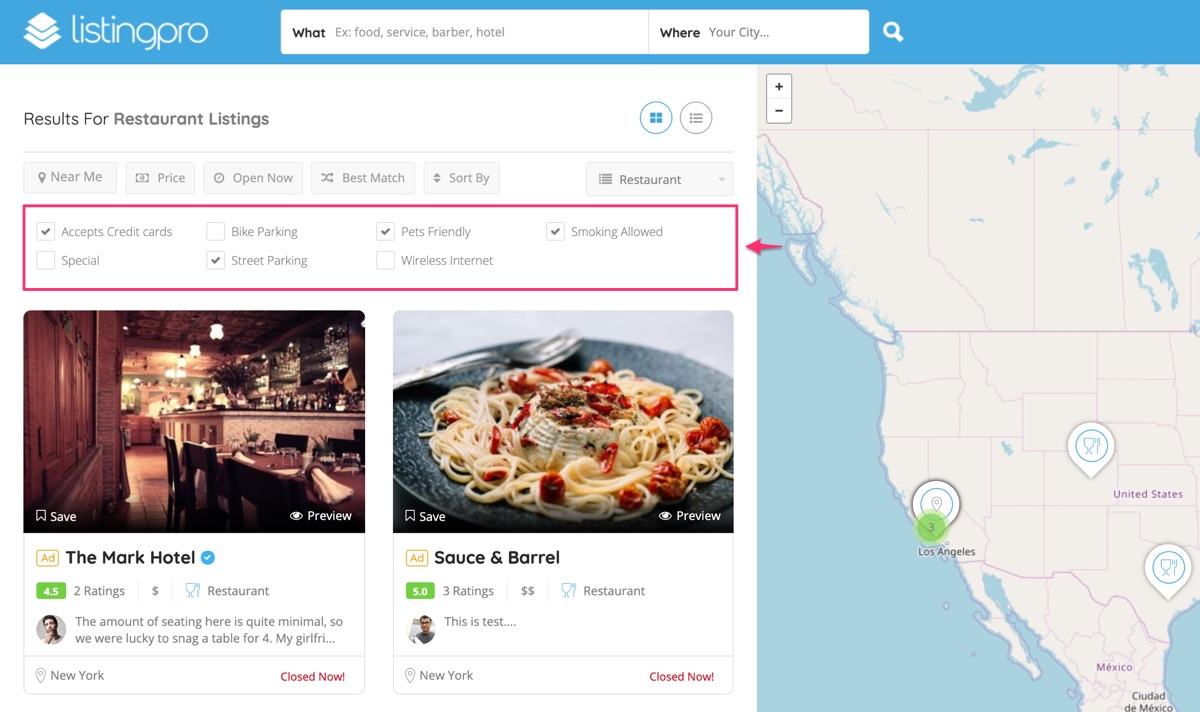
For FEATURES
STEP 11: Under Taxonomies, Categories, Tags check Features and drag the feature from the right column.
For TAGS
STEP 12: Under Taxonomies, Categories, Tags check Tags and drag the Tag from the right column.
For LOCATION
STEP 13: Under Taxonomies, Categories, Tags check Locations and drag the Location from the right column.
STEP 14: Click on Continue to Step 4
STEP 15: Next to Unique Identifier field, click on Auto-detect
STEP 16: Click on Continue
STEP 17: Click on Continue & Run Import and wait until it says Import Complete!

PART 3: IMPORTING LOCATIONS (CSV)
Locations can be bulk imported as part of the above mention Importing Listing process explained in PART 2 or separately as shown below.
STEP 1: Login to WordPress admin dashboard.
STEP 2: Go to All Import > New Import
STEP 3: Select Upload a file or Download from URL
STEP 4: Find CSV file and upload.
STEP 5: Select New Items > Listings next to Create new drop-down.
STEP 6: Click on Continue to Step 2
STEP 7: Click on Continue to Step 3
STEP 8: Drag the fields (Example: title) from the right column (data pulled from imported CSV) into the respective listing fields on the left.
STEP 10: Under Taxonomies, Categories, Tags check Location and drag the location from the right column.
STEP 11: Click on Continue to Step 4
STEP 12: For Unique Identifier field enter Location.
STEP 13: Click on Continue
STEP 14: Click on Continue & Run Import and wait until it says Import Complete!
PART 4 (Optional): BUSINESS LOGO
Currently, we do not have an option available for importing the business logo in the CSV file. But here’s an alternative solution available which works for our customers who want to import the business logo.
Before you import logo using ListingPro bulk import addon, please modify the following two files:
File Name: listingpro-add-on.php
File Path: /wp-content/plugins/listingpro-Bulk-import-addon/
Go to line 75, add this:
$listingpro_addon->add_field( ‘business_logo’, ‘business_logo’, ‘text’, null, ‘business_logo’ );
Go to line 121 add this:
‘business_logo’,
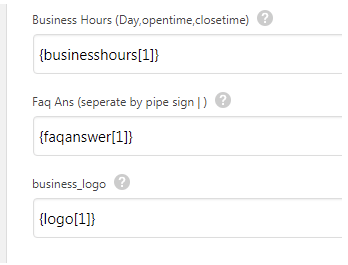
To test make sure the following fields are now available in WP Bulk Import.
Or you can download an already modified file and replace after backing up: Download Now (Unzip after downloading)