If your native language is English by default, there’s no need to edit the default WordPress language
Primarily there are TWO options for how Timezone can function:
STATIC TIME ZONE:
This can be set from WordPress settings.
STEP 1: Go to Settings > General
STEP 2: Select the appropriate Timezone from the drop-down.
DYNAMIC TIME ZONE:
This can be different for each listing as it works with the latitude and longitude of respective listings.
if your language isn’t English as Default, you should follow the procedure below
STEP 1: Select the native language that you’re going to work with WordPress
STEP 2: Select the correspondent timezone of your country
STEP 3: Save the changes, and head over to the Loco Translate
STEP 4: Go to Plugins > ListingPro Plugin and choose your native language to start translating
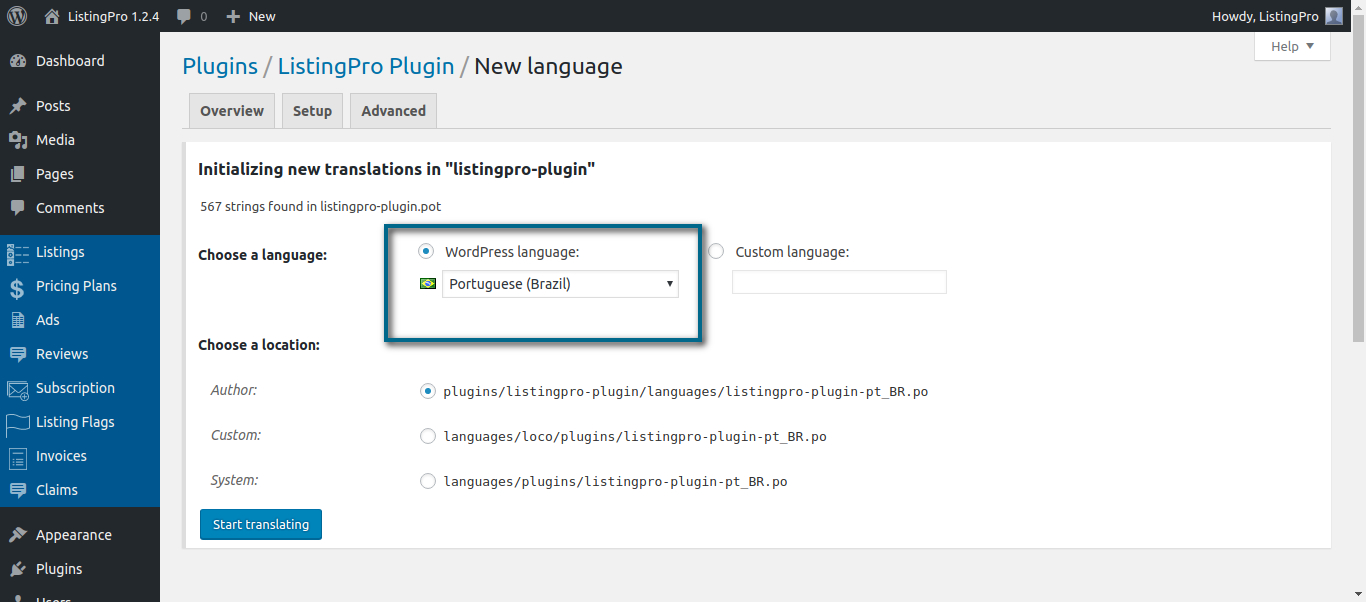
STEP 5: Find the strings related to the operational hours, weekdays.
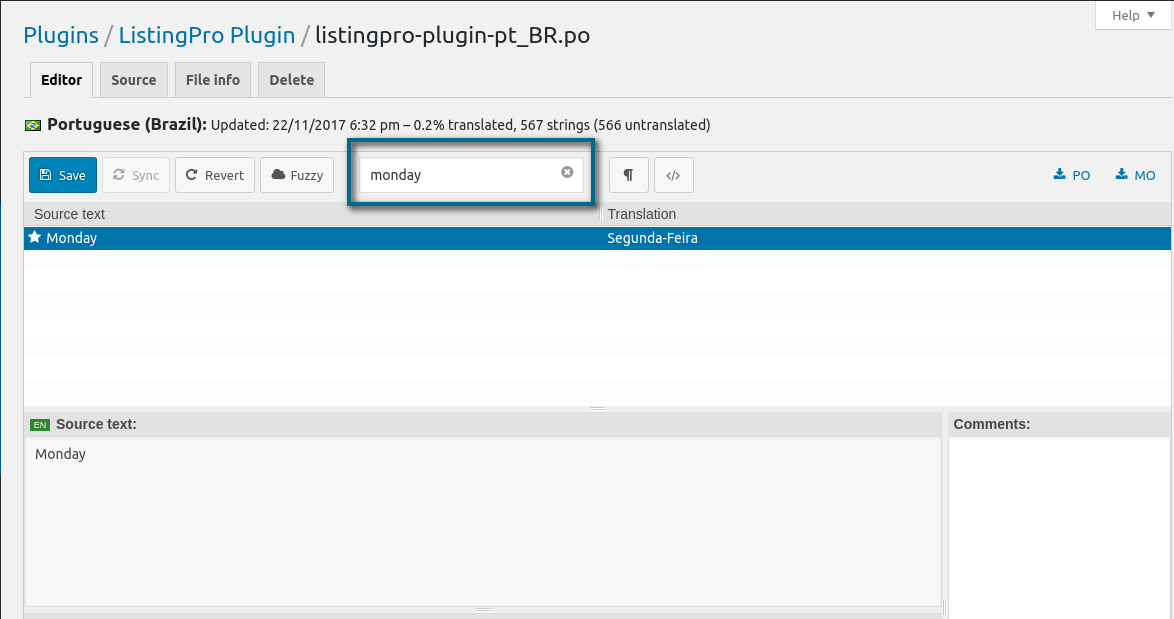
Translate these related strings and save the translation.
In order for the Time Listings to work correctly, you’ll need to verify that you are using your native language as well as your UTC Timezone appropriately. Also, you’ll need to make sure that you’ve translated all the strings related to your operational hours for our Listings. After following this procedure, the Open/Close will work correctly.
ENABLING GALLERY FOR IMAGES ON LISTING
1. Dashboard Theme Options > Listing submit and edit
2. Turn ON the section image
3. Add the image for listing
4. Upload
See the Screenshot below:
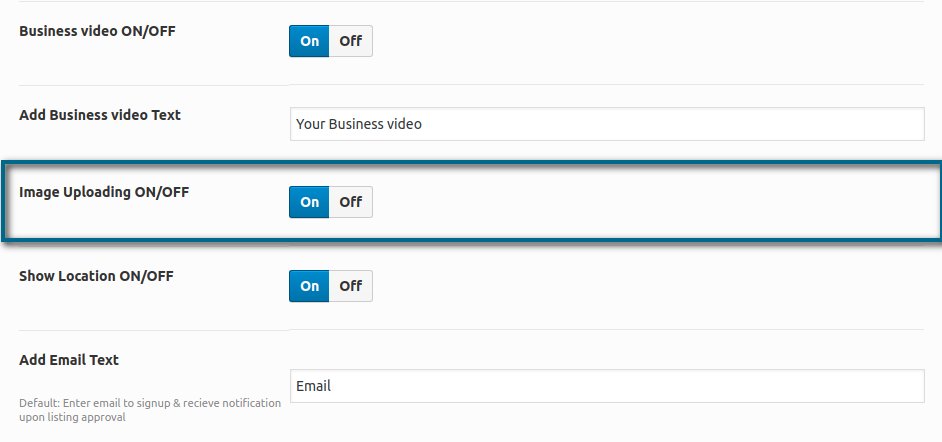
After enabling this option, Listing Owners will be able to upload images and create their gallery images.
You can change and edit each section image that appears in the step-by-step submission as well.
Kindly follow the below steps
STEP 1: Dashboard Theme Options > Search Filter Options
STEP 2: Just hit the button “Enable” for the options you want to enable
STEP 3: Save Changes
Kindly follow the following steps:
STEP 1: Login to WordPress admin dashboard.
STEP 2: Go to Theme Options > Search Settings
STEP 3: Select whether you want to hide (What – Where) options in your homepage search
STEP 4: Hit save and sync.
It seems that you are using the child theme and also this child is not the one which we are providing our package. That is why you can’t see any of the Waiting Time Animation on Search Button.
Actually, it is missing assets folder. Copy the assets folder from Parent theme to the Child theme. This issue will not be there.
Kindly follow the following steps:
STEP 1: Dashboard Theme Options > Contact Page
STEP 2: Add your details in the specified fields
STEP 3: Hit save changes
