How to setup PlacesPro demo into ListingPro?

First of all, if you’re running your project in production, please backup your theme options and also export your WordPress structure and include all the pages for backup.

ENABLING PLACESPRO LAYOUT

Let’s go to the Theme Options > Banner Settings and change the Banner background type to > Video Banner.
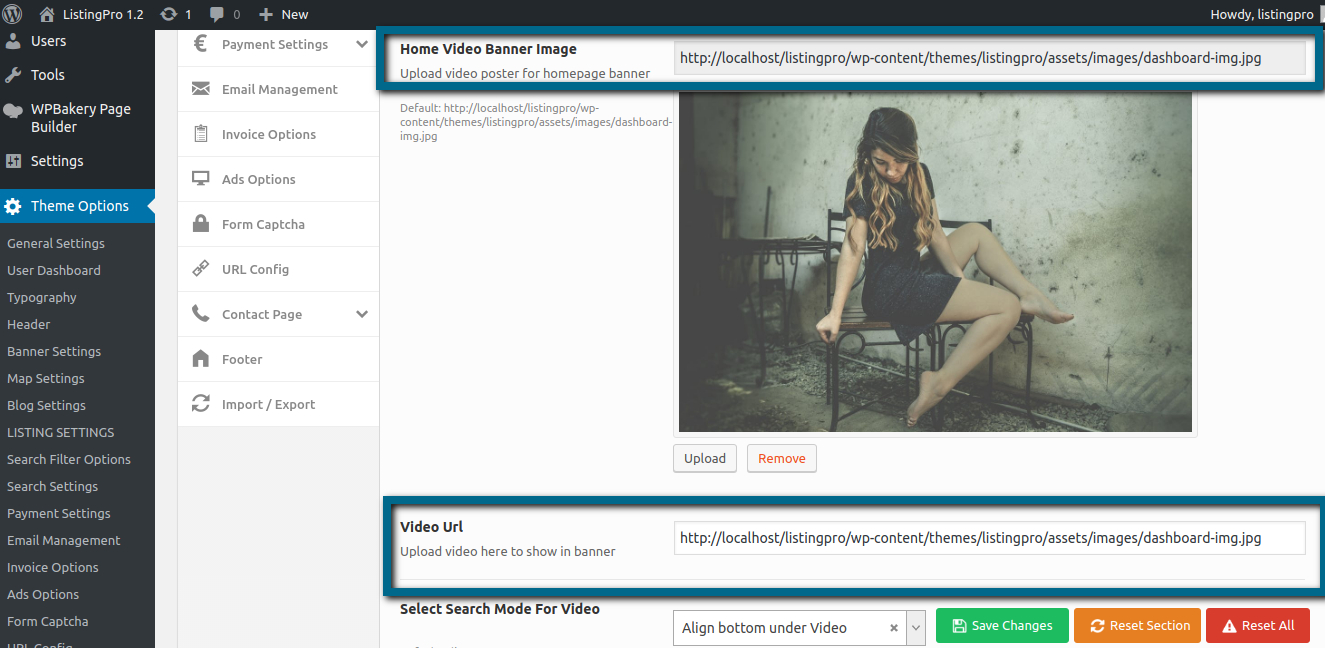
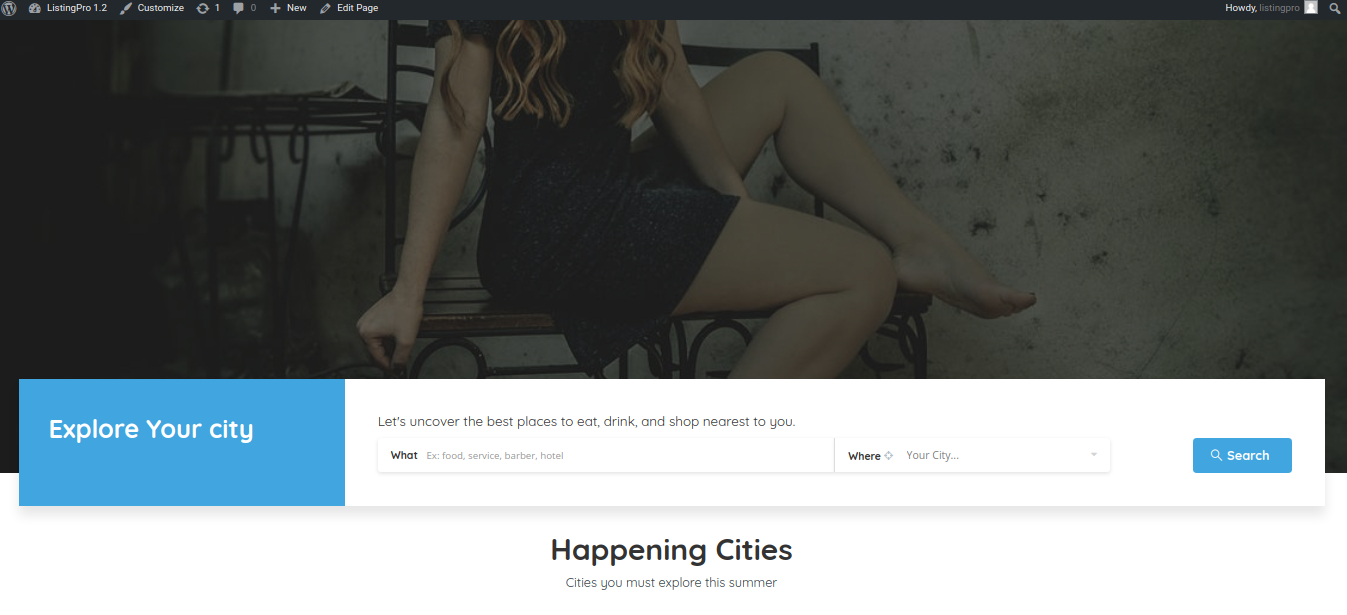
Scroll down the page, and change the Select Search Mode to > Align Bottom under Video and click Save Changes.

This Search Mode will enable the PlacesPro Search Bar.

You can either use video or image. Just repeat the image path added above, and insert the same path to the video URL. By this way, you’ll be able to use a custom image.
 

How the Drop-pin work on Maps?

The Drop-pin feature is a great tool if you want to give to your customers “right on point” address.

Some users may include their full business address using the help of Google API, while others may forget to include some important details in their address that leaves a lack of information.

With Drop-pin, you’ll find your exact location, directly at your fingertips. Simple as that!

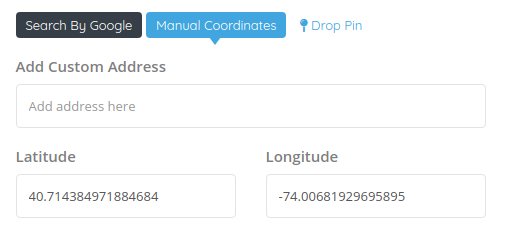
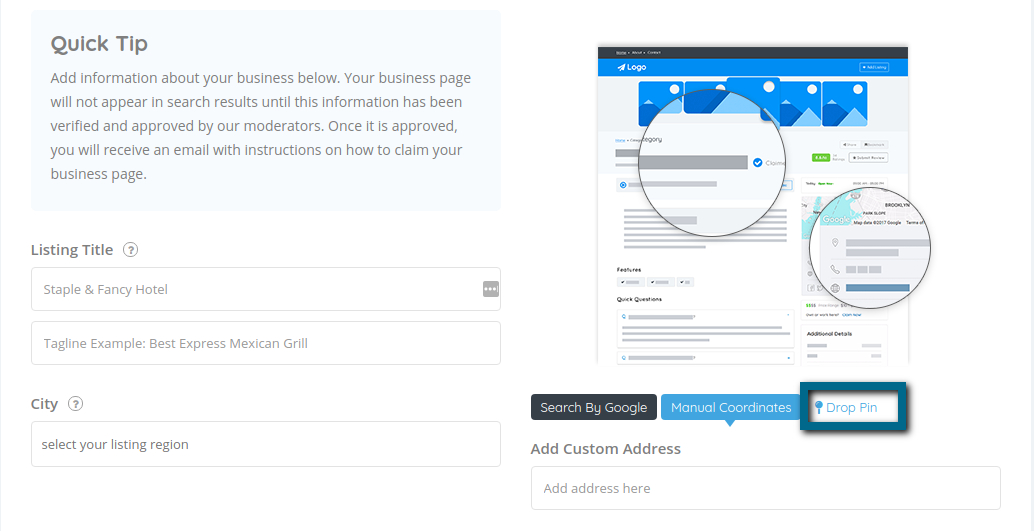
At the Add Listing, you’ll see the Drop-pin available beside the Manual Coordinates and Search By Google.

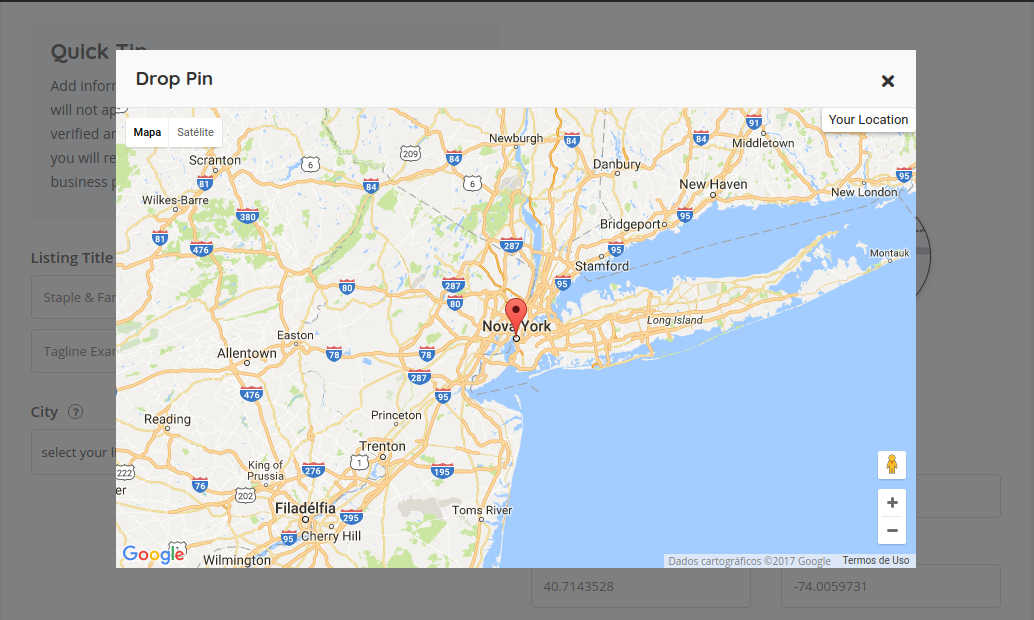
Let’s click it and see the result.

From this Map, you’ll be able to check your own location, and then you can drag and drop the pin right on where you want to add your business address. After doing this, the result of longitude and latitude will be filled instantaneously.

ATTENTION

To fully work with Drop-pin, it’s necessary that your directory is already running with SSL enabled, and all URL paths were converted to HTTPS. For more details, please read the related article below.

Why the Near me & Drop-pin aren’t working?

To fully work with Near Me and Drop-pin on Maps, you have to ensure that the directory should be running through a configured SSL.

Without an SSL defined, the Near me and Drop-pin on Maps won’t work.

To know more about SSL, please, get in contact with your hosting provider to enable the SSL for your server.

some hosting providers may offer different services for SSL settings. You may have access to SSL through Cloudflare, Let’s Encrypt or others. Most of these services are one-click enable, you should check if your domain and all related URL (HTTP) are being redirected to (HTTPS)


How the Multi-Location & Multi-Category works?

There are some key factors that we should be aware of.

But first, let’s enable the Muti-Location and Multi-Category.

Go to Theme Options > Listing Settings > Listing Submit & Edit and enable them.

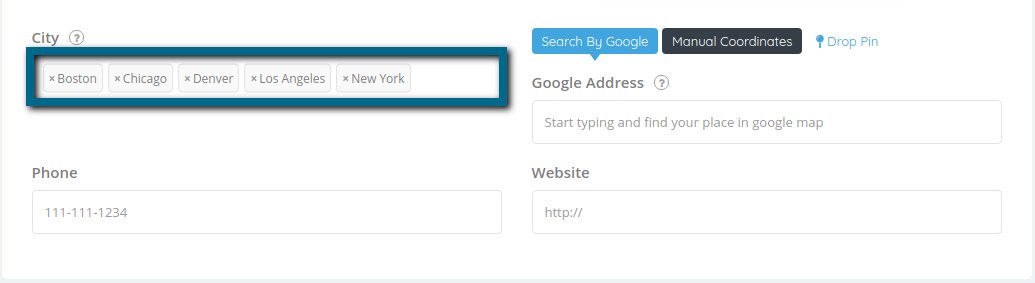
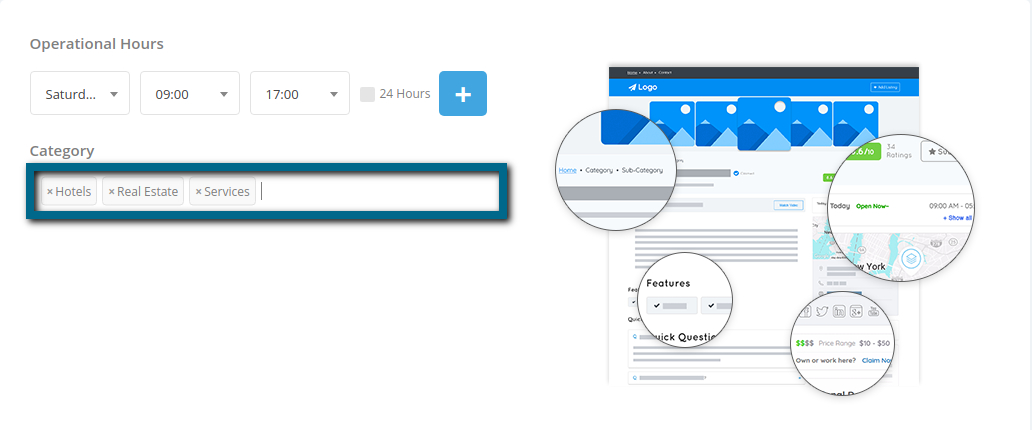
This is the result that your end-users will see while submitting their listing details.

Multi-Location

Multi-Category

Now that we have enabled Multi-Location and Multi-Category, we have to check how our directory is using this info.

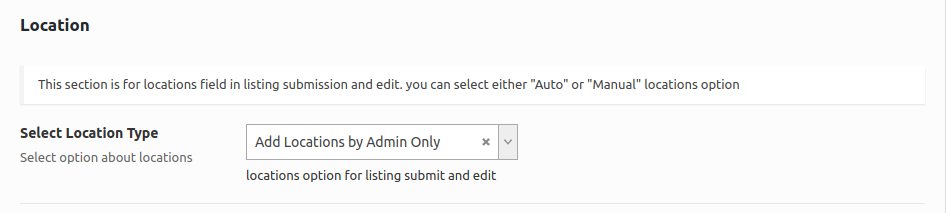
Let’s go to Theme Options > Listing Settings > Location and lets check if Add Locations by Admin Only was defined as our main method.

If you have enabled this option, you’ll be able to see the results on the Submit Listing Page, and your customers will then be able to add their business located in multiple locations. This field is a great option whether a business owner has more than one store within or outside the town.

Also as a great alternative, Multi-Category works for those that have multiple activities within a particular occupation, whether it be by services, niches, and so on.

The Multi-Category will work normally with Auto Location by Google because it only overwrites the function defined by geolocation, not those by predefined admin category fields.

How to fully apply SSL on ListingPro?

Some users may face errors while trying to validate their SSL settings over their preferable hosting plan or cloud server.

Whether it be CloudFlare, Let’s Encrypt or others.

To fully apply SSL settings within the ListingPro, we should consider some steps to grant the almighty Green Secure HTTPS

First of all, we need to overwrite all the standard HTTP of our links

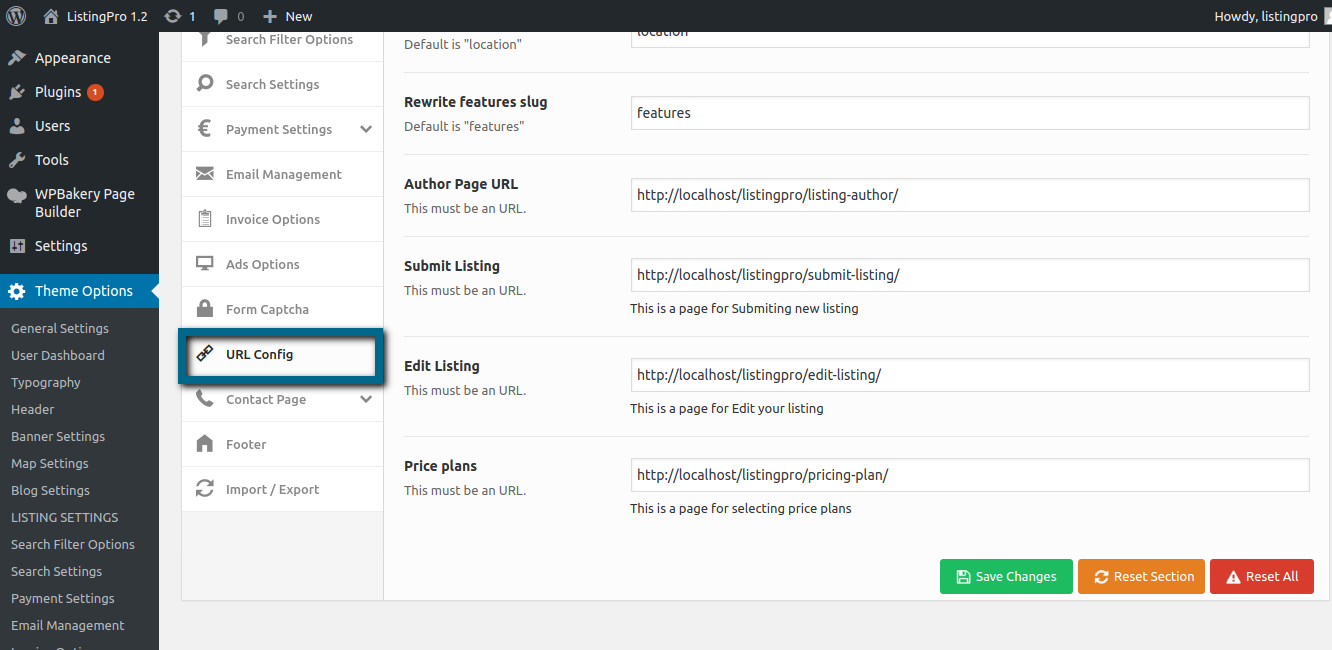
Go to Theme Options > URL Config and add an “S” at the final.

Now that this step was done, let’s check other entrances…

Change all the URL paths for images, locationsvideos, etc.

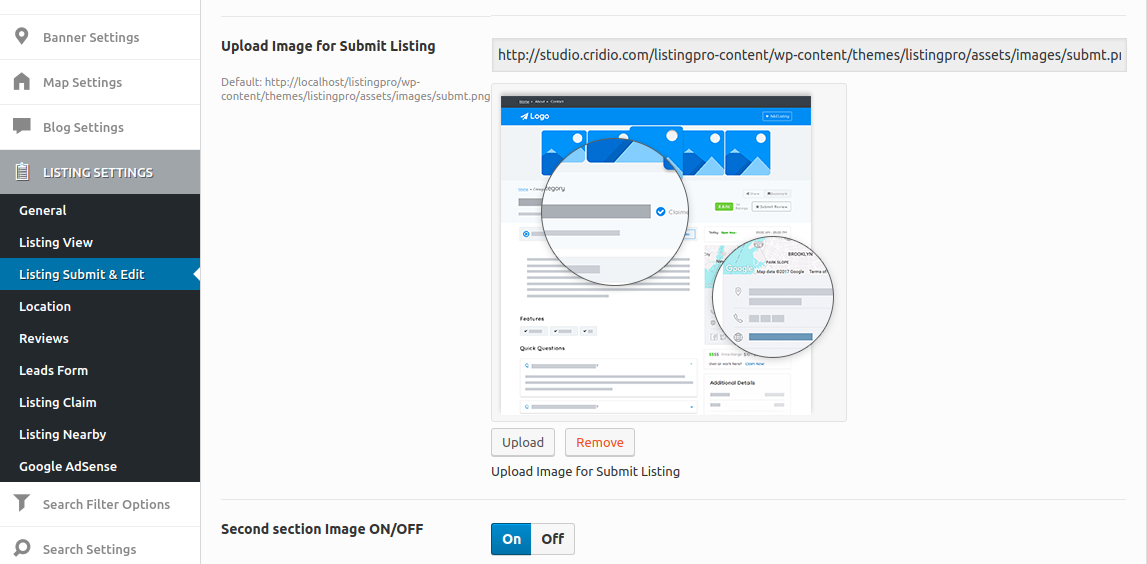
Also, don’t forget to change the URL paths for images in the Submit Listing

REMEMBER each path into your directory should be checked and overwritten with https. It’s a very simple step that will allow your SSL to work after that

After overwriting these paths you can securely check if your SSL is now working on all of the URLs.

REMEMBER if you have added any images to your Visual Composer Elements. Each page will alert about non-secure HTTP/ URL. This means that something on this page wasn’t changed to https.

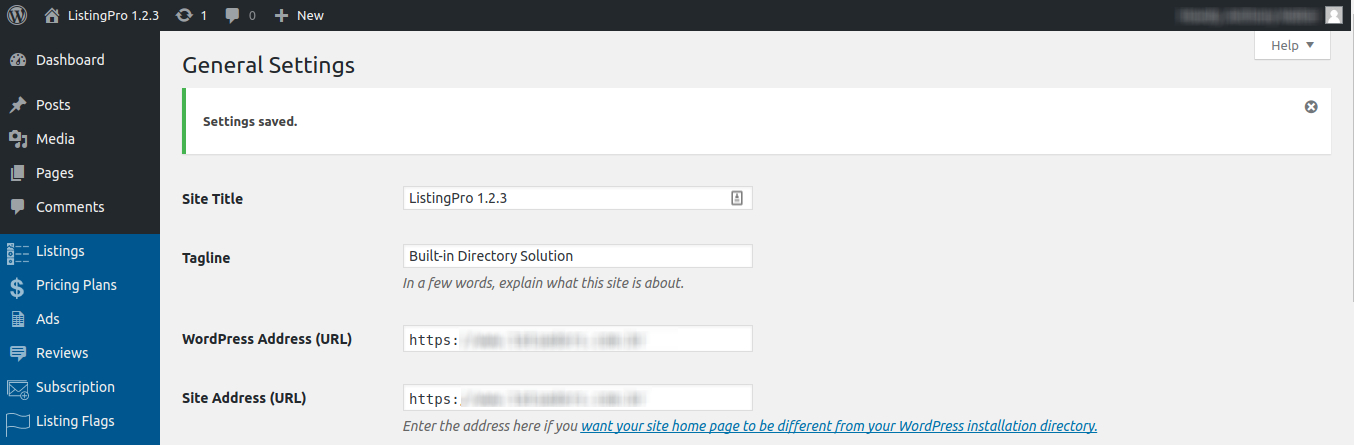
Also, Please check your WordPress Dashboard > Settings > General

You can use SSLshopper or SSLlabs to verify your SSL params.

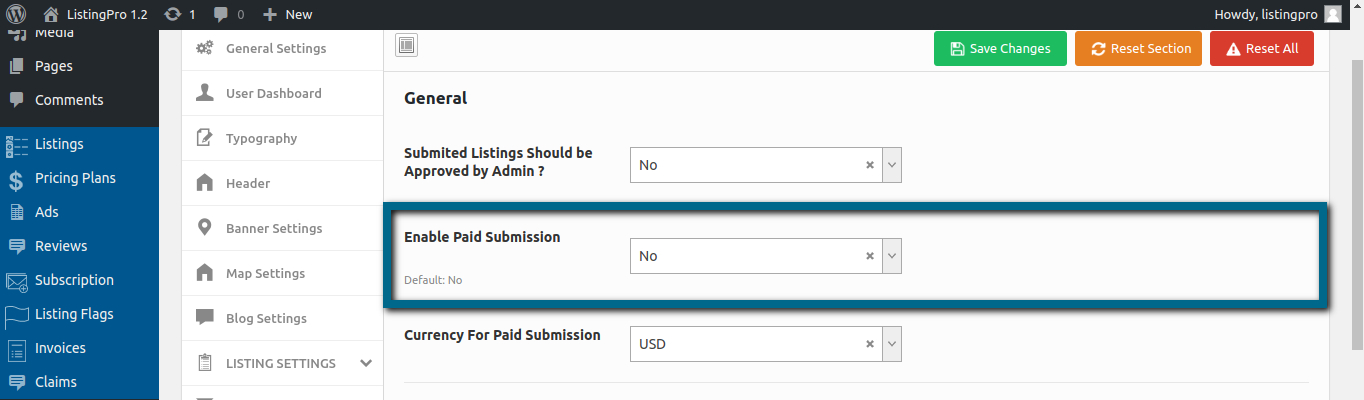
How to disable Pricing Plan and offer only Ad Campaign?

This is just another way that ListingPro can get a profitable strategy, in case you’re not intended to include subscription plans in your directory.

Go to Theme Options > Payment Settings > General and disable the paid submission method adding NO

With Paid Submission disabled, The button at the Homepage +Add Listing will be automatically redirected to the Submit Listing Page. By this way, you can focus only on Ad Campaigns and other methods to turn your directory profitable without subscription plans enabled.