How do the Taxes work in the Payment Plans?

In some countries, it’s required that businesses working with an advertisement or any type of activity that connects the Business to the Customer offering an Online Service, should be paying a certain amount of fee.

If it’s your case and your country determines that you have to pay the taxes for the specific city, state, country…

Let’s us explain how taxes may help you in this process.

First, let’s header to the Theme Options > Payment Settings > Tax Settings
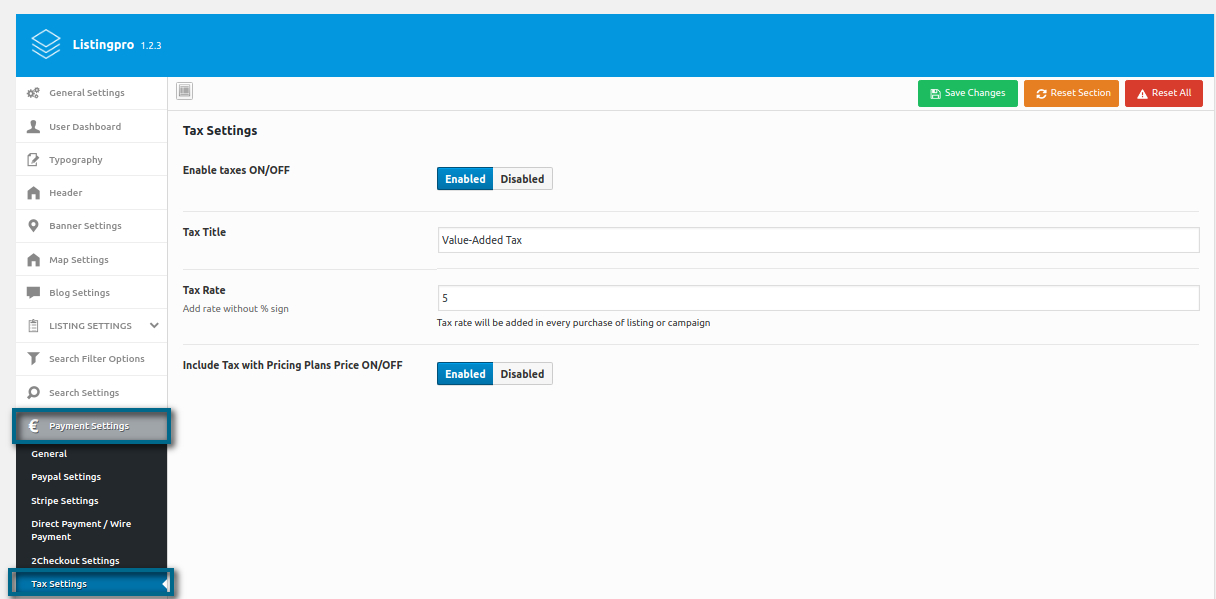
As we can see, if we define our Tax Rate as 5, the taxes will be added to every purchase of listing or campaign.

Here, we’re going to include our taxes attached to our Pricing Plans. Later, we’ll show the result without adding it into the Pricing Plans, just to notice the difference between them.

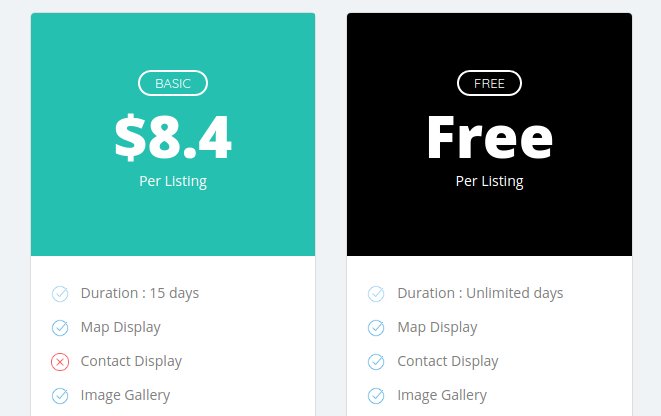
I’ve defined one of the Plan as $8 for 15 days, and the Taxes which was set to include in our Pricing Plans will show the total value as $8.4

See screenshot below
Let’s then buy this Basic Plan, and see which information does it sends back while proceeding with the Checkout Payment.
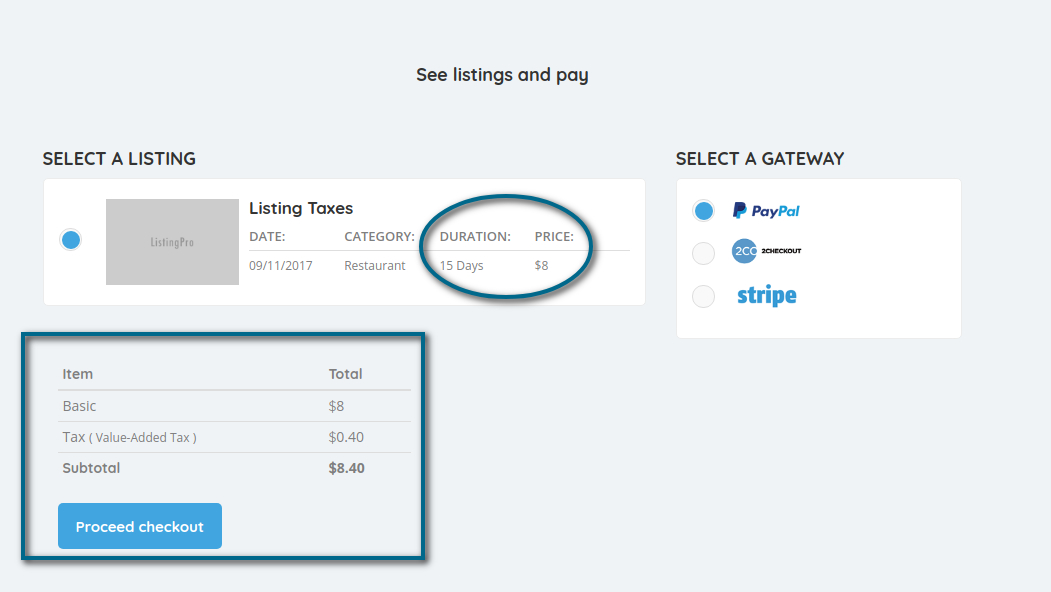
The result is pretty satisfactory, as you can see the taxes have been included directly in the Checkout Payment.

Now, let’s see the same activity without implementing it into our Pricing Plans. Let’s see how it’s going to give us the Taxes Details.

See screenshot below
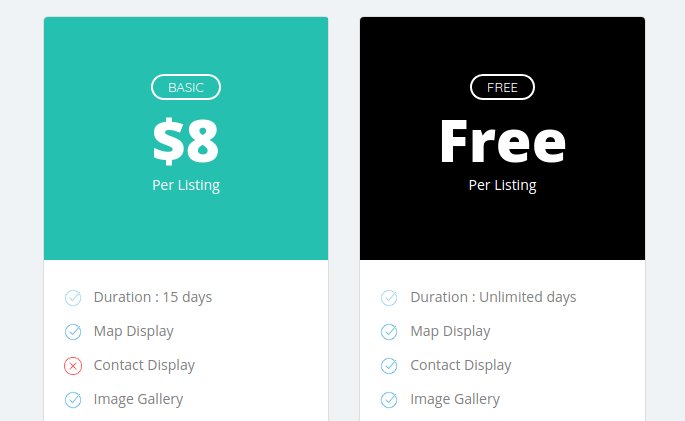
As we can see, the Taxes weren’t included in our Pricing Plans. Now let’s see if the result of the Checkout Payment will remain the same or if it’s going to change something in the user-end.

As we can see, nothing has changed in the Checkout Payment, but the minor changes were only noticed in the Pricing Plans.

You can change the Tax Title and include a better description that describes the Taxes on the payments, and also, a good option is to include an FAQ explaining in detail these Taxes.

It’s very important to include some information when it’s regarding the Terms & Conditions of the Business Directory.


How to add 2 time slots in Listing Business Hours?

ACTIVATING 2ND TIME SLOT FOR SUBMIT LISTING

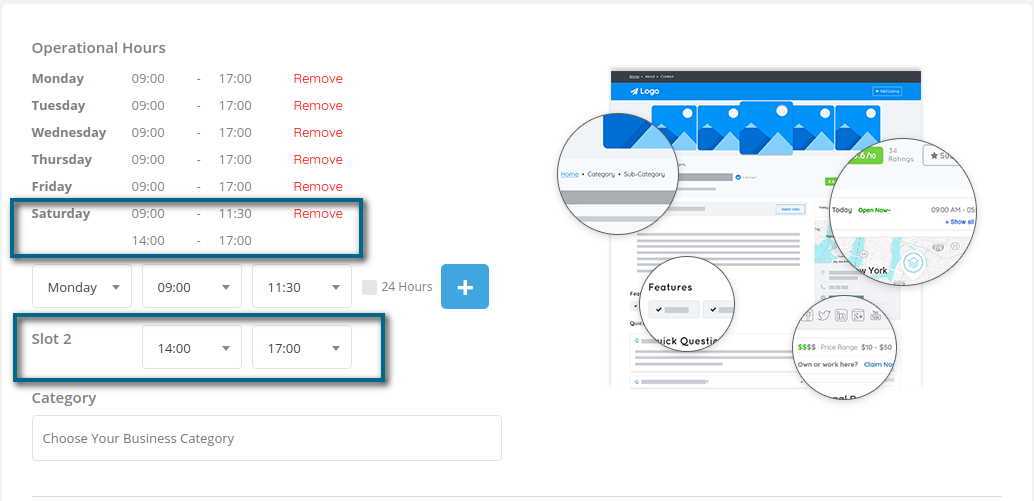
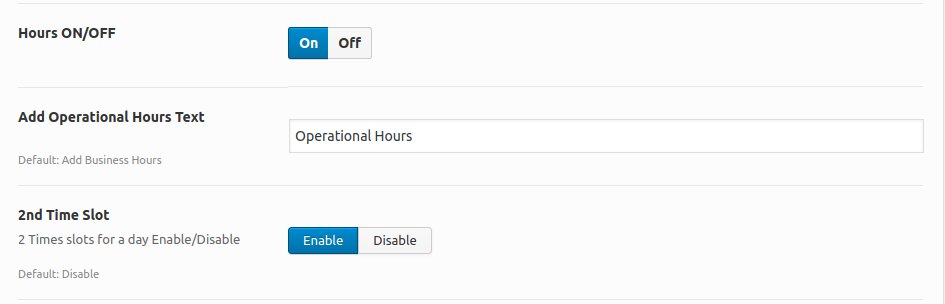
To include the 2-time slots into the Submit Listing, first, go to Theme Options > Listing Settings > Listing Submit & Edit

Enable the 2-time slots as shown in the image below

Click on Save Changes

In case if your business has a defined weekday that works for 24hours, just click on the box and hit on the + Button to set the working hour for the day as “Open 24hrs“.


ATTENTION

It’s recommended to use the 24H format instead of 12H format. Also, operational hours with your language translation, the weekdays should be translated correctly, without word contractions. Use the standard weekdays’ translation.
How to Configure the Mobile X App View Correctly?

Official Native app is now available learn more.

What’s the difference between Responsive View and Mobile X App?

The Responsive View is the usual method that we already know. Every page and behavior has within it the responsiveness in mind, allowing that every page fits on many different screens.
When you choose your layout as responsive, you’ll have all the page components being delivered accordingly with user’s screen. Whether it be on mobile, tablet, notebook or desktop.

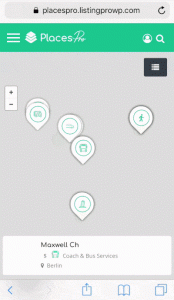
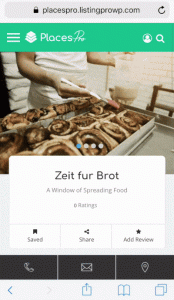
Furthermore, the Mobile X App allows you even more. It not only fits on multiple screens, but it also behaves almost like a mobile app but on a mobile browser, it’s not a native app that needs to be downloaded. It allows you to create and customize your own homepage layout for your Mobile X.

Both are very similar and distinct at the same time, and below you’ll get to know how to enable the Mobile X App and the result that it’ll bring to your Mobile Directory.

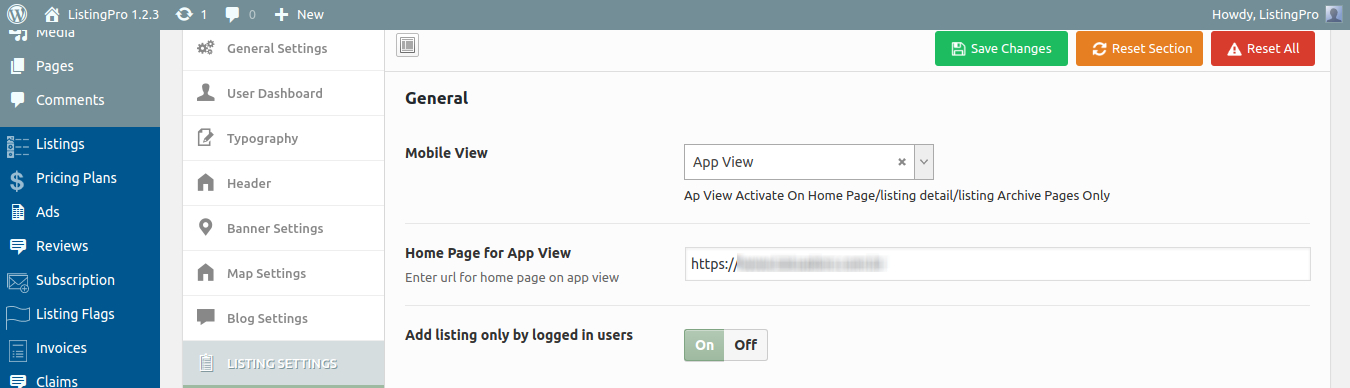
First let’s go to the App View option, by following…

Go to Theme Options > Listing Settings > General

Here, we need to define the URL Page that we’re going to work on Mobile.

First go to WordPress Dashboard > All Pages and Create a new page

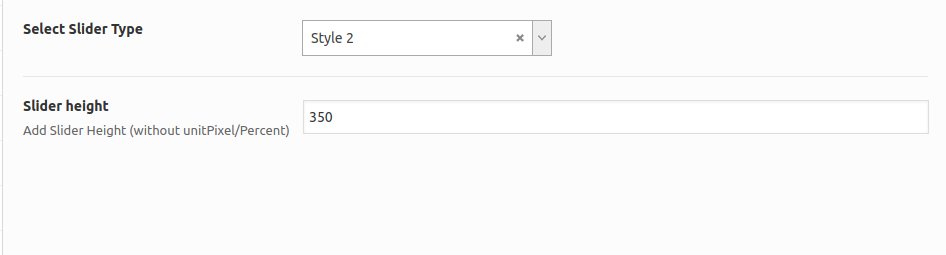
Add the URL page created and insert it into the App View, now scroll down and change the Style Slider as Style 2

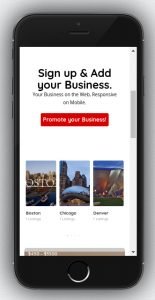
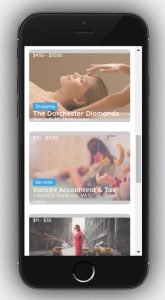
Our new page, we’ve used ListingPro Visual Composer adding the following elements “Listing Categories, ListingPro Call to Action, Locations and Listing Entries“.

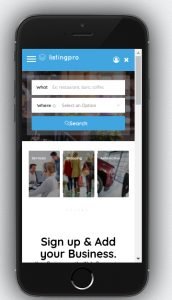
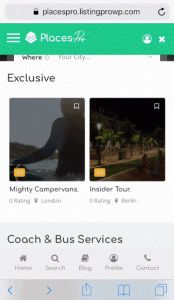
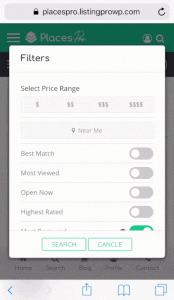
See the results below


Some more details…


You’ll have the flexibility to create your own customized page for your App View. Make some tests and see which Visual Composer Element will better fit into your business purpose. The Style Height set above is simply to define the Banner Image from our new App View Model.

ATTENTION

Remember to always create and customize your page and insert the URL into the required option for your App View
To fully test this functionality, it’s recommended that you open the URL into your own Mobile device or any website that offers native navigation. Some websites only offer a responsive view, and by this limitation, you won’t be able to check the final result of your pages.