Whether you’re using ListingPro on server or on localhost, you should follow some steps
1 – WordPress plugins
Check if you’ve added any plugin that takes care of caches and logs files while you’re working with your settings. It’s important to understand that every plugin that works with caches, will not save your previous changes. Even pressing the Save Changes Button, some of these changes won’t take effect after the page load.
2 – Server Add-ons
Some Servers offers as sort of Add-ons that can help reduce some server’s procedures to ensure scalability, database maintenance, and many others. Check if some of these Add-ons has been activated – e.g. Varnish or Breeze, etc. Disabling these Add-ons will permit you to change your settings and save it.
3 – Web Browser (Chrome, Firefox, etc)
Browsers also collect a lot of caches and save it for a period of time. After some changes, your browser will get the previous cached modified settings and the new ones added won’t take effect after refreshing the page. It’s recommended that you clear those caches to see the expected results.
In most computer-based web browsers, to open menus used to clear your cache, cookies, and history, press Ctrl-Shift-Delete (Windows) or Command-Shift-Delete (Mac). If you want to learn more about it, click here.
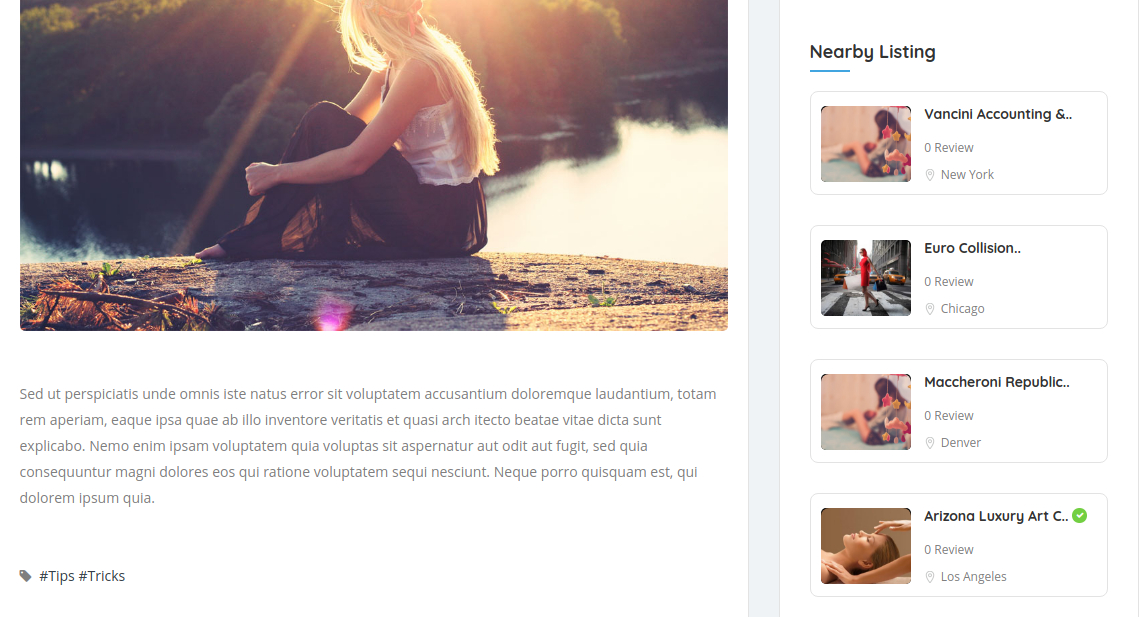
If you want to show to your Blog Readers what’s available near them while they read your article, let’s dive in to discover how to set this up and among other settings.
First, make sure that your settings are available to include the sidebar in the blog posts.
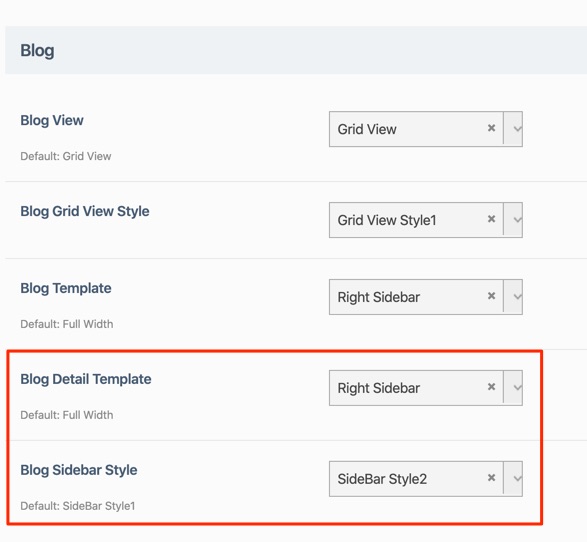
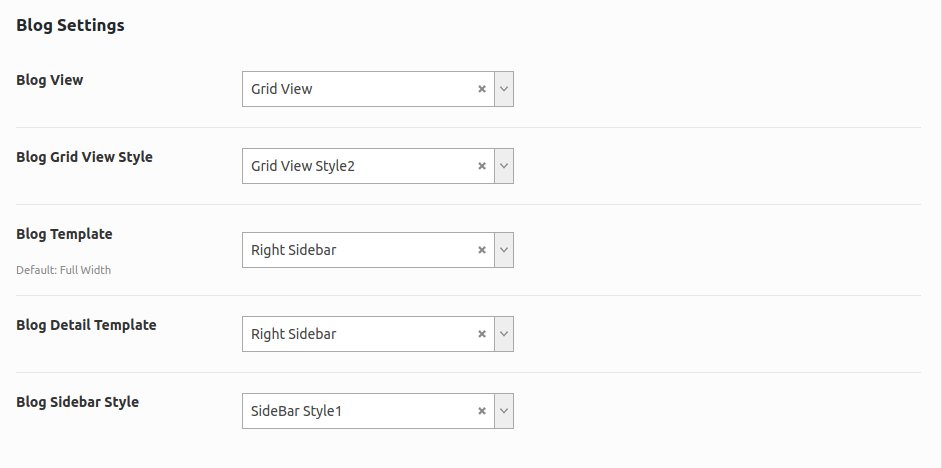
Go to your Theme Options > Blog Settings and confirm if the Blog Template or Blog Detail Template has been selected.
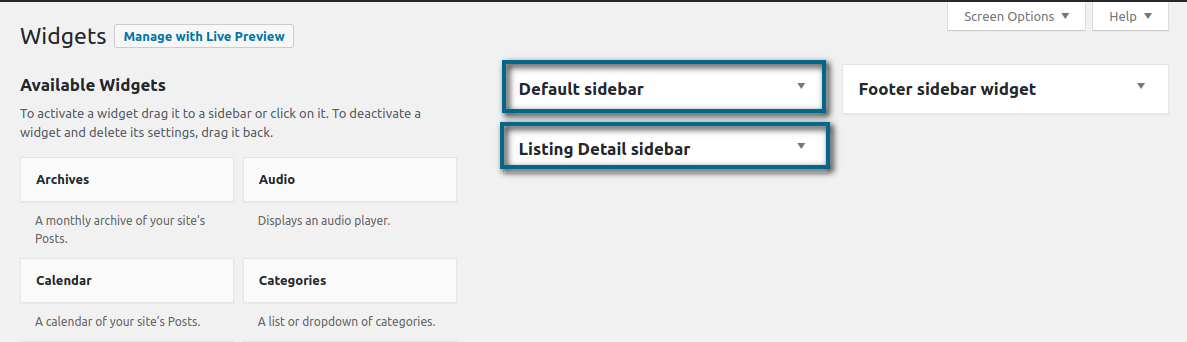
Right, with these options verified let’s head over to the Appearance > Widgets
The Default sidebar is where we’ll include our Widgets to appear on our blog sidebar.
The Listing Detail sidebar is another option that gives you the availability to include listings within someone’s listings detail.
Flexibility is the power. You can either choose if you want to include Nearby into listing detail or only into your blog sidebar, or footer.
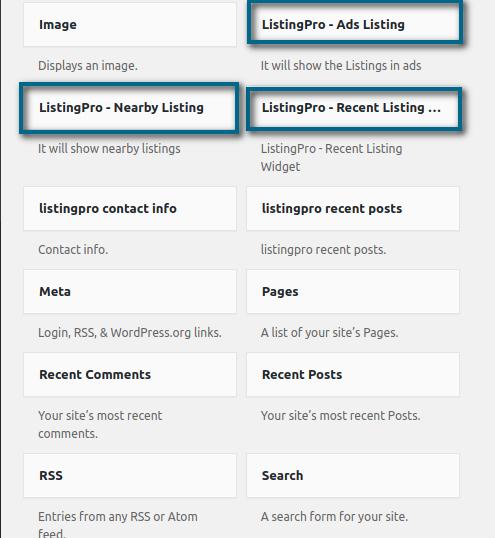
Well, let’s see what’s included on our list and choose some of them…
The Nearby Listing will show in a random way the listings available.
The Recent Listings will show in a random way the most recent listings added into your directory.
The Ads Listing is a great option that leaves you with extreme flexibility to insert listings campaigns into the entire directory. The Ads will be shown randomly as well.
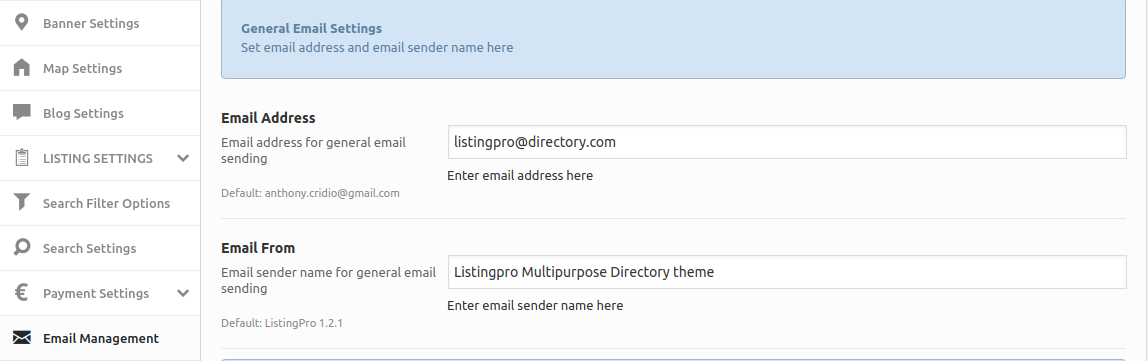
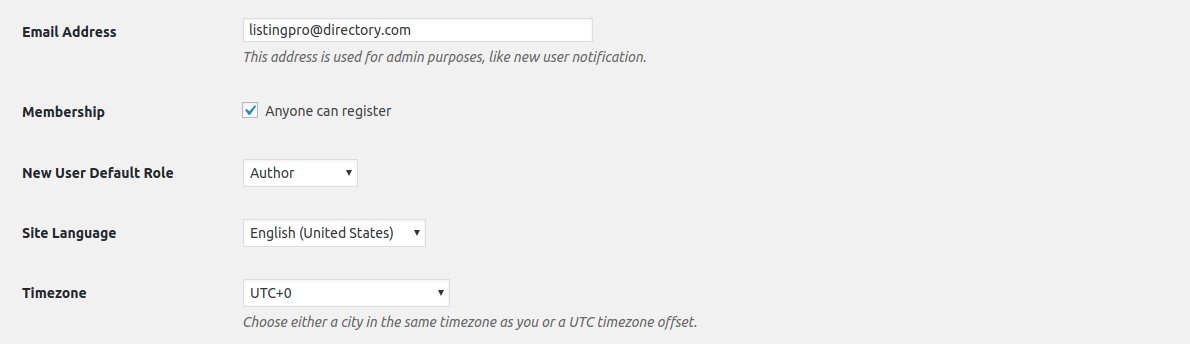
Every respective service has their own Documentation on how to set up a Transactional Mail into your WordPress. It’s hard to fully describe how to configure these settings and we strongly recommend to read their Documentation and also have a good understanding of how your Hosting Provider works.
There are many Transactional Mail Services available. Some of them will work through the SMTP settings, while other also has the option to work through its API.
Remember that some Transactional Mail Services also highlights the importance to insert some settings into your Domain Records.
See some of the lists to work with Transactional Mail
Let’s go to one of our posts and see how it appear to us.
Seems like our post doesn’t have any background image defined. Let’s go to our post settings and see how to add an image that describes our post in a beautiful look way.
Let’s add an image to the Banner and see the result
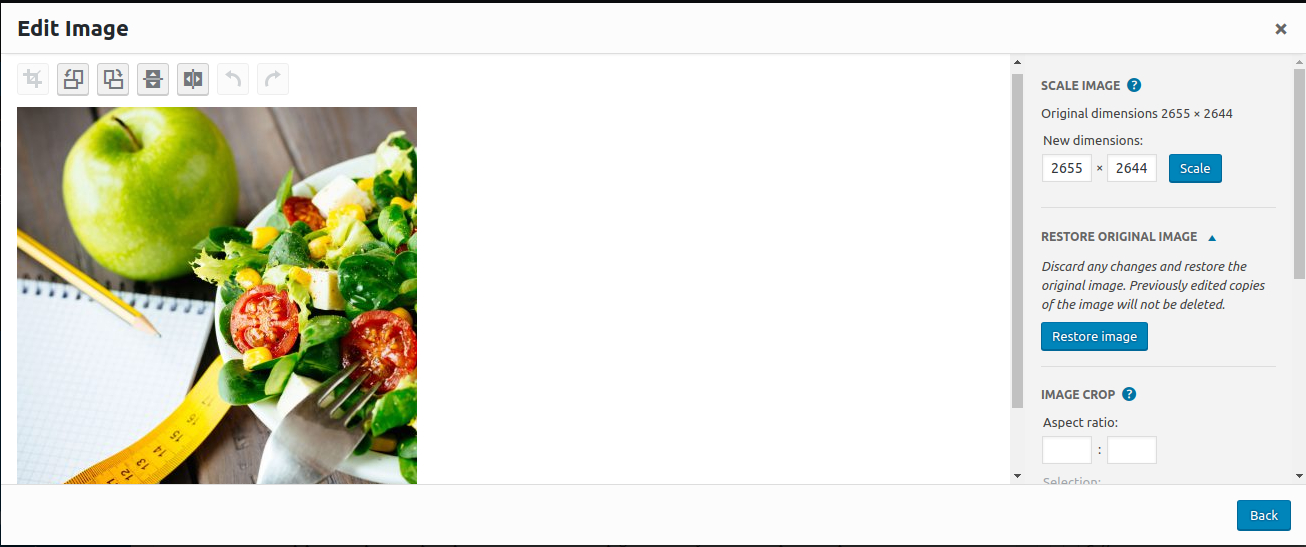
Perfect. But it seems too big, Let’s head over again to our settings and see if we can crop the image.
As we can see, the image is too big, but I want to give an effect to include the pencil and the paper just a little. Let’s see the result.
Perfect! Now, this was the expected result that I was looking for.
As we can see, we have to tweak some images to find a better position, to our final result.
The image should have a good definition to appear in the post with a satisfactory result. Some images, you’ll need to crop and scale where you want the result to be focused.
This article contains everything you must know about configuring the blog and it’s broken down into the following topics.
General WordPress blog settings
Configuring the blog archive page
Configure blog posts
Adding a banner image to a blog post
Adding a blog posts section on the home Page
1. General WordPress Blog Settings
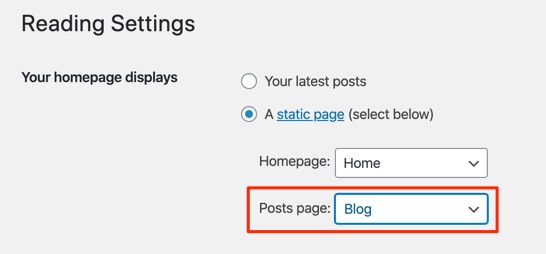
STEP 1: Go to Settings > Reading
STEP 2: Under Your homepage displays settings, select your Posts page (Example: Blog)
STEP 3: Under Your homepage displays settings, select your Posts page (Example: Blog)
STEP 4: Click Save Changes
2. Configuring the blog archive page
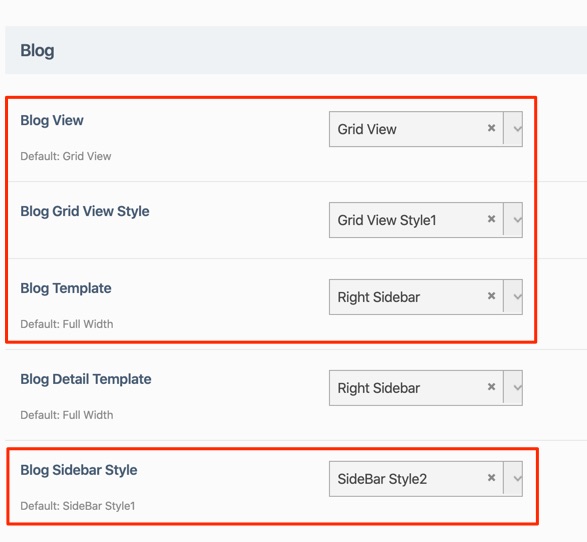
STEP 1: Go to Theme Options > Bog
STEP 2: Select appropriate blog settings for the archive page.
Blog Archive page settings
The following settings are only to change the appearance on the blog archive page, except for the Blog Sidebar Style which affects both the blog archive and blog post/detail page.
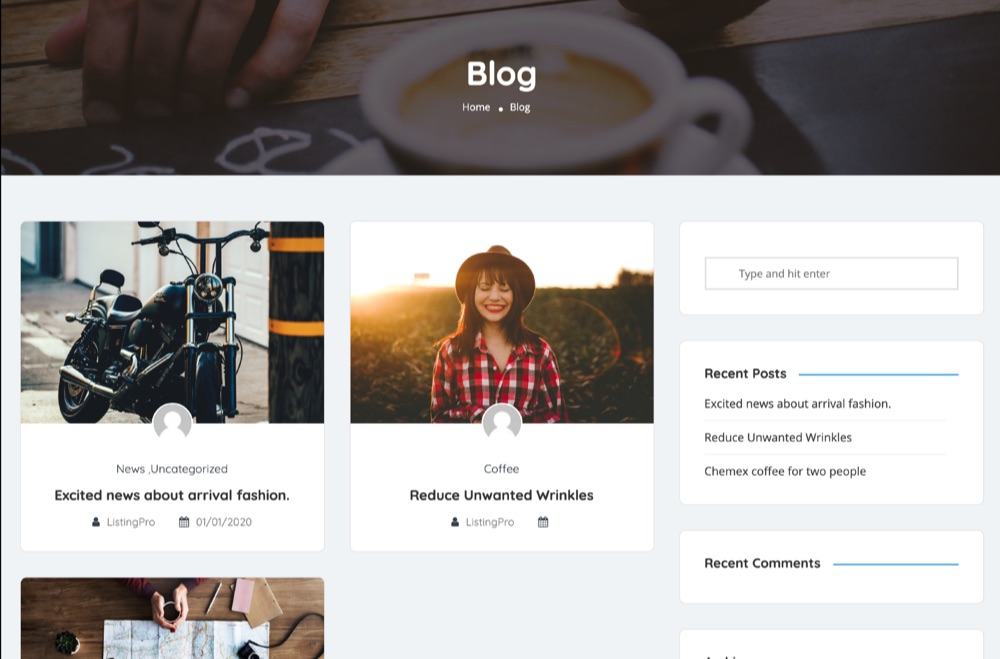
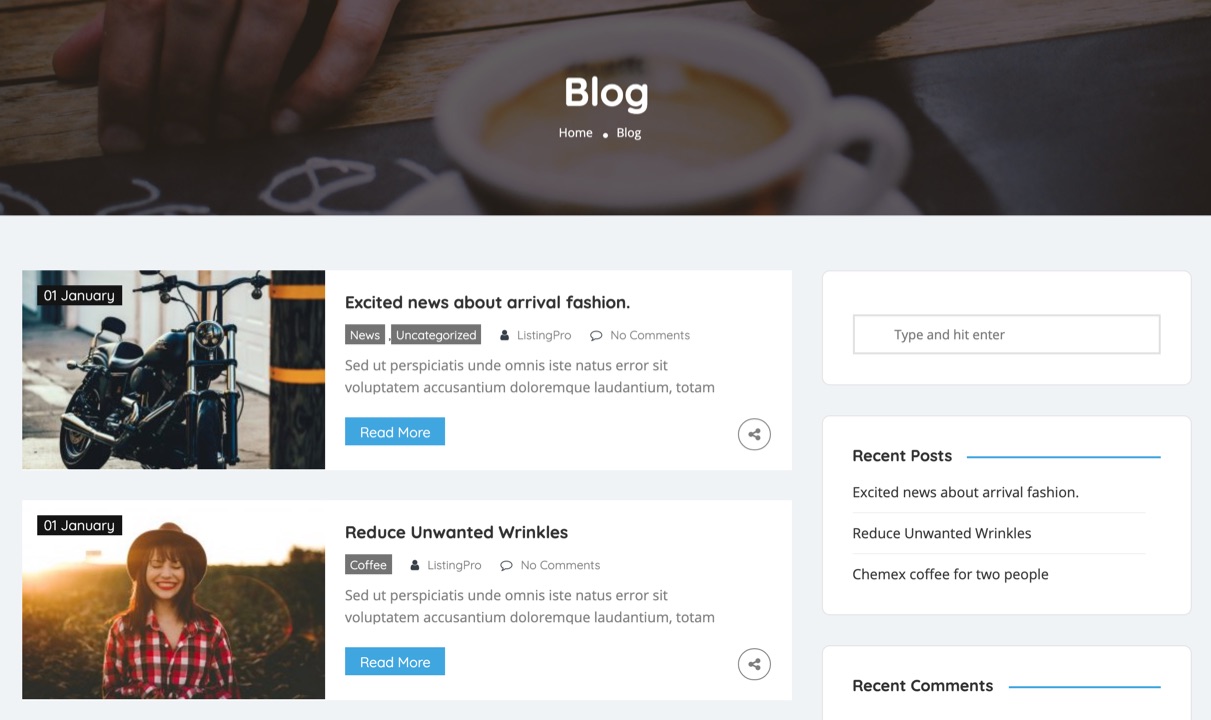
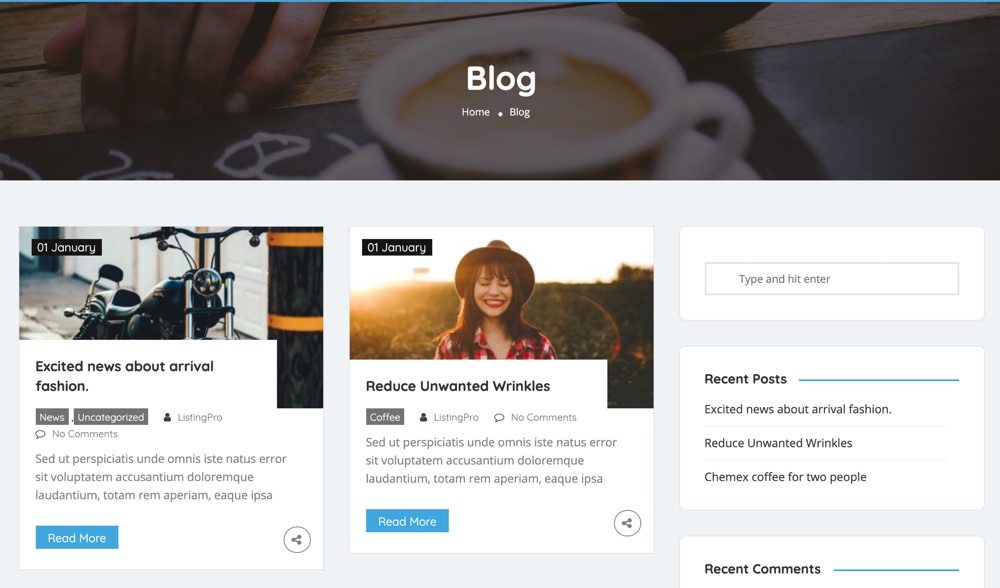
Here are some examples of archive page styles.
Blog Post/Details page settings
The following settings are only to change the appearance on the blog post/details page, except for the Blog Sidebar Style which affects both the blog archive and blog post/detail page.
3. Configure Blog Posts
Let’s go to one of our posts and see how it appears to us.
Seems like our post doesn’t have any background image defined. Let’s go to our post settings and see how to add an image that describes our post in a beautiful look way.
Let’s add an image to the Banner and see the result
Perfect. But it seems too big, Let’s head over again to our settings and see if we can crop the image.
As we can see, the image is too big, but I want to give an effect to include the pencil and the paper just a little. Let’s see the result.
Perfect! Now, this was the expected result that I was looking for.
As we can see, we have to tweak some images to find a better position, for our final result.
The image should have a good definition to appear in the post with a satisfactory result. For some images, you’ll need to crop and scale where you want the result to be focused.
4. Adding a banner image to a blog post
5. Adding a blog posts section on the home Page
STEP 1: Go to Pages > All Pages > and search for the Home
STEP 2: Edit the page in your Page Builder (Example: WP Bakery or Elementor).
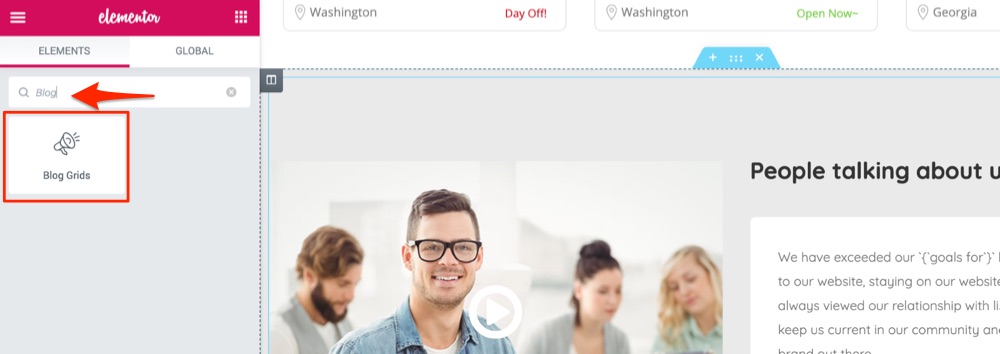
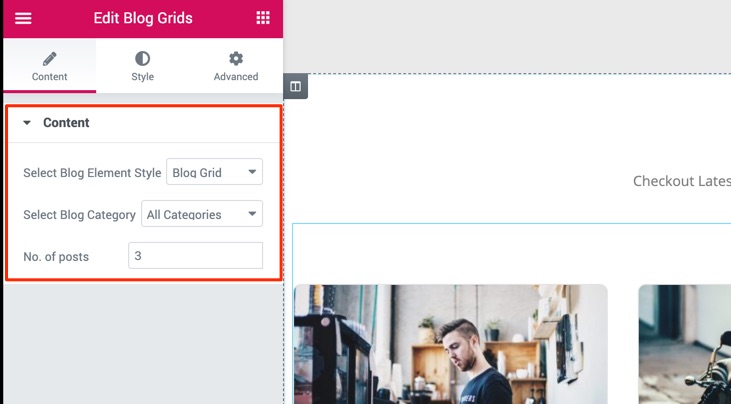
STEP 3: Search for Blog and select Blog Grids.
Elementor
STEP 4: Choose from the following options.
Select Blog Element Style
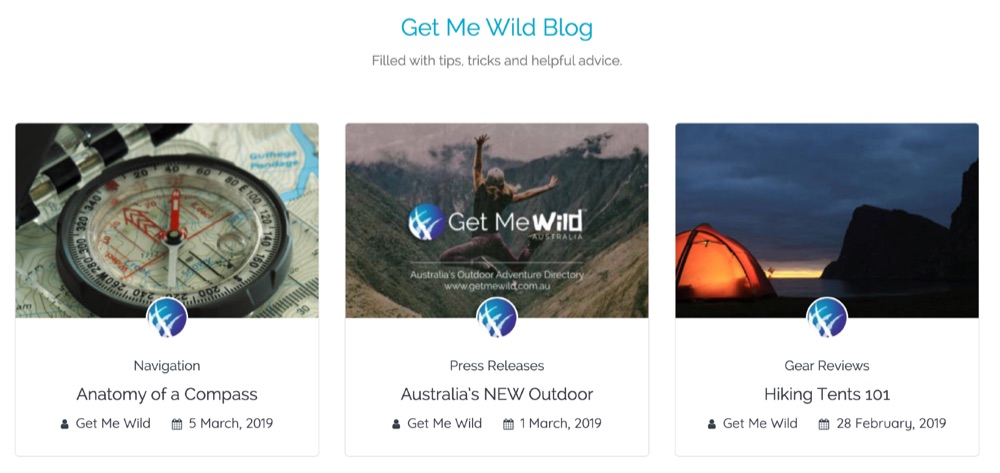
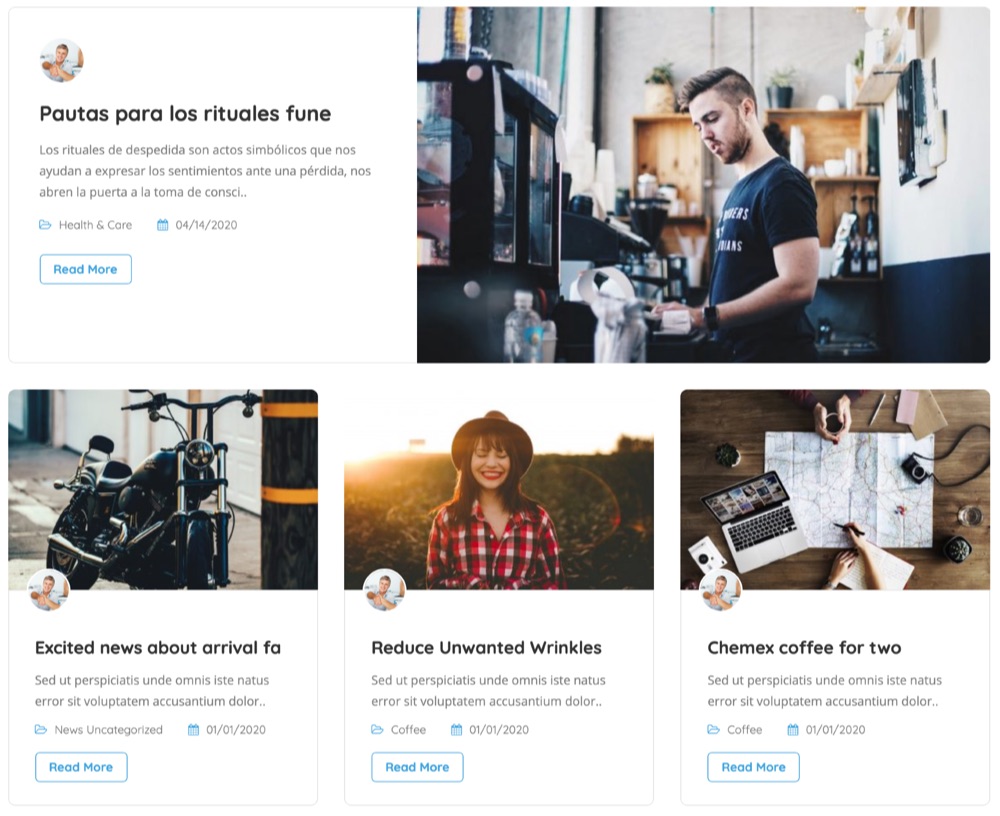
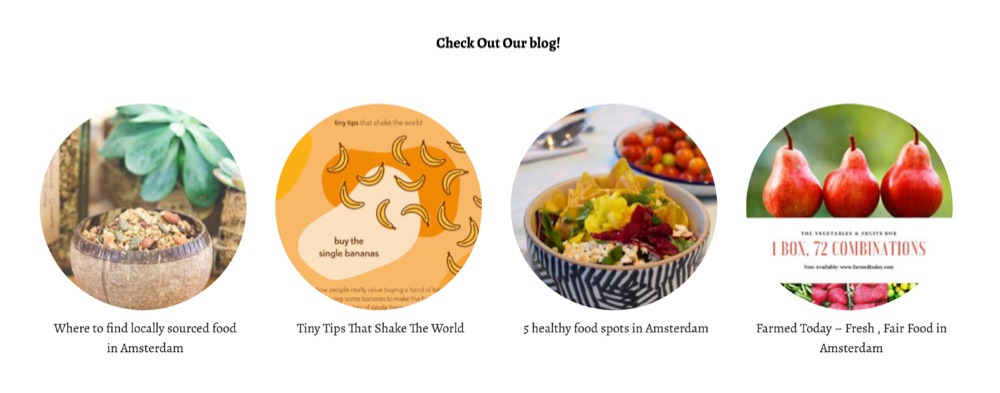
There are three different styles to choose from.
Style 1 – Blog Grids
Style 2 – Blog Masonry
Style 3 – Blog Circles
Select Blog Category
All the categories that were added under Blog Posts > Categories will be listed here to choose from.
Select Number of Posts
Enter the number of post needs to be displayed.
To customize the blog sidebar, go to Appearance > Widgets and add or remove all the appropriate widgets under the Default sidebar section on the right.
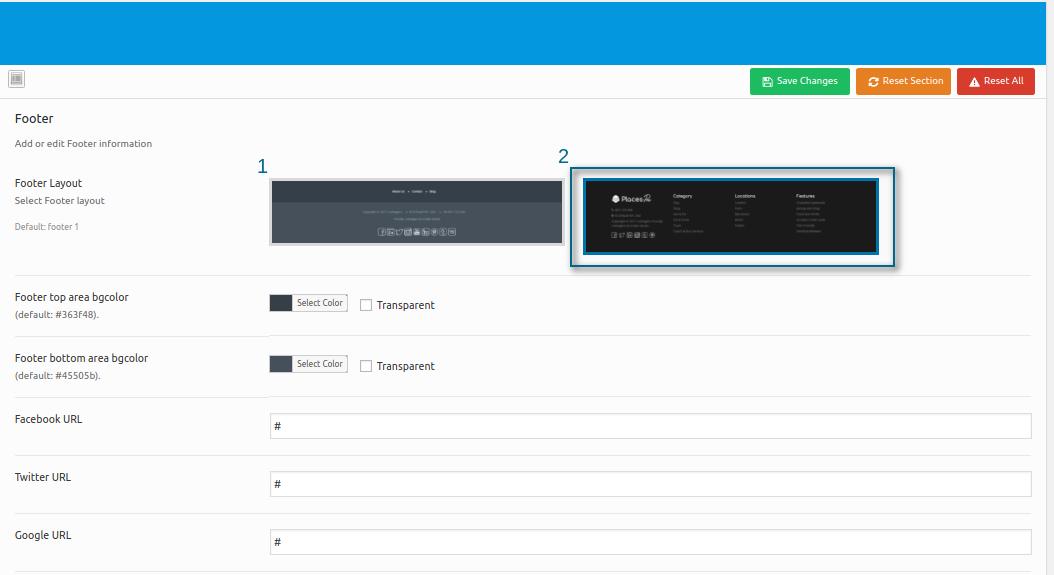
Go to your Theme Options > Footer > and choose the Second Footer Layout.
After selecting the new layout and configured all the preferred Social Media below, hit Save Changes.
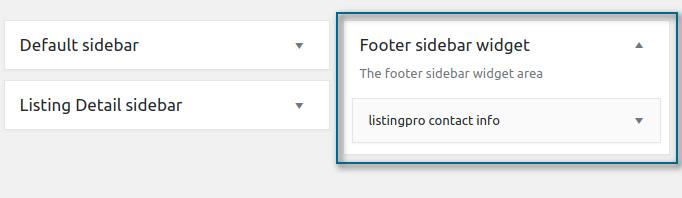
The new footer layout works with widgets. to fully work with this new layout, we need to go to Appearance > Widgets > and find the Footer Sidebar Widget.
Find the ListingPro contact info widget from the list on your left side and add it to your Footer sidebar widget and press the save button.
The default ListingPro Footer, already include social media and other relevant information. Going to the Second Footer Layout, the same result should be available on your footer page. It’s important to note that if you want to include more widgets in the footer sidebar, you can simply add them to the respective area and rearrange them in your preferred order.

 Seems like our post doesn’t have any background image defined. Let’s go to our post settings and see how to add an image that describes our post in a beautiful look way.