How to insert Custom CSS in ListingPro?

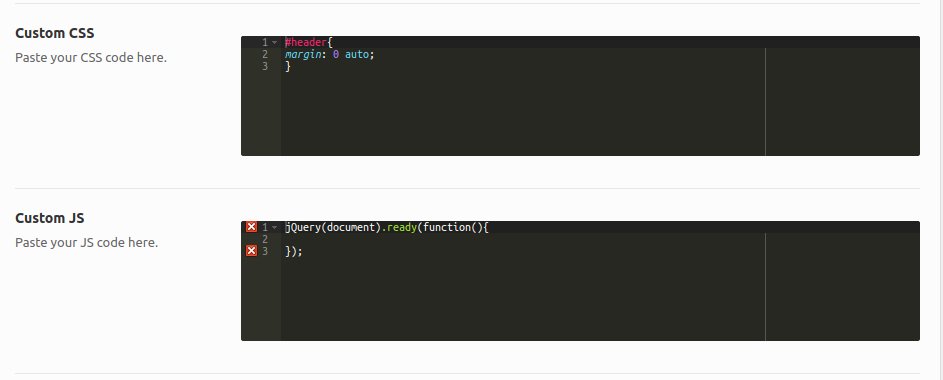
If you want to insert Custom CSS to tweak some options based on your own requirements then you can easily insert all codes inside of the Theme Options > General Settings > Custom CSS and click on Save Changes.

Custom CSS  is used to add additional CSS codes when you want to achieve advanced desirable customization.

Not only CSS but you can also add more flexible adjustments in the Custom JS editor.

Only apply these changes if you really know what you’re doing. Cridio Studio is not responsible for any custom adjustment that may compromise theme quality or break any plugin or page structure of your directory. Use this editor at your own risk.


Can I Edit the Email Templates?

ATTENTION

All CSS should be added as inline text <.. style=”…/>

Yes! These emails were typically created with HTML and CSS.

You can edit these emails using HTML and CSS.

Always use <div> tags to create your new email template. It’s not necessary to include HTML, body, title, head.

Also, you can edit within <div> your  CSS style. <div style=”

Feel free to use <a> | <h1 – h6> | <p> tags

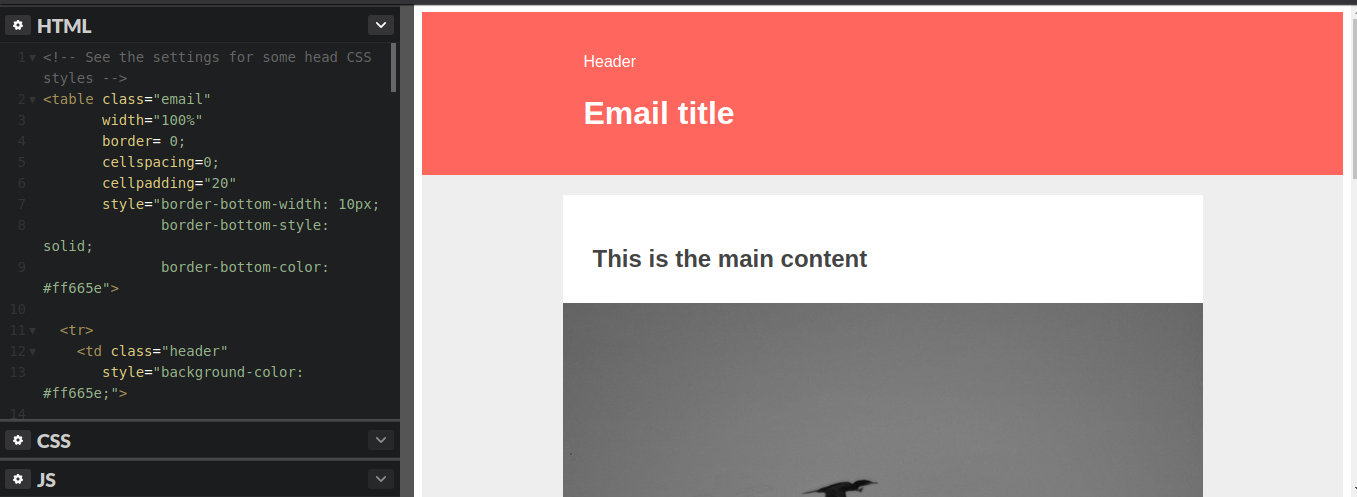
Before editing every email template, you can see how your templates will look like, using a web console.

You can use codepen to have a better idea of your template https://codepen.io/


How Report Listings & Report Reviews Works?

This option can bring to your directory, more ethic, transparency, security, and conduct rights for Listings & Reviews.

This means that admin will be able to get notified by end-users if some listing or review was created inappropriately by Directory’s Terms & Conditions defined by the admin.

Admin can then, analyze these reports and act accordingly to what determines the rules defined by its business policy.

After confirming the report, the Listing and Reviews will be automatically deleted.

REMEMBER: The action gets result for only 1 user per report.

To see which Listings & Reviews were reported, just go to WordPress Dashboard > Listing Flags

Let’s dive into these reports and see what I mean.

Report Listing

Users can report a listing that was added incorrectly, or that doesn’t follow the directory rules and anything that can bring accordance towards why the listing is getting reported by users.

Admin can then, analyze the listing, and take the appropriate action towards the issue.

REMEMBER: The examples exposed above were merely demonstrative, only admin can determine the rules on why some Listings can get reported.


Report Reviews

Users can also report a review that suffered any inappropriate language, or that doesn’t follow the directory rules and anything that can bring accordance towards why the reviews are getting reported by users.

Admin can then, analyze the reviews, and take the appropriate action towards the issue.

REMEMBER: The examples exposed above were merely demonstrative, only admin can determine the rules on why some Reviews can get reported.

 

Which VC Elements are on Homepage?

Let’s dive into the ListingPro Elements and see what are the most important ones and what it represents at the frontend.

Some other Elements won’t be fully covered due to specific activities such as Edit Listing, Submit Listing, Pricing Plans, Call to Action, etc.

VISUAL COMPOSER ELEMENTS ON HOMEPAGE

ListingPro Columns Element

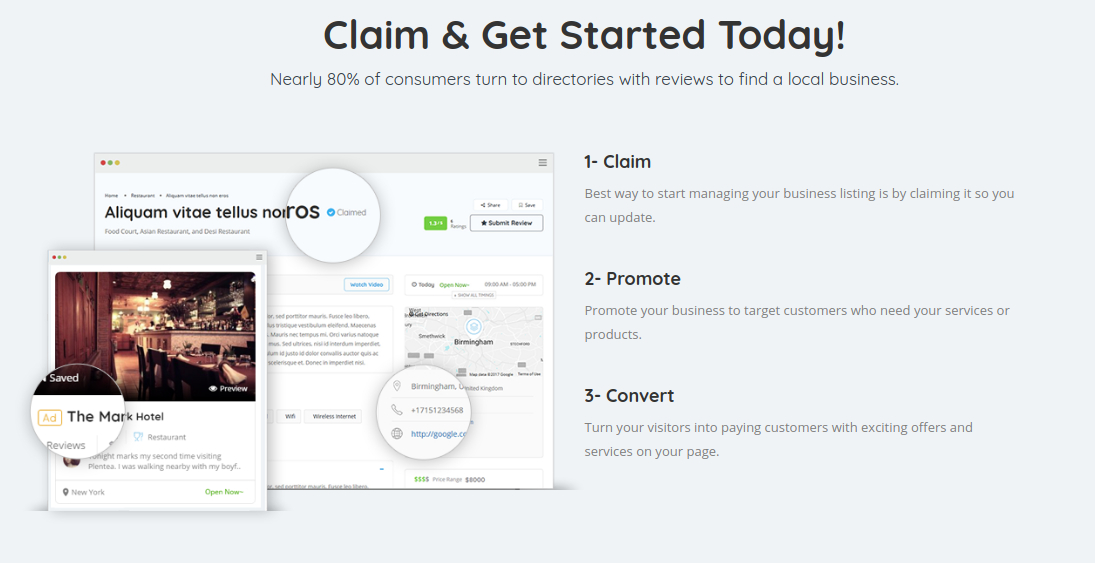
This Element is where you can create your business’s main topics. It’s offered 3 sections where you can describe each of them with an option to include a demonstrative image.

Locations

This Element will give you the option to sort your locations at the homepage, creating a layout that shows them by ascending or descending.

Listing Posts

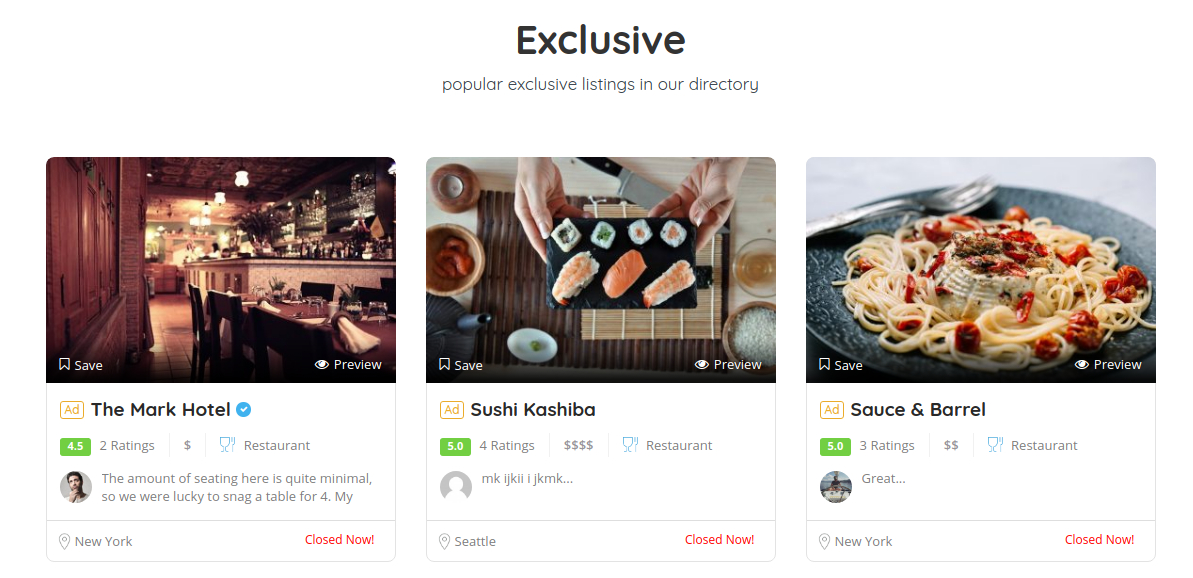
This Element will link to the homepage 3 up to 15 listings. The grid style can be changed, and this list always gets updated when a new listing is added to the directory.

Video Testimonials

This Element can be added to introduce more about the user experience, study cases from customers, etc. The video URL can be copied to Youtube, Vimeo, DailyMotion, or any other supported by WordPress.

Blog Grids

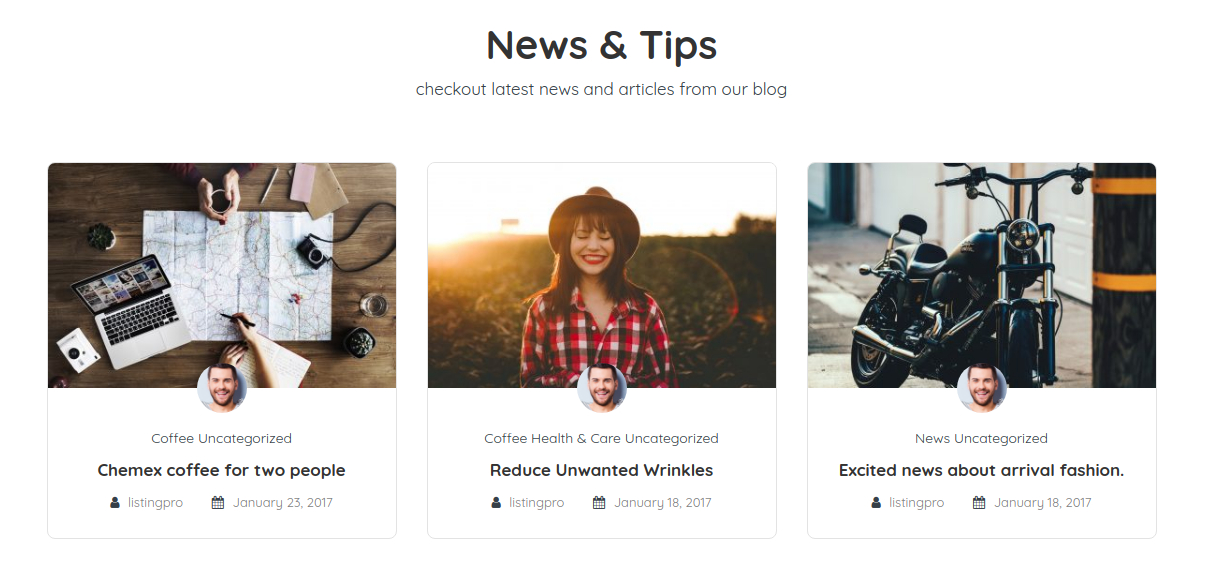
This Element will sort some of the blog categories and show them on the page. It’s possible to select the category and change the grid style.


How to optimize pages for mobile with Visual Composer?

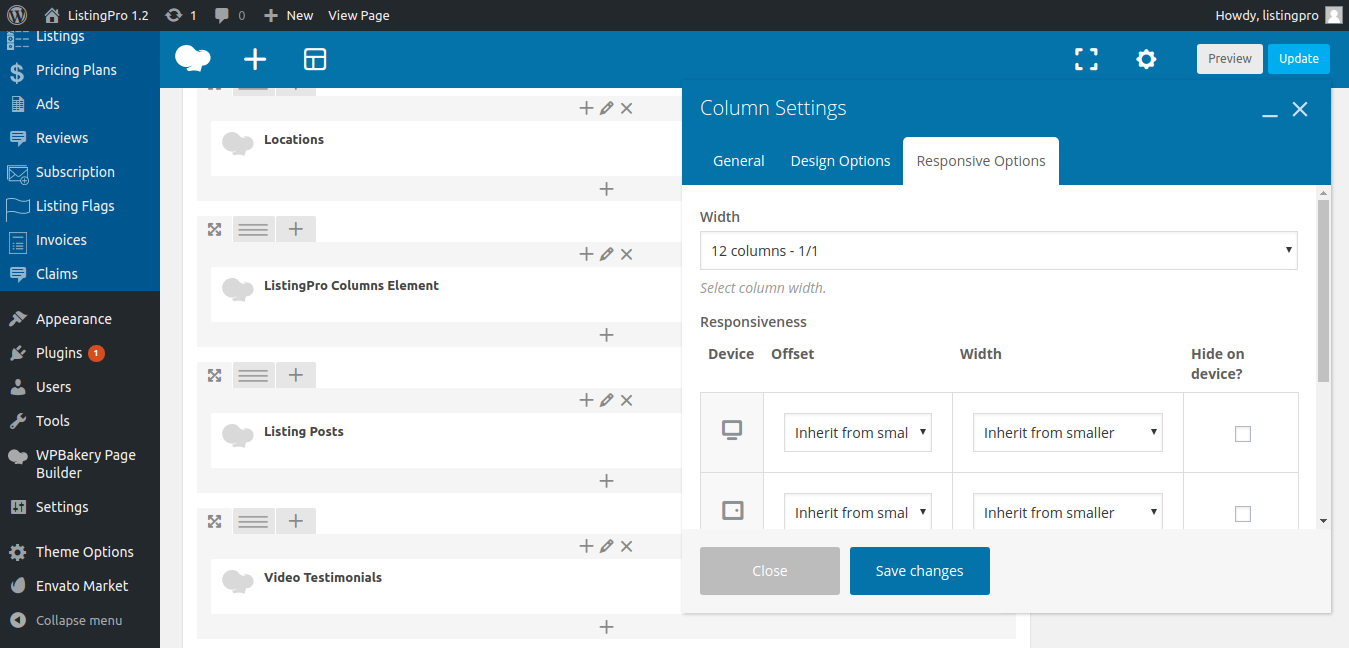
To optimize your directory pages and deliver a different behavior over mobile devices, we can customize them through the Visual Composer.

Each Column will have its own Responsive Options available.

As an example, let’s go to the Pages > All Pages > and select the Home

Let’s choose one common element added, and click on the Edit Column

Here, you’ll have access to each Device, Offset and Width options and each should hide on the device.

It’s an experimental section where you need to test how each setting will behave.

But if you have experience, you can customize it the way you want.

ListingPro is already a Directory focused on Responsive UI/UX. From the ground up, ListingPro was built to offer the best user experience from multiple devices. Use this option with caution, and always make a backup of your previous settings.


How to activate Google AdSense on ListingPro?

First, you’ll have to create your AdSense into your Google Account. Login to access your Google AdSense here.

You’ll have a few options to include and create AdSense Styles. You can read more about how it works through the AdSense Documentation here.

When you’re done, copy your AdSense Link and go to Theme Options > Listing Settings > Google AdSense


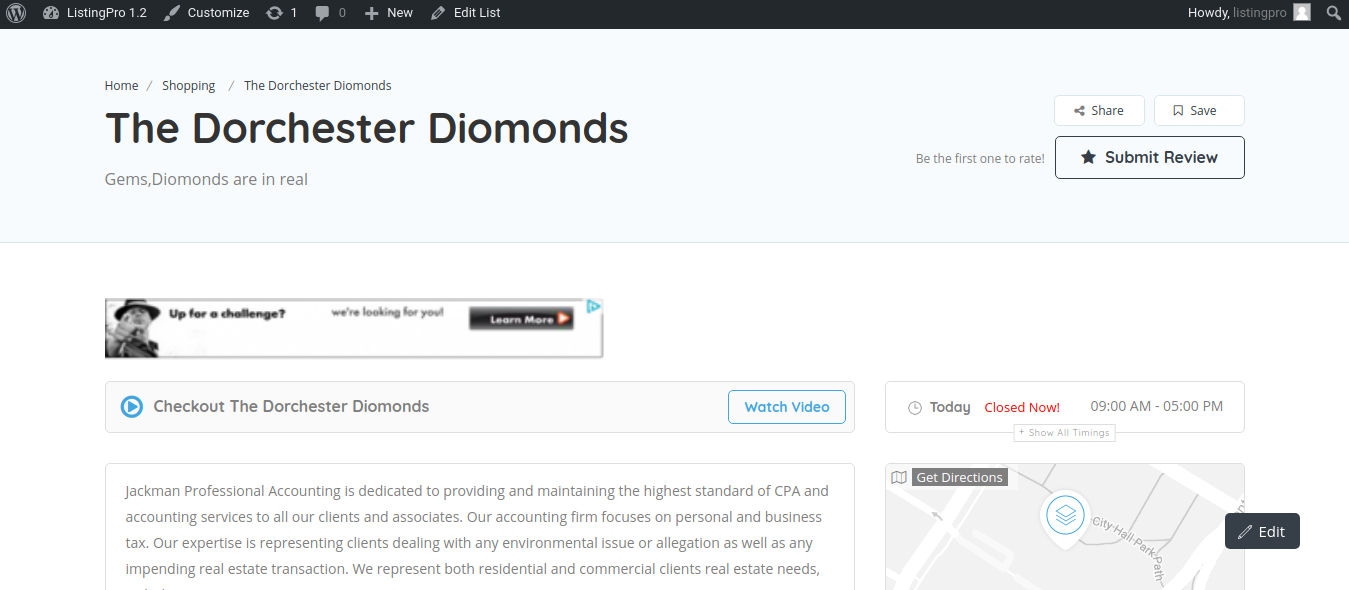
Adsense will be shown on Listing Detail Page.

Google will present some options to display Ads. You can choose the width x length that best fits your needs.

This option is also available for Affiliate Links with Banner Ads.